Reduce PDF size without ruining small text and diagrams
This article was translated from its source language with AI assistance. Please check technical terms and equations against the original.
A “smallest file” preset can turn a readable PDF into blurry footnotes and broken diagram lines. Your target is a file that meets the submission limit while preserving the information and functions people need. Keep the original, identify what occupies the space, and test separate candidates. Repeating compression blindly is less useful than changing the right component once.
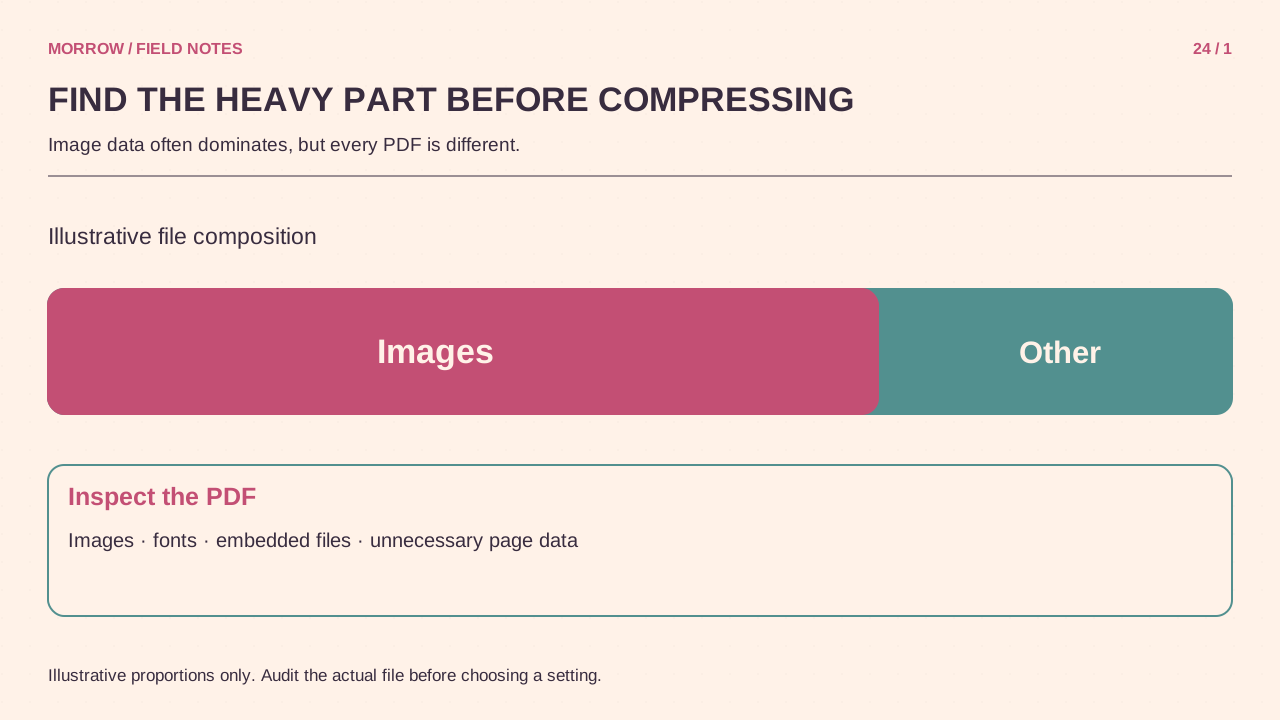
Start with a limit and a space budget
If a portal accepts 5 MB and your PDF is 10 MB, you know the target, but not the appropriate setting. Images, fonts and attachments can contribute differently. Adobe's space-audit documentation describes checking the storage used by individual PDF elements. If your editor lacks an audit, inspect the source document for oversized photographs or attachments first.
Imagine a hypothetical 10 MB document containing 8 MB of images, 1 MB of fonts and 1 MB of other material. Saving 4 MB from image copies could substantially help; removing fonts alone cannot produce the same saving in this example. These numbers illustrate a decision, not a measured compression benchmark. Actual files will behave differently.
Re-export from the source when possible
Printing and rescanning an entire document can lose selectable text and sharp shapes. If you still have the editable source, create a fresh publishing PDF from it. Resize excessively large photo copies to suit their intended use, while keeping text and vector diagrams as text and shapes. There is no reason to flatten every page into a photograph simply because the attachment is too large.
- Separate the original from the submission copy.
- Identify the component using the most space.
- Change one setting, such as image compression, first.
- Save under a new name and test readability and functions.
- Stop increasing compression when the file meets the limit.
A candidate log can be as simple as three columns: settings changed, resulting size, and checks passed. It lets you return to the best version instead of guessing which increasingly compressed copy is acceptable.
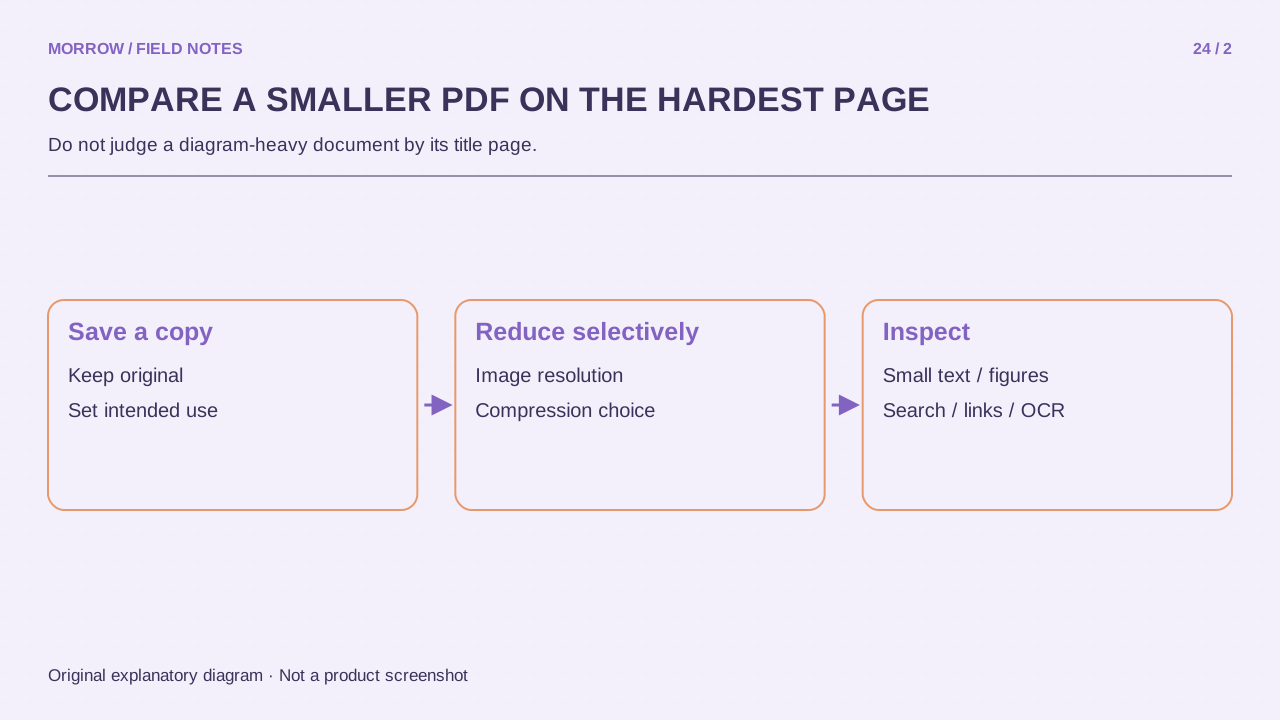
Removal settings can change document behavior
Adobe's advanced reduction options cover images, fonts, transparency and objects or user data, including forms and comments. These are not interchangeable quality controls. Removing comments may remove collaboration information; flattening a form can change how it is used. List required features before applying options whose names you do not understand.
Preserve and test accessibility tags, bookmarks and links when the document depends on them. Before using an online compressor, consider whether its upload destination fits the document's intended sharing scope. Reducing file size should not accidentally create a new disclosure path for internal material.
Give the final PDF an acceptance test
- Read the smallest text and footnotes at ordinary and enlarged views.
- Inspect lines, arrows, legends and equations.
- Try searching and copying text where those functions matter.
- Test links, bookmarks and form fields that readers will use.
- Confirm the page count, order and final file size.
When the limit is met and the necessary information survives, stop. Make candidates from the original rather than recompressing the previous candidate repeatedly. Label the submission copy clearly and retain the original for later printing or editing. The best compressed document is the one its recipient can still read and use.
Related practical guides
Original illustrations created to help explain this article.