JPEG, PNG or WebP: choose an image format for photos and screenshots
This article was translated from its source language with AI assistance. Please check technical terms and equations against the original.
A large image is not automatically a good image. Saving every blog photograph as PNG can produce unnecessarily heavy files, while converting a screenshot to JPEG can make small text unpleasant to read. Start with the information readers need to see: photographic texture, crisp lettering, or a transparent edge. Keep your original and compare separate publishing copies rather than repeatedly overwriting one file.
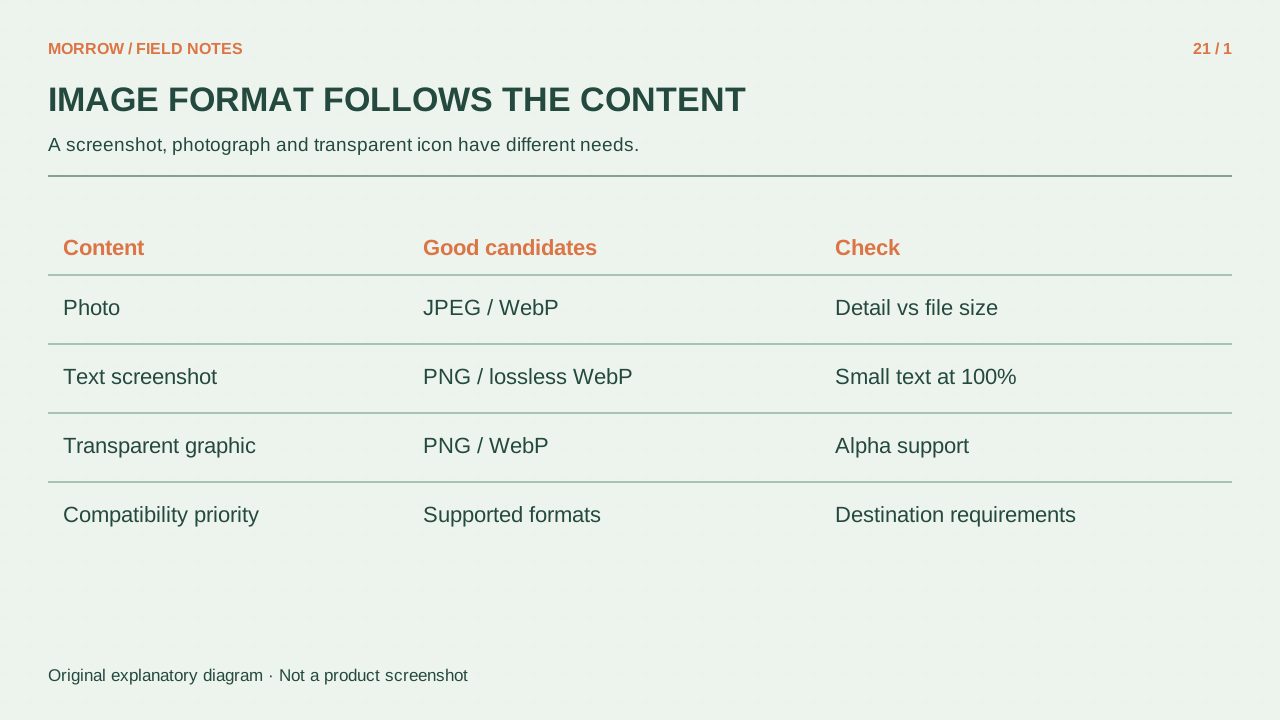
Match the format to the difficult detail
The MDN image format guide documents JPEG's lossy compression, PNG's lossless compression and transparency, and WebP's lossy and lossless options with transparency. Lossless describes preservation of encoded pixels; it does not restore sharpness that the source never had.
| Content | First candidates | Inspect closely |
|---|---|---|
| Photograph | JPEG and lossy WebP | Dark gradients, fine texture, sky banding |
| Screenshot or diagram | PNG and lossless WebP | Small lettering and thin lines |
| Transparent logo | PNG or WebP | Curved edges on different backgrounds |
Make a fair comparison
Suppose your article displays an image at a maximum width of 1,200 pixels. Export both candidates at that width first. Otherwise, a smaller candidate may win because it contains fewer pixels rather than because its format suits the content. Name the copies clearly, such as photo-jpeg and photo-webp, and record their actual sizes. A quality setting of 80 in two applications is not a promise of equal visual quality.
- Duplicate the original and decide the publishing dimensions.
- Export two suitable candidates and note their file sizes.
- Inspect at 100% zoom: lettering, faces, boundaries and shadows.
- Check the article at its real layout width and on a phone.
- Reject a smaller file if essential information becomes harder to read.
This is a practical experiment you can repeat for your own images. Do not copy a compression percentage from somebody else's test and expect the same saving from every file.
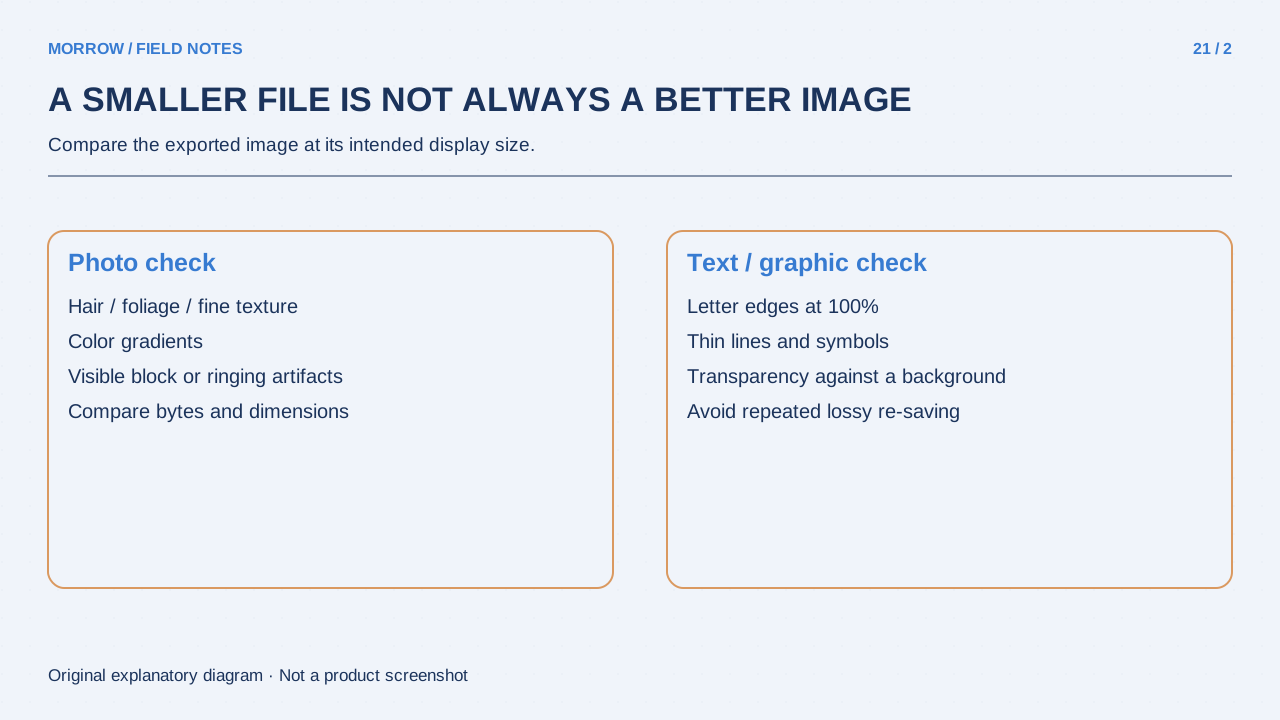
Conversion can make a file larger
The Google WebP FAQ explains that converted files can grow. A lossless export of an already lossy photograph may preserve the remaining compression artifacts in a larger file. Converting JPEG to PNG does not bring discarded detail back. When possible, finish editing a good original and create the publishing export once; repeated lossy saves can accumulate damage.
Test the uploaded image, including transparency
JPEG cannot retain a transparent background. A logo that looks clean on white may also reveal an unwanted pale fringe on a dark theme, so inspect both backgrounds. Your publishing platform may convert or resize uploads again. Open the image from the actual published page, not just the local export, and check the details that mattered during your comparison.
A useful article can mix formats: lossless files for instructional screenshots and lossy files for accompanying photographs. Consistency of extension is less useful than consistency of readability. Keep the original, the published copy and its dimensions together. That small record makes future redesigns easier and avoids treating an already compressed web export as your editing master.
Related practical guides
Original illustrations created to help explain this article.