Adjusting Text Clarity with ClearType: Check Order by Monitor
This article was translated from its source language with AI assistance. Please check technical terms and equations against the original.
Function to check when only the edges of text are difficult to read
If the icons and photos on the screen look fine but the edges of small text are rough or difficult to read, you can check your ClearType settings. ClearType is a technology that smooths the text display in Windows. Its purpose is different from features that change resolution or modify document content. This article explains the sequence of using the text adjuster for each monitor and checking the results in the app you are actually using.
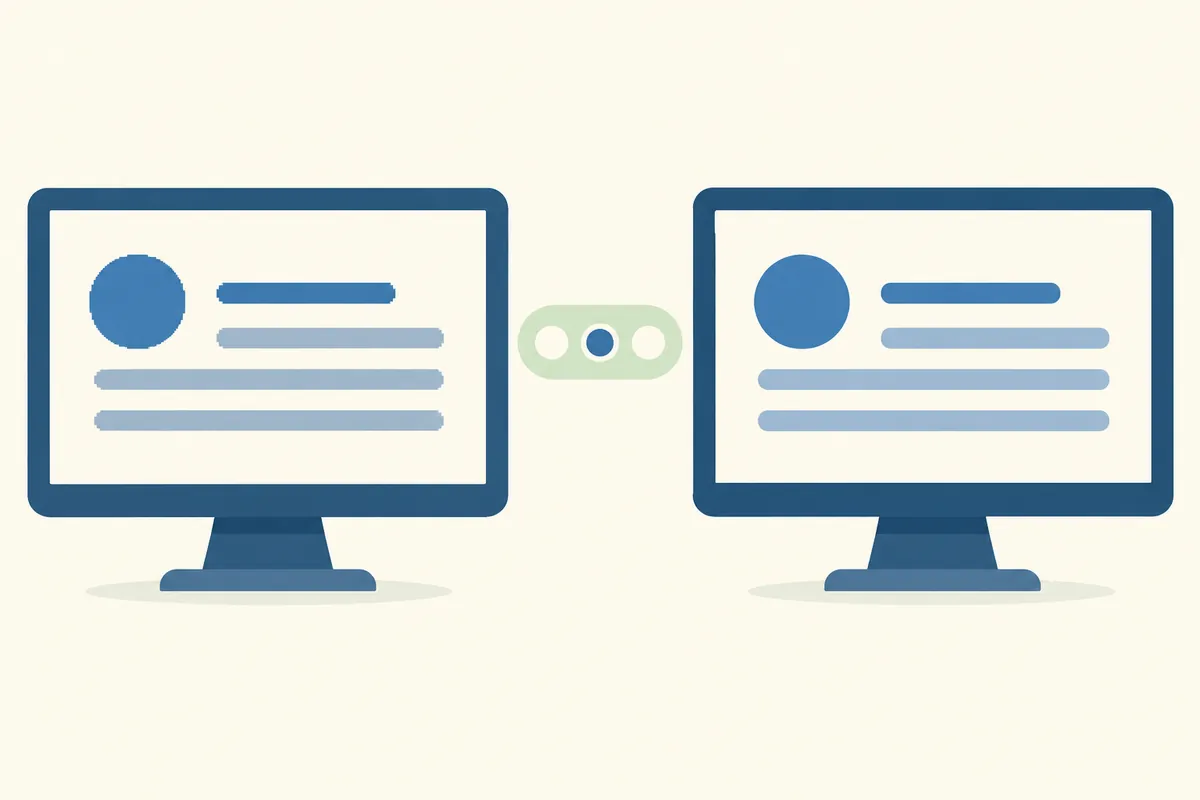
ClearType does not resolve all types of blur. Text in low-resolution images, scaling issues that occur only when moving the screen, and font display problems in specific files may require further verification. First, identify which text is difficult to read in which app and on which screen. Even if the adjuster's samples look good, you must verify that the same results are obtained in the actual working document.
I have actually verified Microsoft's ClearType principles guide, Dell's Windows 11 adjustment procedure, and Google Chrome's blurry text guide. The comparison sentences and inspection examples below are for illustrative purposes only and do not represent the results of measuring clarity or reading speed on a user monitor. The images are also diagrams illustrating the adjustment sequence, not magnified captures of actual text rendering.
1. Define the target screen and reference before adjustment
If you have multiple monitors, note where the text is difficult to read. Differentiate between laptop screen A and external screen B, and record the resolution and scaling of those screens. If you change the resolution and app zoom level simultaneously while adjusting ClearType, it is difficult to determine which action caused the change. Based on the current settings, first select the document to compare.
It is best to use the font and size that are actually read in the reference document. Identify areas that are easily confused during work, such as numbers in tables, small menus, Korean body text, and English file names. Standards for small numbers and sentences are more useful than simply judging whether a large heading looks good. Do not substitute the result on the current screen based solely on how it looks on another monitor.
You can use “10 reservations, 8 completed, 2 pending confirmation” as a comparative sentence for explanation. These figures are examples and do not reflect actual work status. Compare whether the strokes of numbers and Korean final consonants are legible, but do not create figures indicating a percentage improvement over the past. You must distinguish between the perceived change and the results of measuring actual errors.
2. Open ClearType Text Adjuster
Type ClearType in Windows Search and select ClearType Text Adjuster. Read the ClearType enabled status of the Text Adjuster and proceed with the adjustment. Official Dell instructions explain this procedure for Windows 11 as well. Since the name of the search result may vary depending on the display language, verify that the tool is named ClearType Text Adjuster.
If there are multiple screens, read the instructions to select the monitor to be adjusted. Verify that the screen you are currently viewing matches the screen you are adjusting, and proceed to the next step. If you keep pressing without checking the number, you can change the settings of another screen. After finishing the adjustment of one screen, comparing the other screens separately makes it easier to keep a record.
Proceed by selecting the easiest-to-read text sample from those presented on the screen, and finish at the completion stage. There is no standard that a specific sequence of sample numbers is the correct answer for everyone and every monitor. You must select by reading the text you actually see. Simply following the sample numbers on the internet does not guarantee the same clarity.
3. Points to compare when selecting a sample
When selecting samples, we consider stroke boundaries and readability together, rather than just font boldness. Samples that feel too thick can make the empty spaces around small text appear narrower, while thin samples may feel lacking in contrast. Since this judgment can vary depending on the current screen and the viewer's conditions, we select the option that is actually comfortable to read.
| Part to compare | Question | Result Log Example |
| small number | Does it distinguish between 8·3·0? | Check number sentence |
| Korean text | Are the final consonants and narrow strokes legible? | Check body lines |
| English file name | Do you distinguish similar characters? | Compare list of same names |
| Bold Title | Do the strokes look clustered together? | Compare both the title and body |
4. Understanding Screen Pixel Structure and Text Display
Microsoft's explanation of the principle deals with text rendering using color components within LCD pixels. Displays that use the entire screen pixel may look different from those that utilize small components. This means it is a technique for smoothing the edges of text, and it is not a process of increasing the physical number of pixels on the monitor.
If the virtual screen is 1920×1080, you cannot say that the output resolution has changed to 5760×1080 just by adjusting ClearType. The color components explained in the principle description are different concepts from actual display resolution. It is better to avoid expressions that introduce performance improvements by drastically changing the numbers and to understand it within the scope of text display methods.
It is not assumed that all displays have the same pixel arrangement. Microsoft's developer resources explain the effects of display structure and orientation. Rather than expecting the same adjustment results on a vertically rotated screen or different panels, compare the text actually read on those screens. This article does not measure or specify optimal values for all panel types.
5. After completion, view the same document in the actual app
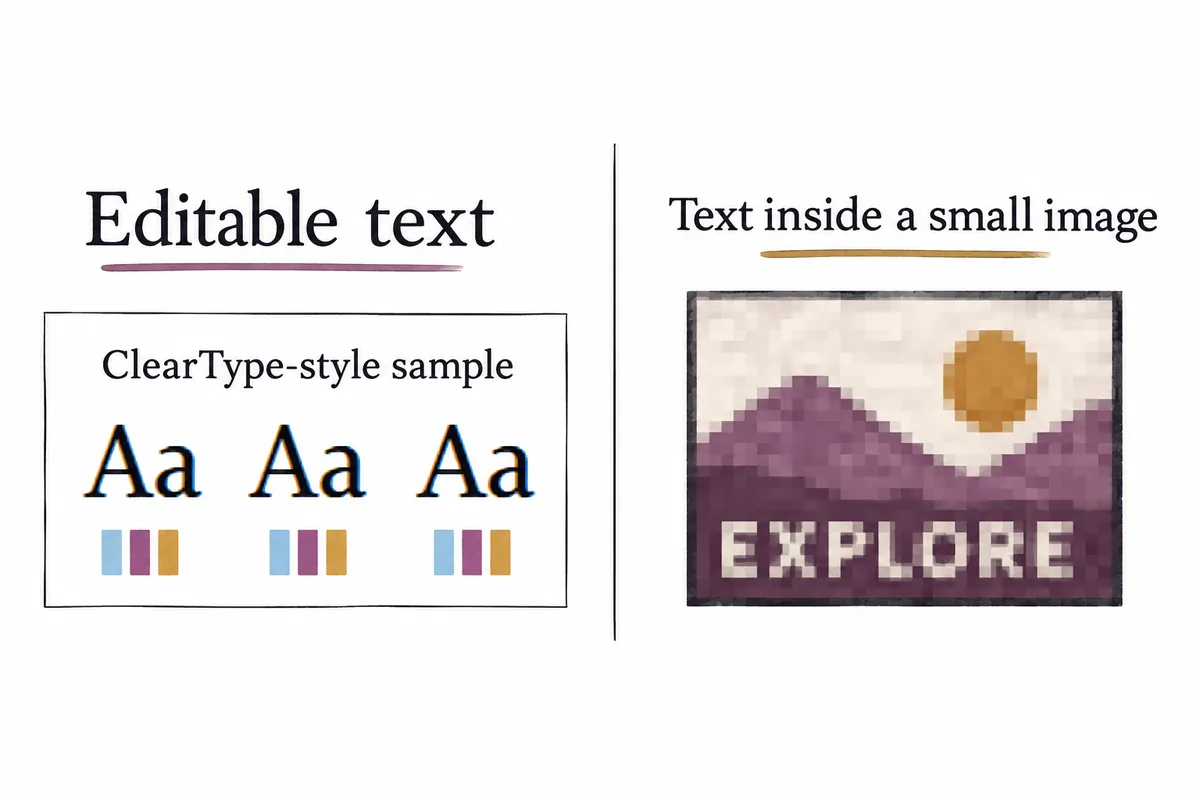
Once you have finished the adjuster, review the reference app and document. Save your work and, if necessary, reopen the app to compare using the same font, size, and zoom level. This is because there is no guarantee that the display method used by the app is the same as the sample seen in the adjuster. By checking the menu, body, and number table separately, you can record which parts have changed.
Google Chrome's official guide also introduces the ClearType adjuster for checking blurry text. When comparing within the browser, it maintains the same magnification as the same page. When moving to a different site, the font and background may change together. It does not assume that the text has improved equally across all websites based on the observation that it looked good on one page.
An example log can be written like this: “Completed the adjuster on screen B and re-verified the numbers in the reference table. Results for screen A and other apps are unconfirmed.” If there are no actual results, this sentence is not used as a completion log. Since this article has not tested opening user apps, it only explains the desired verification range and log format.
6. Distinguishing between image text and actual text
Text within scanned PDFs or captured images may already be stored as images. If small text appears blurry in such materials, you need to check the resolution and magnification conditions of the original image. Enabling text adjustment features on the current screen is a different task from restoring details that were not present in the image. You should not expect ClearType alone to make all scanned documents sharp.
I have noted the distinction between cases where the menu is sharp but only the text on the scanned page is blurry in the same app, and cases where the menu is blurry as well. The former warrants checking the content and magnification conditions, while the latter requires further investigation into the screen display conditions. Although appearance alone does not determine the cause, it helps narrow down the items to look at next.
Small text in remote screens or screen sharing is also a separate condition. Shared images and text drawn directly by the current PC are not read identically. Since screen scaling, content resolution, and the state of transmitted images can be mixed, indicate which screen the result was viewed from. Do not record that transmission quality has been improved solely by ClearType settings without direct verification.
7. When it has worsened or there is no change
If the result is not what you want, first check if the comparison conditions match the reference document. If the app zoom level or font has changed, it is difficult to compare only the adjustment results. If you have recorded the check status, compare it with previous usage, and if necessary, reopen the adjuster to select a sample that is easy to read on the current screen. It does not start by resetting all screen settings.
If you did not record the sample originally selected, you cannot claim that you have returned exactly to the previous detailed values. The result of readjustment and the restoration to the original checked state are different records. A result showing no significant change is also useful. In that case, there is reason to further investigate resolution, per-screen scaling, content, and display conditions for specific apps.
If only specific apps remain blurry, record the app name and version, changes when moving the screen, and the response when reopening the app. Repeatedly adjusting ClearType may not resolve issues with the app's scaling or file fonts. Check the current troubleshooting steps in the official app guide and only include the scope of the steps performed in the results. Do not delete other user fonts or personal settings in bulk.
8. How to save results per monitor
Write down the screen model, resolution, scaling, ClearType usage, reference document, and verified apps on a separate line. If you adjusted settings on A and moved the window to B, record the result of the move in a separate entry. When the physical size and scaling of the screens differ, selecting the same sample does not guarantee the same experience. The final setting is determined based on actual readings per monitor.
In the explanatory table, you can separately list statuses such as “Adjustment Complete,” “Verify Actual Document,” and “Other Apps Not Verifyed.” The verification of all operations is not finished merely by pressing the Adjuster’s Complete button. If the device is changed or the screen is rotated, a new condition is recorded so that it can be compared with the previous record. Even when performing repeated checks, it is recommended to read what the changed condition is first.
ClearType is a tool that allows for fine-tuning of text display. By defining the target screen, comparing the same document, and distinguishing between the results of the tuner and the actual app, it is easy to select the necessary settings. The flowchart in this article merely explains the process and is not evidence of actual user improvements in clarity or reading performance.
Official Sources and Writing Standards
- Microsoft Learn: Microsoft ClearType overview
- Dell: How to Change Display Settings in Windows
- Google Chrome: Fix text that is not displaying properly
Data Verification Date: 2026-10-09. This explanation was generated by AI based on actual official data. Calculations, codes, and verification examples marked separately are for illustrative purposes only and are not the results of direct testing or actual measurements of the user environment. We will re-verify whether there have been any changes to the functions and data on the publication date.
Original illustrations created to help explain this article.
Original on Tistory ↗