When windows are blurry due to different monitor scaling: Check scaling per screen
This article was translated from its source language with AI assistance. Please check technical terms and equations against the original.
Case where the window becomes blurry only when moved to another monitor
If an app that is clear on your laptop becomes blurry or its size changes strangely the moment you move it to an external monitor, instead of immediately concluding that the monitor is faulty, try checking the scaling and app responsiveness for each screen separately. Since the pixel counts and physical sizes of the two screens differ, the comfortable scaling levels may also vary for each. This article outlines the troubleshooting steps for situations where the clarity of the same app window varies across multiple monitors.
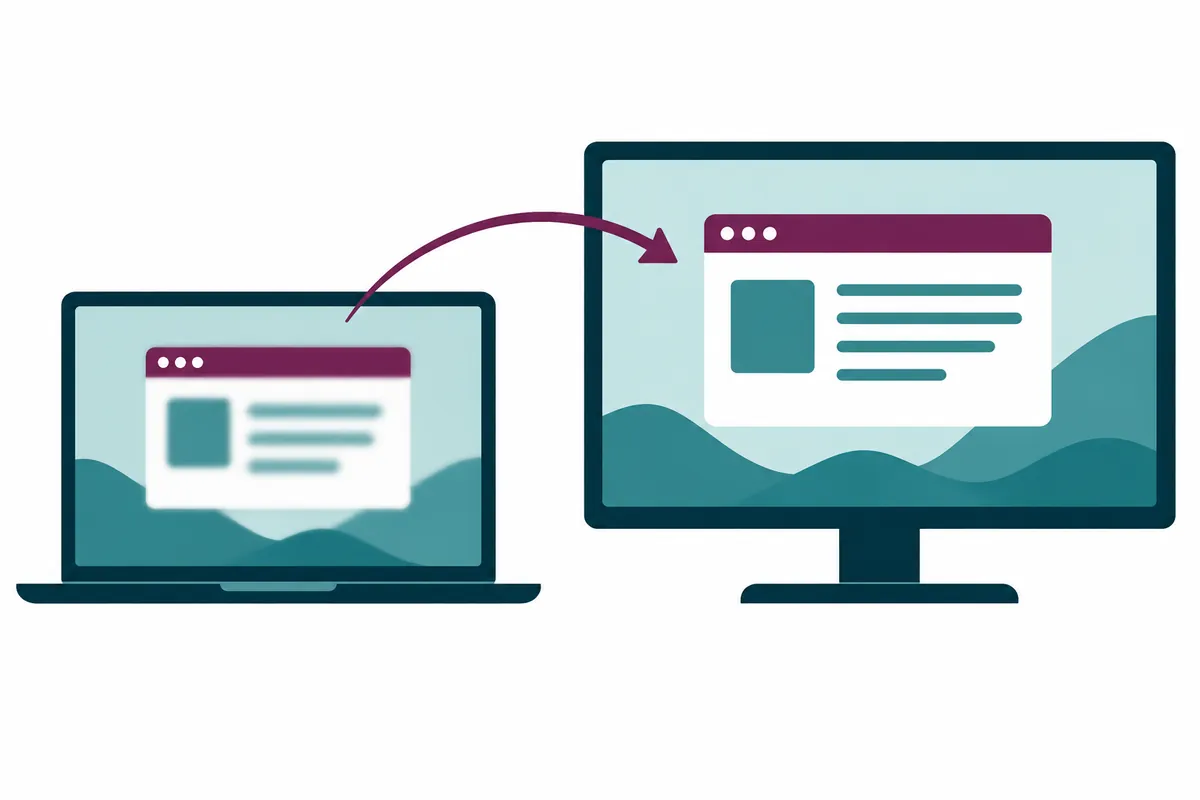
Simply setting the scaling of all monitors to 100% may not be the solution for creating a comfortable reading environment. On high-resolution laptops, text can become too small, and if the cause of blurry windows is the scaling processing of a specific app, it may incur the cost of changing the entire work environment. First, recording which app changes on which screen and under what conditions can help narrow down the scope of the problem.
Microsoft's display guide explains that you should select the target screen before changing settings. The High DPI documentation for developers explains that if an app does not respond properly to scaling changes, windows may appear blurry or displayed at an incorrect size. The examples and tables below are illustrative examples structured as a reader's verification procedure and are not the results of tests performed on an actual PC.
1. Connect the screen number and current value first
Go to Start → Settings → System → Display to check the screen layout and select the screen to inspect. Identify the numbers assigned to the left external monitor and the laptop screen respectively, then note the current scaling and resolution. Do not guess the screen number based solely on the visible location. If you select the wrong screen number, you may end up changing the settings for the normal screen while leaving the problematic screen as is.
For illustrative purposes, I will denote Screen A as the laptop and Screen B as the external monitor. I will assume that the magnification of A is 150% and the magnification of B is 100%. These numbers are not recommended values or the user's current settings, but are used to illustrate the difference in magnification. In practice, the recommended settings and the comfortable reading state for each screen are checked together.
Resolution, scale, and in-app zoom are different settings. Initially, do not change these values simultaneously. To distinguish between size differences caused by changes in the browser page or document zoom and the issue of the entire window becoming blurry, record the current value of the in-app zoom as well. Leaving the original value makes it easier to revert to the previous state after the comparison is complete.
2. Compare by changing conditions in the same window
After saving the document or work in the problem app, try moving the same window from A to B. Examine the title bar, menu, and document body respectively and note what changes. The items to check will vary depending on whether the entire app window is blurred or if only specific images or small text in the body are blurred. The comparison conditions may change if you open a different file or change the font.
| Conditions to compare | Part to observe | Next question |
| Open in A and keep in A | Menu/Text clarity | Is it cloudy from the start? |
| Move the same window to B | Window Size · Text Edges | Does it change when moving? |
| Reopen the app in B | New window clarity | Does the start condition have an effect? |
| Move other apps to B as well | Response of other windows | Is this a problem with a specific app? |
3. Understanding How Apps Handle Scaling
The way apps handle scaling can vary. Some apps redraw to the new size when the screen scale changes. Others may stretch a screen created based on a specific scale. The way existing images are enlarged versus the way text is drawn to fit the new size can result in different edges. Understanding this difference makes it easier to understand why results differ between apps, even on the same monitor.
This does not mean that users must manually modify the DPI support classifications in the developer documentation. It is difficult to determine which mode a specific app was written for based solely on its appearance. An important observation is to record reproduction conditions, such as "only this app becomes blurry when moved to B." This serves as data to distinguish between an app's screen processing issue and a monitor-wide output issue.
Let's assume that in a hypothetical comparison, App X becomes blurry after moving, while App Y remains clear on both screens. Although this alone cannot determine the code structure of X, it provides grounds to investigate app-specific processing rather than simply stating that all screens are broken. Recording the version of X, the screen where the window was first opened, and the time the external monitor was connected before changing settings will also be helpful for support inquiries.
4. Compare start conditions with restart
First, save your work, close the problematic app, and then reopen it on the same screen to compare. Check which monitor the new window opens on, and then compare it with the same document at the same zoom level. If there is no difference when reopening, note that fact. Restarting the app does not mean that all zooming issues are resolved; this is a comparison to distinguish the response at the time of startup and at the time of movement.
If Windows prompts you to log out after changing settings, save your work and follow the instructions. Do not log out abruptly during a comparison, as this can affect open tasks. Reopening an app, starting a new Windows session, or rebooting the PC are not recorded as the same action. You need to know what you did to interpret the results.
If the problem occurs only after connecting the docking station, add the pre- and post-connection comparison conditions. Distinguish between the case where you open the app on A and dock it, and the case where you open the app after the connection is complete. A sentence like “It becomes blurry when I open the app, connect the monitor, and move to B” conveys the problem situation better than “sometimes blurry.” It is recommended to compare based on the actual work documents where the inconvenience is experienced.
5. Make setting changes in small increments
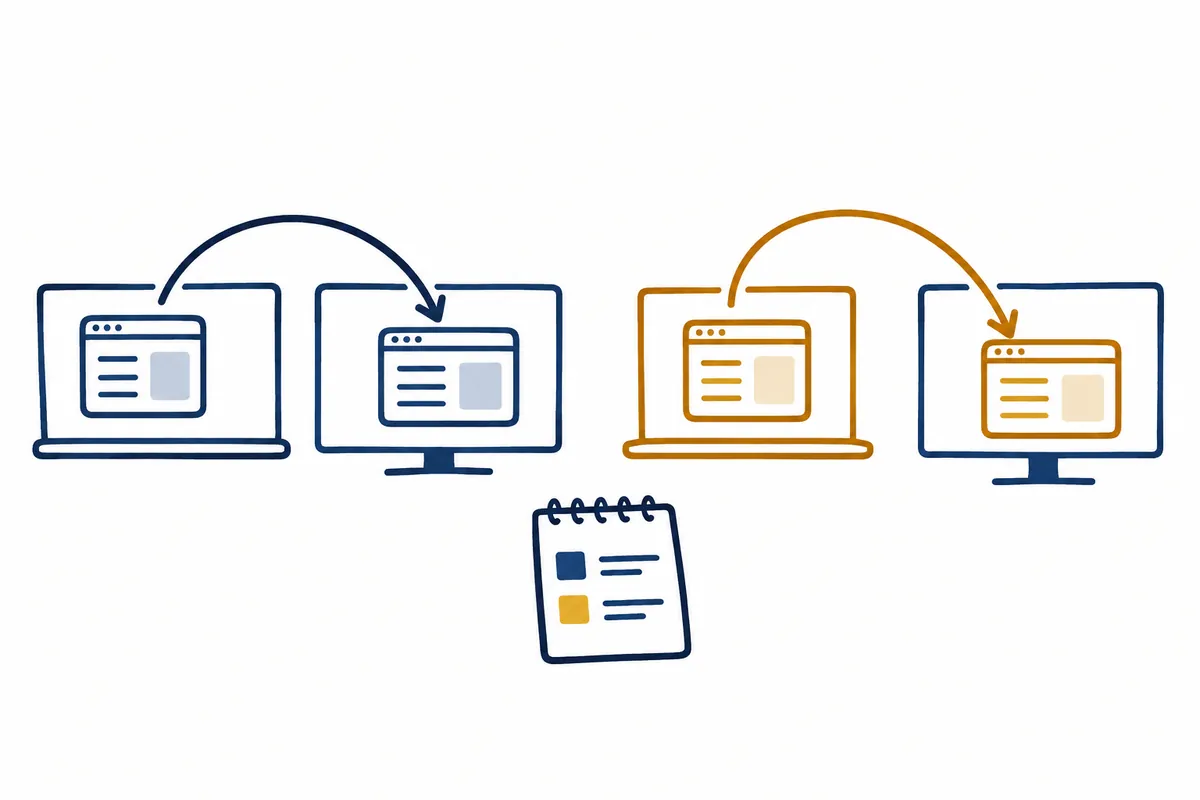
First, check the recommended resolution and scaling settings on each screen. If you lower the resolution just because the text is small, issues with pixel output and window scaling may become intertwined. Read the scaling separately to determine the required size, and the resolution to verify that the screen meets normal output conditions. Compare the values on the settings screen with the readability of the actual document.
If you temporarily adjust two screens with different scales to similar values for comparison, record the existing values and switch them one screen at a time. Even if the difference has decreased, re-evaluate whether that state is the final solution. If the text on the laptop is too small or the external monitor window has become excessively large, it may not be suitable for actual work. Distinguish between settings for cause investigation and settings to be continued.
You can also check official app updates and display guides for the app. Since the impact of specific app compatibility settings or execution options may vary by app, the internet's batch settings are not applied to all apps. This article does not provide procedures for changing registry values or forced execution options. You can create materials to deliver to the support side based solely on the verified scale and restart conditions.
6. Distinguishing between blur in the entire window and content
If the menus in a virtual PDF viewer are sharp but the text on the scanned page is blurry, the resolution of the content itself is a potential cause. Check if the same image remains blurry when moving the screen, or if the original file has the same issue. Conversely, if the menus and title bar also become blurry, there is reason to investigate the scaling of the app window further. Do not group these two situations under the single category of "blurry text."
It compares with local apps even when viewing a remote screen or screen sharing. Since the transmitted screen may already be an image, clarity is not determined solely by the current monitor's scaling. If only the text on the shared screen is blurry while the local settings window is sharp, the scope of the problem can be narrowed down to the transmitted content for recording. This observation does not report that network or compression conditions have been determined.
When taking screenshots, consider the conditions under which others might zoom in. Images saved at their original resolution may look different from small previews displayed in messengers. Since it is difficult to fully convey the clarity seen with the naked eye with just a single photo or capture, it is recommended to submit them along with the screen number, zoom level, and app version. Exclude personal information from the document unless it is necessary for the record.
7. Evaluate the fact that the two screens have different scales
There is no standard that requires identical scale numbers for a good layout. Because screen physical sizes and pixel densities differ, different scales can actually make the actual text sizes appear more similar. What should be compared is a comfortable readability, window clarity, and behavior when moving windows. We do not maintain inconvenient settings solely for the purpose of unifying the numbers.
In an illustrative example, let's assume A is 150% and B is 100%, and App X was blurry only after moving. If X becomes sharp when reopened from B, record that “there was a difference in the starting conditions when reopening the app.” Do not overinterpret this as the number of pixels on the monitor increasing or the app being fixed. Leave an observation criterion that can be compared again on the next connection to see if the result is maintained.
In actual use, you may also consider placing important app windows on frequently used screens to adjust your workflow. This is an operational choice to reduce inconvenience and is not a reason to claim that the app scaling issue has been fundamentally resolved. Documenting the original settings and temporary usage methods separately makes it easier to compare them again under the same conditions after an app update.
8. Records to include directly in the support inquiry
Record the Windows version, monitor model, scaling and resolution per screen, and the name and version of the problematic app. Next, note the screen where the app was first opened, the direction in which it was moved, whether it was immediately after connecting or docking, or if it changed after a restart. Having this information can help reduce the conditions needed to describe the same symptoms. Do not record actions that were not actually performed.
Example records can be written like this: “When opening an app on laptop A and moving it to external B, both the menu and the content become blurry. Other apps are sharp. It is not yet confirmed whether opening the problematic app again on B makes a difference.” The indication that it is “unconfirmed” is also important information. Rather than writing as if all checks are complete, leave a step for the next comparison.
If there were any last changes, record both the final state and the original state. Clearly indicating whether you changed the magnification for experimental purposes and then reverted it, or which screen you are currently using primarily, will allow us to proceed with the next check. The flowchart in this post is an explanatory diagram illustrating such comparison procedures and does not represent clarity or performance data measured on a specific monitor.
Official Sources and Writing Standards
- Microsoft: Change your screen resolution and layout
- Microsoft Learn: High DPI Desktop Application Development
Data Verification Date: 2026-10-09. This explanation was generated by AI based on actual official data. Calculations, codes, and verification examples marked separately are for illustrative purposes only and are not the results of direct testing or actual measurements of the user environment. We will re-verify whether there have been any changes to the functions and data on the publication date.
Original illustrations created to help explain this article.
Original on Tistory ↗