Resizing Images with Paint: Distinguishing Between Resolution and File Size
This article was translated from its source language with AI assistance. Please check technical terms and equations against the original.
Key Summary: In Paint, you can change image dimensions to pixels or ratios. Save with a new name while maintaining the aspect ratio, then check the actual pixel dimensions and file size separately. Zooming in is different from changing the original image size.
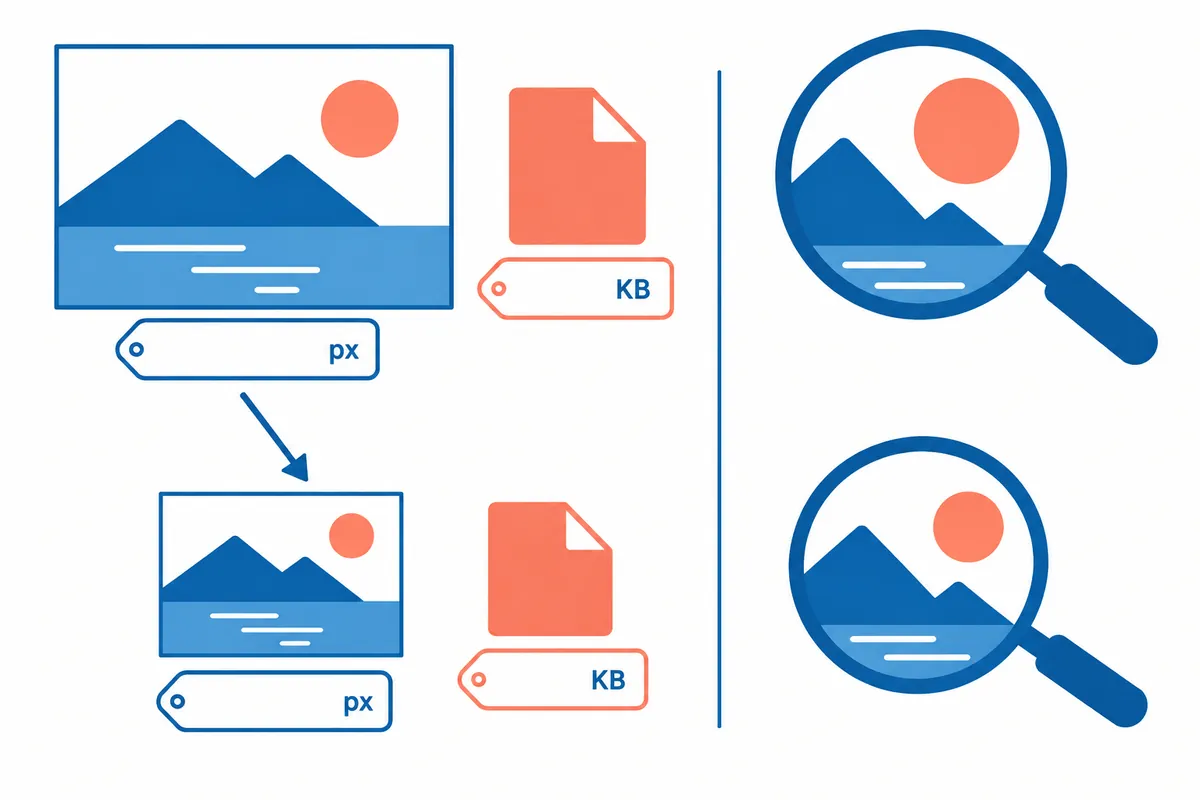
Order at a Glance
This is an illustrative diagram. It is not a screen capture or an actual test result.
1.Original dimensions and purpose records
2.Select Pixel/Aspect Ratio
3.Check horizontal-vertical relationship
4.Save as new name
5.Dimensions, Readability, and File Size Comparison
The term 'image size' involves three things.
The width and height of an image in pixels, the magnification ratio displayed on the screen, and the byte size of the saved file are different pieces of information. Even if you view a 2000×1000 pixel photo at 50% magnification on the screen, the pixel count of the original file does not automatically change to 1000×500. Please distinguish first between the purpose of meeting file size limits and the purpose of viewing the image at a smaller size on the screen.
This article explains the resizing range of Paint and does not edit actual user photos. The dimensions and filenames are hypothetical examples. As the amount of file size reduction may vary depending on content, format, and saving method, a specific percentage reduction is not promised as the actual result.
| Information | Unit or expression | Check Location/Meaning |
| pixel dimensions | Width × Height pixels | Number of samples stored in the image |
| Zoom in on screen view | % | Size visible in the editing screen |
| file size | Bytes · KB · MB etc. | Amount occupied by saved files |
| Horizontal Vertical Ratio | Horizontal / Vertical | Ratio for determining shape distortion |
| Print Size | mm·cm etc. | Review output conditions and pixel information together |
| Crop | Area to leave behind | Excluding part of the original composition |
| Change size | New pixel dimensions | Dimension conversion of the entire image |
| format change | PNG·JPEG, etc. | Distinguishing between storage methods and necessary functions |
Determine the target dimensions first.
First, determine the purpose, such as for blog guide images, messenger transmission, or document insertion, and record the required width, height, or maximum capacity. If the purpose is a width of 1,000 pixels, you can calculate the height that matches the original aspect ratio. If there is only a file size limit, an additional step is required to verify the actual saved size after changing the dimensions.
Captures containing small text become difficult to read if reduced too much. Merely matching the file size does not mean the purpose of conveying information has been achieved. You can check the resulting image at its actual usable size to see if representative text, tables, and lines are visible. If it has not been verified that the same details as the original have been preserved, it is not labeled as "same quality."
Starts resizing from the original copy
Keep the original separately and open a working copy in Paint. Microsoft's official Paint guide explains that when resizing, you can specify new dimensions in pixels or percentages relative to the original. Read about the features and input units in the current app and select the appropriate one for your purpose. The appearance of the menu may vary depending on the version.
When saving, using a new name instead of immediately overwriting with the same filename allows you to compare the failed result with the original. Check the current state to see if the operation can be canceled or reverted, even if the original is open but has not yet been saved. This article does not claim to have experienced restoring a file after overwriting it.
Calculates the aspect ratio to avoid distortion
If the original is 2400×1600, the aspect ratio is 3:2. To maintain the same ratio in a virtual operation where the width is reduced to 1200, the height is 800. If reduced by half in both directions, the total number of pixels becomes 1/4 of the original. This is a pixel count calculation and does not mean that the storage capacity becomes exactly 1/4.
If the aspect ratio preservation feature is visible in the app, check its status, change one dimension, and then read whether the other dimension has been determined as intended. If it is difficult to verify the actual status of the feature, you can manually calculate the new width and height and compare them with the input values. If a value that ignores the original aspect ratio is required, you must distinguish whether stretching or distortion was intended.
가상 크기 계산
Original width = 2400 px
Original height = 1600 px
Aspect ratio = 2400 / 1600 = 1.5 = 3:2
Target width = 1200 px
Target height = 1200 / 1.5 = 800 px

Original pixels = 2400 * 1600 = 3,840,000
Target pixels = 1200 * 800 = 960,000
Pixel-count fraction = 960,000 / 3,840,000 = 0.25

Target width = 900 px → target height = 600 px
Target width = 1500 px → target height = 1000 px

픽셀 개수의 산술 예시입니다. 실제 저장 용량·압축률·화질 측정값이 아닙니다.
Distinguishes between percentage input and pixel input
The example of reducing the width and height by 50% as a percentage and entering 50 pixels wide and 50 pixels high yield completely different results. Please read the current unit selection before entering numbers. The app's screen view zoom of 50% is also separate information from the original image dimensions input of 50%.
Reducing the virtual original 2400×1600 by 50% results in 1200×800. If you are aiming for a width of 1200 in pixel mode, check the height and aspect ratio. How the resulting dimensions are displayed is more important than the fact that the button was pressed. If the value differs from your intent, readjust it based on the original value before saving.
| Virtual Original 2400×1600 | Target Input | Expected dimensions | Interpretation |
| Two directions 50% | Width 50% · Height 50% | 1200×800 | Maintain aspect ratio / Pixel count 1/4 |
| Width 900, maintain original aspect ratio | Width 900 · Height 600 | 900×600 | Maintain 3:2 ratio |
| Width 1500, maintain original aspect ratio | Width 1500 · Height 1000 | 1500×1000 | Maintain 3:2 ratio |
| Width 1200 · Height 1200 | Directly specify two pixel values | 1200×1200 | 1:1 ratio different from the original |
| Edit View only 50% | Screen zoom control | Save, not changing dimensions | Check actual file dimensions separately |
| Expand canvas only | Change workspace around the image | Image content conversion and separate | Check if the total content has increased |
| Double the size of the small original | Width·Height 200% | New pixel dimensions increased | Recovery of lost actual details not guaranteed |
The purposes of cropping and resizing are different.
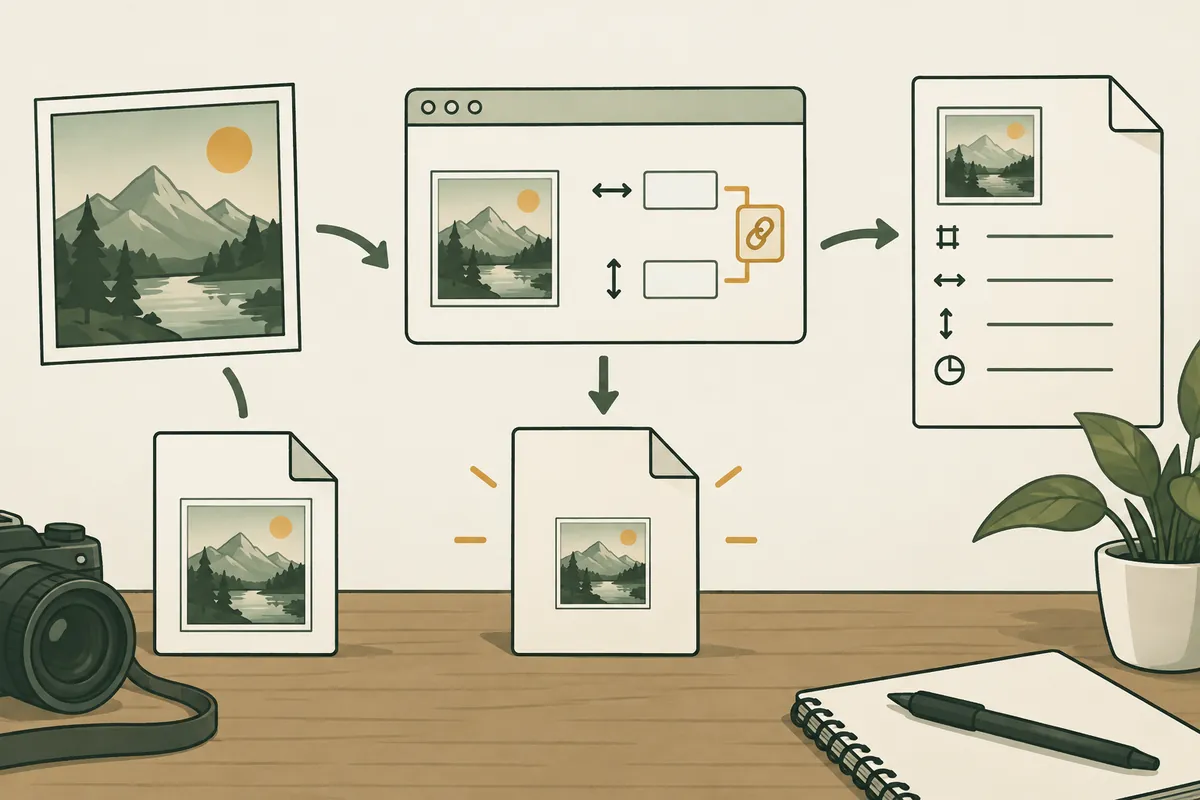
Removing unnecessary edges from an image is a cropping process that alters the composition and remaining area. Distinguish this from converting the entire picture to smaller dimensions. To avoid missing necessary content, first identify the subjects and text to be kept and compare them to the resulting image to ensure they are all included.
For example, the display results of text may differ depending on whether you reduce the empty area around a table or shrink the entire table by half. If you have done both, record the order of operations and the new dimensions. Do not mark results where important headings, units, and footnotes are truncated for simple capacity reduction as complete.
Distinguishes between canvas changing operations and image transformations.
You must verify the actual results to determine if actions such as resizing the workspace or dragging edges in an editing app are equivalent to proportionally recalculating every pixel of the original content. If you want to reduce the entire image, compare the dimensions of the resizing function with the resulting content. If only the margins have been increased, the purpose is different.
If the operation method of the current version is unclear, verify it with minor changes in a copy and compare it to the original before saving. This article does not guarantee that canvas drag behavior is the same in all versions. It is important to read which areas and pixel dimensions have actually changed rather than the menu names.
Select the format according to the required information.
After resizing, also check the save format. The requirements may differ for images requiring transparent backgrounds and regular photos. Since supported information and saving methods may vary depending on the format, please read the options suitable for your purpose and reopen the resulting file to verify. Simply adding an extension to the name does not substitute for the converted result.
When comparing multiple saved copies, note the dimensions and format together. Separating whether the reduction in file size is due to changes in dimensions or the format and saving method serves as a basis for future adjustments. This article does not guarantee the same compression effect or quality across all environments for a specific format.
Check the small text and lines in the resulting image.
If tables, commands, or explanatory diagrams are included, examine the representative text and thin lines in the resulting file. If numbers and characters are indistinguishable during the reduction process, it is difficult to use the image as a useful guide even if the capacity objective is achieved. Check if the necessary parts are readable at the actual publishing size, and if necessary, adjust to larger dimensions or a different configuration.
Enlarging a small original increases the number of new pixels, but it does not mean that details not actually captured have been restored exactly as they were. If the text for your blog is blurry, please check both the original quality and the required output size. The author does not exaggerate by claiming optimization is complete unless they have actually evaluated the quality.
| Check after saving | Data to check | Expression to record exactly |
| pixel dimensions | Display of new file width and height | The actual value read like 1200×800 |
| Original Ratio | Horizontal/Vertical Comparison | Retention or intended change |
| Capacity limit | Actual byte size of the file | Purpose Limitation Satisfied / Not Satisfied |
| Readable | Representative Characters·Tables·Lines | Parts directly verified and unverified range |
| Required functions such as transparency | Open new file in the app | Whether to maintain required functionality |
| filename | Distinguishing between original and copy | Whether to preserve the original and the location of the copy |
| Posting result | Actual screen size | Separation of local verification and web upload verification |
For multiple images, first classify them by purpose and original size.
A single reduction value is not suitable for all images. Separate photos, charts, and captures with different original dimensions and uses, and check the results in a representative file. If batch changes are necessary, you can read separately about the support range of official tools like Microsoft PowerToys Image Resizer, but do not mix them with the Paint operations described in this article.
Before saving all files at a single size, establish a standard to maintain aspect ratio and readability. Enlarging even small original images by the same width can lead to the misconception that the amount of information has increased. This article is not a report on the installation or execution of batch tools, and official sources were included to verify the range of alternatives.
The completion record retains both dimensions and the actual file size.
Record the source dimensions, target dimensions, result filename and actual byte size, and the readability of the representative content. Also, distinguish between the state of the local file when completed and the state when uploaded to the blog and displayed at the intended size. If you have not checked the upload result, write "Prepared local copy."
The official Microsoft guidelines serve as the basis for Paint's size changes and the scope of batch tools, while the ratio and pixel calculations and checklists were created by me. I have not claimed success in actual user photo editing or web uploads. If the purpose is clear, you can work while verifying screen magnification, dimension conversion, and file size adjustment separately.
Official Source and Verification Scope
Official data verified on: 2026-10-08. Items re-verified on publication date: Current Paint size change UI · pixel/percentage · ratio status, save format and actual dimensions · capacity. Web uploads must be verified separately.
AI Authoring Assistance. The examples, figures, and work records in this text are explanatory examples created by the author. They are not presented as experiences performed in actual user environments or measurement results.
Original illustrations created to help explain this article.
Original on Tistory ↗