When a Projector Shows No Picture: Duplicate, Extend, and Input Sources
This article was translated from its source language with AI assistance. Please check technical terms and equations against the original.
A blank projector after connecting HDMI can prompt rushed setting changes. First distinguish what appears: “No signal,” an empty desktop, the wrong window, and a black screen are different symptoms. Identifying the failed stage changes the checking sequence.
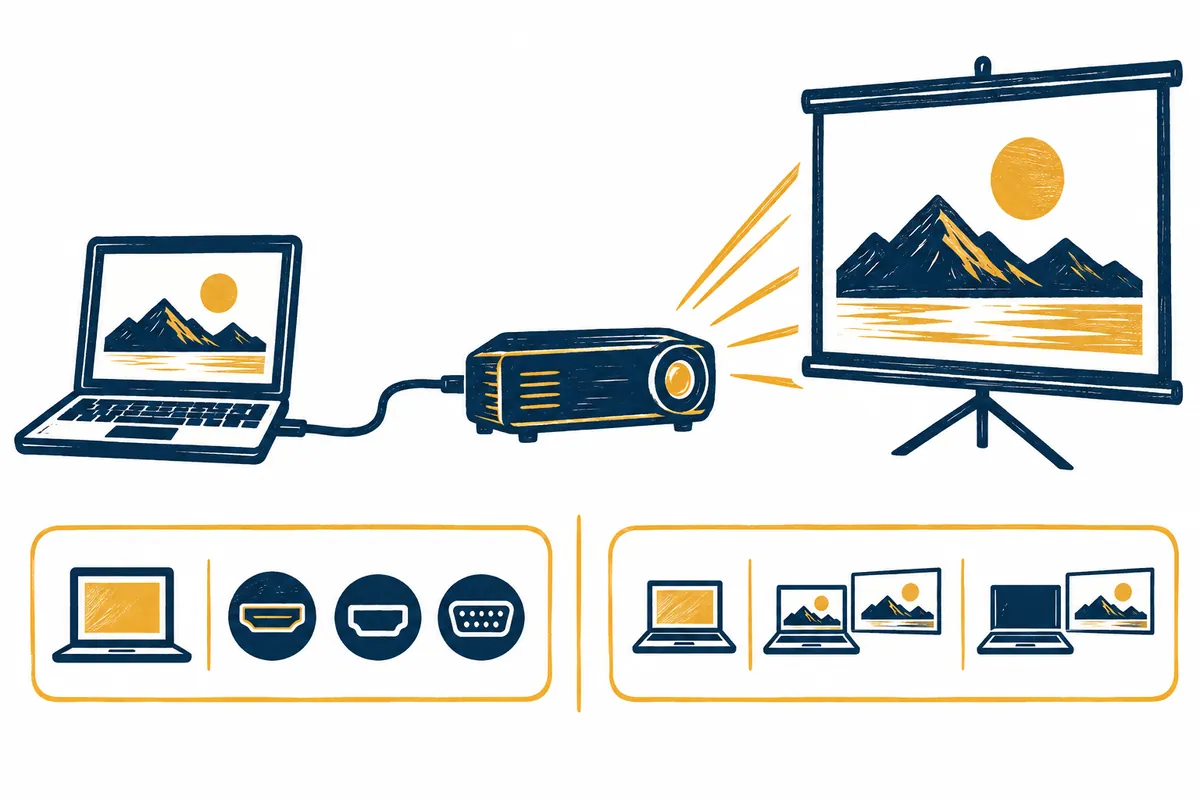
This procedure connects Windows PCs with external video devices. Follow model-specific guidance for input menus and buttons. Connection and presentation cases are illustrative, not tests in actual rooms or products. Confirmed video does not establish correct audio.
Narrowing projector connection problems
1 → Distinguish no signal, desktop, and window position
2 → Compare cable terminal and projector input
3 → Choose Windows display mode for the purpose
4 → Verify actual display of shareable sample material
5 → Compare connection elements individually and record changes
1. Separate four current-screen observations
For “No signal,” identify the expected input. A visible projector menu establishes that its menu displays, not that PC video is transmitted. Compare the connected terminal with the selected input.
A Windows desktop without presentation content may mean part of the video route works. Check extended workspace and whether the window stays on the laptop. Immediately blaming the cable can unnecessarily alter a working connection.
| Observation | First stage to check | What it alone does not establish |
| No-signal message | Terminal, selected input, and PC output | Projector failure |
| Only desktop appears | Extend/duplicate mode and window position | Complete cable failure |
| A different window appears | Presentation program's display selection | Incorrect Windows display numbers |
| Picture present, no sound | Check audio separately | Need to rebuild the video connection |
Record exact displayed messages instead of “no picture.” Note HDMI 2, no signal after a logo, or desktop background. Comparing changed observations after actions narrows the cause.
2. Align cable terminals and input sources on one route
Trace laptop output, adapter, cable, wall socket, and projector input in order. “HDMI cable” alone does not identify the current input. A connection to HDMI 1 needs a matching selection.
Epson's no-signal guidance describes Source Search and checking connections and source-device state. Models without that button need their own input menu. Confirm both terminal names and selection methods in model guidance.
Suppose a wall HDMI socket connects to projector HDMI 2 but HDMI 1 is selected. Choose the appropriate input and observe. If unchanged, record input checked and proceed to PC output. Do not reset all shared room settings before identifying the cause.
3. Choose Windows mode for the presentation purpose
Microsoft describes Windows+P choices: PC screen only, Duplicate, Extend, and Second screen only. Duplicate suits the same content; Extend suits separate workspaces. Read the current mode and change only the needed option.
For a simple presentation visible on laptop and projector, consider Duplicate. For presenter notes separate from audience content, inspect Extend and the program's output selection together. Who should see which content matters more than a universally best mode. Check program behavior in its own guidance too.
Second screen only can hide laptop information, so consider whether another display route is already confirmed. During urgency, first inspect video while retaining laptop access to settings and material, then choose the final configuration. Record changed mode and reason for restoration.
4. Check window position using a shareable first slide
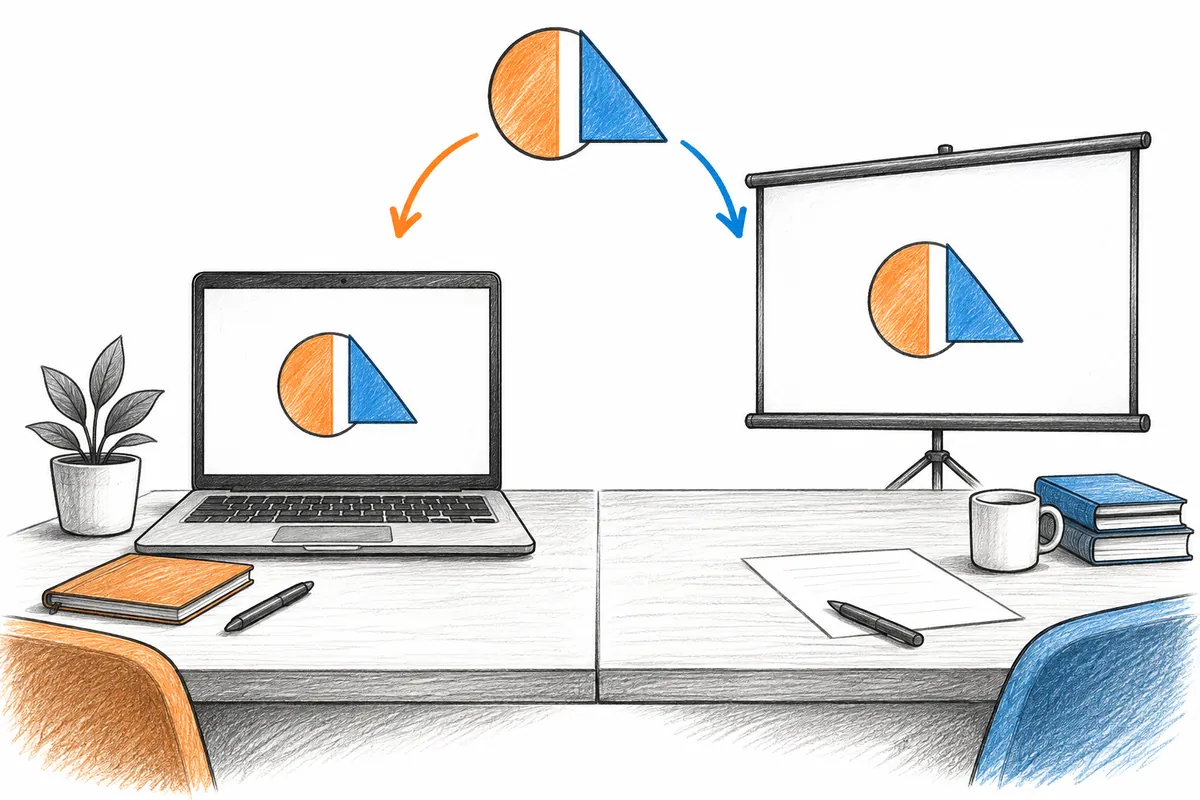
Once video appears, display a first slide safe for the audience. An empty extended display can mean content has not moved there. Choose the audience output in the presentation program or inspect window position. Display recognition and the program's selected output are separate results.
For illustrative practice, use a title-only slide. Verify laptop notes and audience output separately, including that private documents and messages do not appear publicly. In Duplicate, organize windows for shared viewing. Do not mark readiness before actually checking.
Record cases where desktop appears but particular video does not separately. Comparing ordinary documents helps separate basic connection from program/content display issues. Consult relevant service and program guidance for restrictions or playback errors; one input selection does not solve all of them.
5. Check adapters and cables one stage at a time
Microsoft suggests checking cables, comparing functioning cables or ports, and disconnecting unnecessary peripherals. Change one stage at a time. If replacing both cable and adapter fixes it, the responsible element remains undetermined.
For USB-C arrangements, inspect model specifications for necessary video support through laptop, adapter, and projector. Matching shapes do not establish video compatibility. Record adapter product name and input/output descriptions for finding exact guidance.
A hypothetical route is “laptop→USB-C adapter→HDMI cable→wall socket→projector.” If authorized direct comparison is possible, record the shorter route's result. Success supports examining intermediate elements but does not prove a faulty wall socket.
| One comparison | Conditions to retain | Difference to record |
| Another HDMI cable | PC, input, and display mode | Signal message and actual picture |
| Direct route | Same PC and projector where possible | Presence of intermediate devices |
| Another output port | Same cable and material where possible | Recognition and video result |
| Another PC | Same input and video route | Which device the issue follows |
Without substitute parts, leave comparisons unverified. Assuming a cable works differs from confirming it elsewhere. Tell device staff the inputs and routes already checked to reduce repeated work.
6. Separate recognition failure from display-mode issues
Check for external screens in Windows display settings. If rectangles appear, compare mode and window location first. If absent, check connection/support then consult Detect. Identify displays recognized screen numbers; Detect searches for connected screens.
If absent still, collect PC, OS, adapter, projector, and displayed-message details for matching manufacturer guidance. Driver removal or shared-projector reset before presenting can take recovery time; consider diagnosis and presentation needs together.
For recurring route-specific issues, list normal and failing conditions. If identical PC/content works directly but the wall route says no signal, that difference is the next check. Leave untested causes as candidates rather than declaring component failures.
7. Finish and restore for the next user
Prepare material and alternative display routes beforehand. Alternative PDFs still require opening and page checks; creation alone does not verify room connectivity. Choose feasible checks within remaining time and record unresolved issues alongside the presentation method.
At completion, save material and close public windows. Restore PC mode and arrangement for ordinary use. Restore changed shared input according to room guidance and record the input used. Finish based on changed items rather than resetting the entire device.
Notes for next time should include route, input, Windows mode, actually displayed first slide, and remaining problems. Another PC or adapter needs fresh checks even in the same room. Align input, choose mode, and directly inspect public content as practical preparation.
Official guidance and writing standards
- Microsoft: Troubleshoot external monitor connections in Windows
- Microsoft: How to use multiple monitors in Windows
- Epson: Solutions When No Signal Message Appears
References checked: 2026-10-06. This explanation was written with AI assistance after checking the official guidance below. Cases and records are illustrative, not direct measurements or tests on a particular PC. Windows builds, manufacturers, and management policies can alter screens and menu names. Current official guidance was rechecked during publication preparation.
Original illustrations created to help explain this article.
Original on Tistory ↗