Vector or raster? Choosing files for logos, photos, and explanatory graphics
This article was translated from its source language with AI assistance. Please check technical terms and equations against the original.
A graphic that looks sharp on a small screen can become blurry on a poster when its storage method and final size are overlooked. Neither vector nor raster is always superior. Choose according to the content, what you expect to edit, and the size at which the result will appear.

Store pixels or store shapes?
Raster represents an image as a pixel grid; vector represents it through shapes such as lines and curves. Raster suits the complex colour and texture of photographs, while vector is convenient for simple logos and icons that will change size repeatedly. See Adobe's raster and vector guide for the basic distinction.
A vector line retains its shape information when resized. A display still renders it into the pixels that the device can show, however, so a tiny icon's thin lines are not guaranteed to remain visible. Suitability for enlargement and legibility at a small size need separate checks.
Try the same graphic at three sizes
Imagine an explanatory diagram consisting of an arrow and three circles. If it will appear in a blog post, a presentation, and a printed poster, keep a source file with editable shapes and text. You can then change the arrow direction or wording even after creating a distribution image.
For a photograph of a real desk, examine the pixel dimensions first. Displaying a 1,200-pixel-wide image at 600 pixels is different from stretching it to 2,400 pixels. Interpolation can calculate additional pixels, but it does not automatically create accurate detail that the camera never captured.
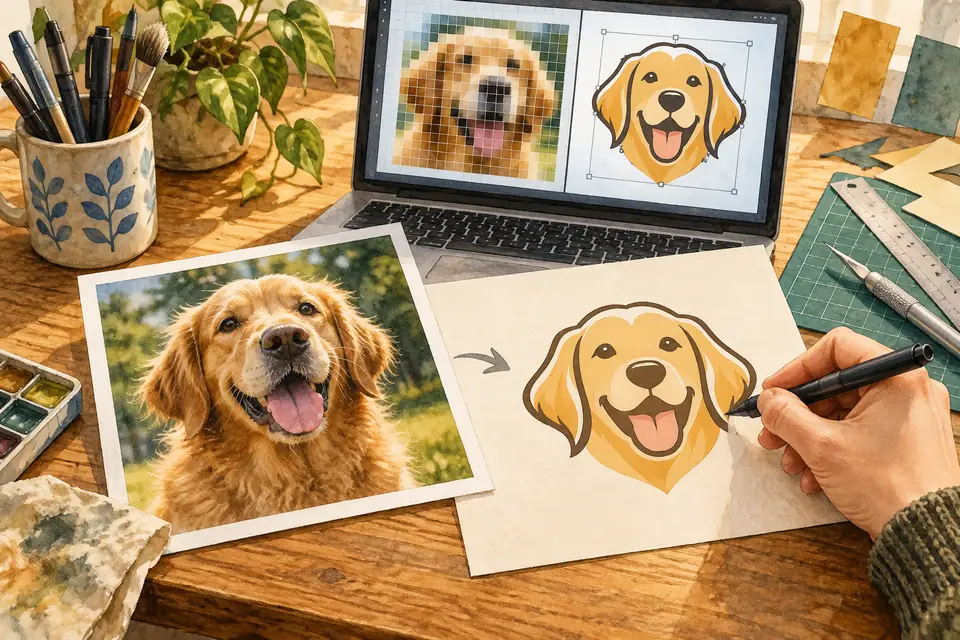
Do not trust the SVG or PDF label alone
An SVG can contain raster images. Placing a photograph in a vector document does not remove the photograph's enlargement limits. The W3C SVG specification's image element explains how this mixture is possible. A PDF can also contain both vector and raster content.
Inspect a supplied file by zooming in on its edges and photographs separately. In an editor, check whether lettering is live text or converted outlines and whether images are externally referenced. The extension is a starting point; the contents determine what you can actually edit.
Prepare separate source and distribution files
Keep reusable structures such as shapes, layers, and editable text in the source, then export an appropriate size and format for each destination. Even simple-looking artwork is not guaranteed to produce a smaller vector file. Many complex paths and effects can increase its size, so compare the actual files.
Make the final check at a reduced size. When the graphic fits the post's width, can you read the labels, distinguish lines from the background, and still see thin strokes on mobile? The size readers encounter matters more than a large working preview. Managing photos with suitable pixel dimensions and diagrams with editable structures also makes the next task easier.
Original illustrations created to help explain this article.