Before Blurring the Background: Separate Focus from Depth of Field
This article was translated from its source language with AI assistance. Please check technical terms and equations against the original.
Focus placement and the sharp range are different questions
A photo may show one object sharply while the background is blurred. Focus placement asks which distance you focused on. Depth of field asks how much of the scene in front of and behind that distance appears sufficiently sharp. Separating the ideas helps distinguish a misplaced focus from an intentionally blurred background.

Sufficient sharpness also depends on viewing size and your criteria. An edge that looked acceptable on a small screen may look soft when enlarged. Think of depth of field as a range of useful sharpness, rather than a solid wall beyond which the picture suddenly becomes poor.
One aperture number does not decide everything
With other conditions unchanged, a larger opening—a lower f-number—tends to make depth of field shallower. Stopping down tends to widen the range that appears sharp. Adobe's depth-of-field lesson demonstrates aperture and focus placement together. Shooting distance and focal length matter too.
Avoid assuming that f/2.8 always gives the same amount of background blur. Different cameras, lenses, subject distances, background distances and framing can produce different results at the same f-number. The depth-of-field section of Nikon's F6 manual also explains distance, focal length and aperture together.
Observe focus movement with three books
Stand three books at different distances from the camera, framing them so all are visible. Keep the camera position fixed, focus on the middle book and take pictures at different apertures. Compare which lettering can be read in each image. This makes the change in depth of field tangible. Also notice whether the camera changes shutter time to maintain exposure.
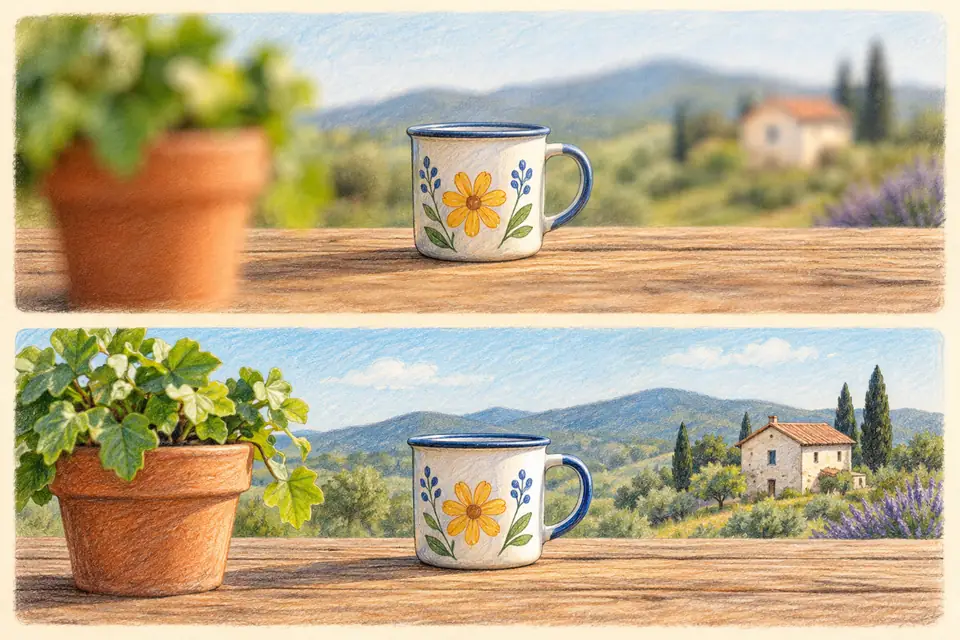
Next, keep the aperture fixed and move focus from the nearest book to the farthest one. This does not automatically widen the sharp range: it changes where that range sits. Record exposure and shooting conditions so you do not confuse the two experiments. Decide which object should remain sharp before seeking dramatic background blur.
Separate possible reasons for softness
Background defocus and movement during exposure are different effects. If the focused area is sharp but nearer and farther objects are soft, examine depth of field and focus placement. If edges across the image stretch in one direction, camera or subject movement is another candidate. These clues do not establish the cause on their own, but they help choose the next setting to change.
- Check that the most important object is in focus.
- If other distances matter, review aperture and distance conditions.
- After stopping down, check whether shutter time became too long.
More background blur is not a universal measure of a better photo. Emphasizing part of a dish and explaining an entire room require different sharpness. Check the image at its publication size and ask whether readers can recognize what they need to see.
Original illustrations created to help explain this article.