Windows 11 Snap Layouts: Comparing Two Documents Side by Side and Restoring Your Workspace
This article was translated from its source language with AI assistance. Please check technical terms and equations against the original.
Constantly switching windows while reading and taking notes or comparing documents can make you lose context. Windows 11 Snap arranges multiple windows in defined screen areas. Start with two side-by-side windows and check whether text and menus remain sufficiently visible on your screen.
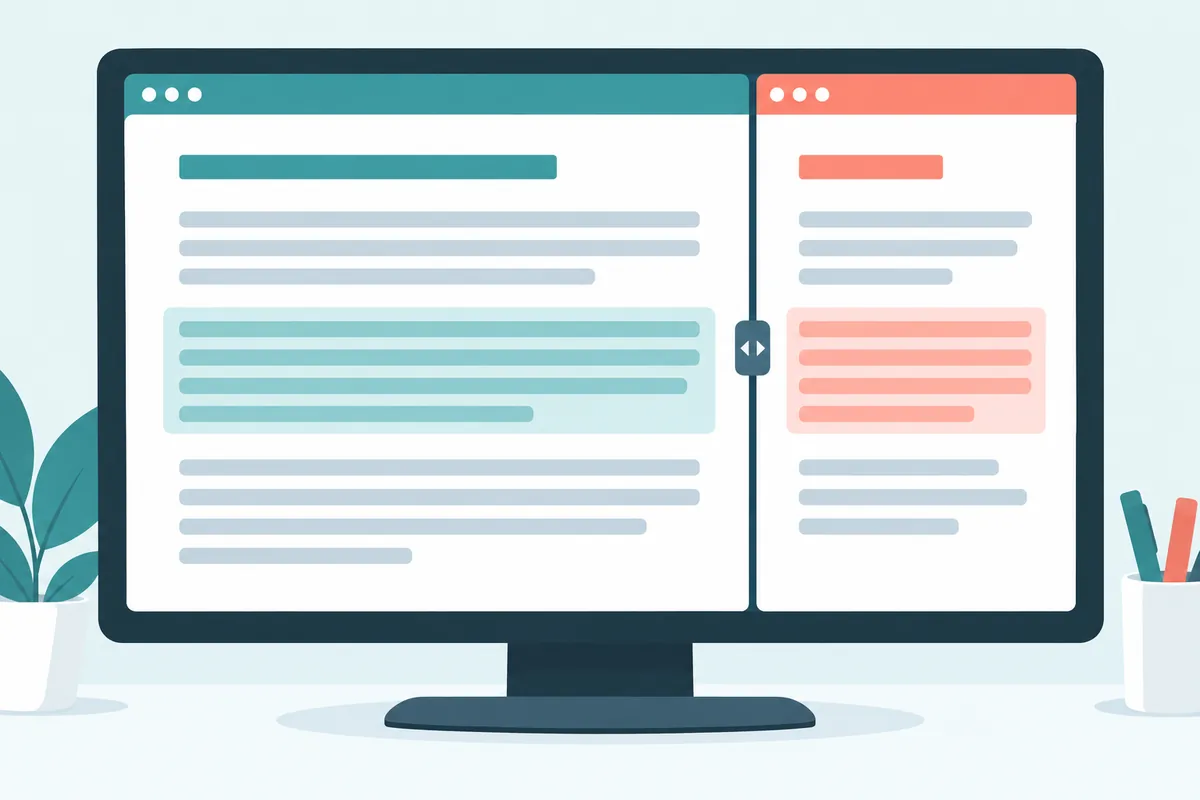
Opening many windows is different from arranging them effectively. Four windows on a small screen may show every comparison target but make contents hard to read. This article explains basic snapping, layout selection, boundary adjustment, returning to groups, and restoring normal size.
1. Snap organizes window size and position on the current screen
Snap places open windows in left, right, corner, or other screen regions. Its role differs from dividing work through virtual desktops. Snap directly supports comparing two sources on one screen; separating different task groups may involve other management methods too.
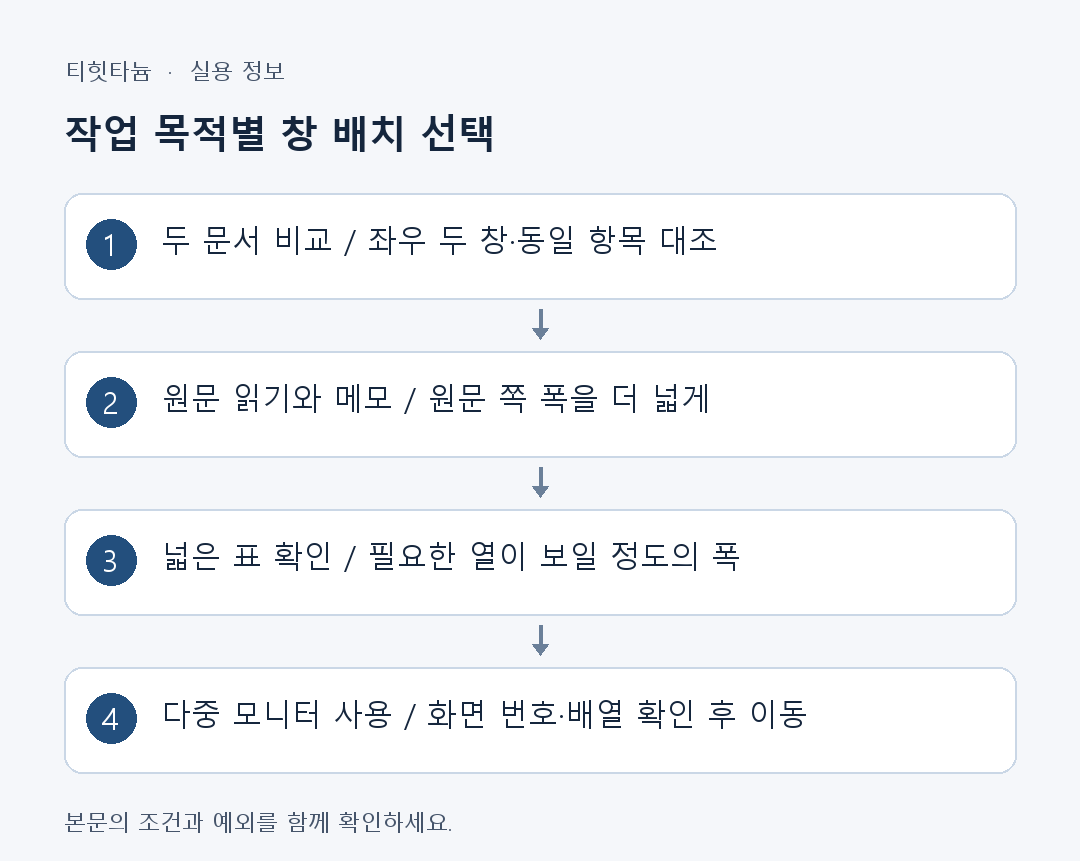
| Task purpose | Initial layout to try | Reading criterion |
| Compare two documents | Two side-by-side windows | Can you see the same item simultaneously? |
| Read sources and take notes | Give the source window more width | Are original sentences cut off? |
| Check tables and write explanations | Allow sufficient table width | Are required columns visible together? |
| Manage different tasks separately | Consider other workspaces as well as window arrangement | Is the goal simultaneous comparison or task separation? |
These are usage examples, not measured productivity gains. To judge speed, observe window-switching frequency and readability in actual work. Prioritize enough width for needed content over the number of windows initially.
2. Arrange two windows with shortcuts
- Open the two apps or documents to compare.
- With the first window selected, press Windows key + Left arrow.
- If Snap Assist asks for another window, select the second.
- Alternatively, select the second directly and press Windows key + Right arrow.
- Check titles and contents and align comparison items at similar positions.
Shortcuts apply to the selected window. When writing in a browser field before arranging windows, check that the intended window is active. If an unexpected window moves, first identify the active app.
To compare two documents in the same app, they need separate windows to snap individually. Two tabs in one browser window differ from two separate windows. Check the app's menu or official guidance for opening multiple windows.
3. Arrange with the mouse and Snap Assist
Drag the title bar toward the screen's left or right edge to display the target region. Check that the translucent preview is where you want it, then release. Choose the accompanying window from the thumbnails that appear.
Do not grab document content or the scrollbar when dragging; select the top title area to move the whole window. If no preview appears near the edge, check Snap settings and compare with an ordinary readable app window.
Corner layouts use smaller regions. They can suit short notes but provide insufficient width for tables or long documents. Windows need not all have equal sizes; the goal is minimum necessary reading space.
4. Choose a Windows 11 Snap layout
Hover over Maximize or press Windows key + Z to open layout selection. Select a region to place the window, then choose windows for remaining regions.
Available layouts can vary with screen size. Do not assume every arrangement shown on another PC appears on yours. Start with two windows among supported options and expand when more are needed.
| Selection method | Advantage | Point to check |
| Windows key + arrow | Quickly start a two-window layout | Whether the intended window is selected |
| Hover over Maximize | See available layouts | Whether the app and settings show the selection view |
| Windows key + Z | Open layouts with the keyboard | Menu in the current Windows version |
| Drag the title bar | Choose position directly | Whether the preview is on the intended screen |
Consider document width rather than choosing only by layout appearance. Reading a source with short notes may suit a wider source pane; comparing matching tables in two contracts may suit equal widths.
5. Adjust boundaries for readable width
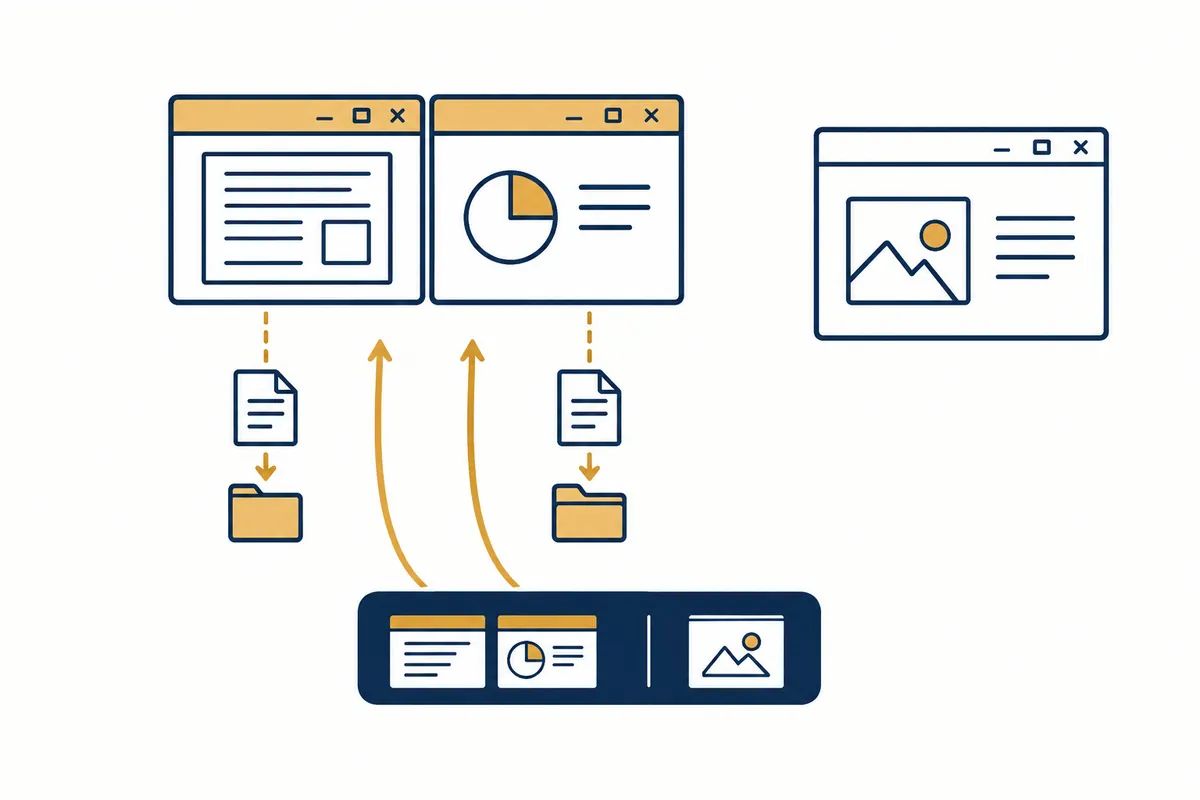
Hover between arranged windows and check for a resize indicator. Drag the boundary to widen the needed side. Check whether adjoining windows resize together under current settings and app constraints.
If larger text is necessary, consider app zoom and arrangement rather than further dividing windows. Persistent horizontal scrolling can indicate insufficient width. Showing many windows at the cost of reading space is not always efficient.
For an illustrative trial, arrange a source and notes, read one paragraph, and write its key point. Adjust widths if paragraphs keep getting cut off or note menus disappear. This finds a suitable workspace, not a measured productivity result.
6. Snap groups versus app windows
Windows 11 can reselect arranged windows as a Snap group. Hovering over an app on the taskbar may offer return to the group, and related settings affect Task View or Alt+Tab display.
Returning to a group does not save several apps' documents as one file. Manage each app's document saving and account state separately. Convenient arrangement does not justify closing unsaved documents.
Check whether a taskbar preview opens one document or the group. With similar documents open, compare titles to avoid arranging the wrong sources together.
7. Check screen position with multiple monitors
For two monitors, compare Windows display arrangement with their physical desk positions. Identify screen numbers and left/right order. A physically right-hand monitor configured to the left can make dragging behave unexpectedly.
Start by arranging two windows within one screen. After verifying this, move them to the other screen. Different resolutions or scaling can change window size and reading experience; do not expect identical appearance.
| Problem | First check | Comparison method |
| Window goes to an unexpected screen | Display arrangement and selected window | Identify screen numbers and move one window |
| Different layout choices | Screen size and current Windows environment | Start with two windows using current choices |
| One app resists the intended size | That app's window-size constraints | Compare another ordinary app |
| Excessive horizontal scrolling | Document width and app zoom | Reduce window count or widen the needed side |
8. Snap settings and restoring the original arrangement
Under Settings → System → Multitasking → Snap windows, enable Snap or inspect detailed behavior. Read current descriptions for suggestions of neighboring windows, layouts on Maximize, and previews when dragging upward before choosing.
One annoying detail does not require disabling all Snap. Record existing values and try changing only that display option. If nothing changes, restore the original and inspect app-specific window behavior.
To use a snapped window normally again, drag its title bar elsewhere or use Restore. Exact return to previous size depends on window state. Close is different from canceling arrangement; do not close unsaved documents to restore layout.
- Are comparison materials in separate windows?
- Is there sufficient width to read text, tables, and menus?
- Did you distinguish group selection from saving documents?
- Are multiple-monitor arrangement and target screen correct?
- Did you record trial settings so you can restore inconvenient changes?
Official sources and writing basis
- Microsoft — Snap windows and layouts
- Microsoft — Windows keyboard shortcuts
- Microsoft — Use multiple monitors
Sources checked: October 3, 2026. Written by AI using official Microsoft guidance, with content and sources reviewed. Cases and inspection records help readers assess their situation; they are not measurements or tests on a particular PC. Screens and menu names may differ with the Windows build, manufacturer, and management policy.
Original illustrations created to help explain this article.
Original on Tistory ↗