When Windows 11 Brightness Controls Do Not Work: Checking Laptop and External Displays Separately
This article was translated from its source language with AI assistance. Please check technical terms and equations against the original.
If brightness buttons do not change the screen or Windows has no slider, first identify whether you are adjusting the laptop's built-in panel or a separate monitor. An external monitor may be functioning normally without a Windows brightness slider. The laptop brightness key may also control a different screen from the one you are viewing.
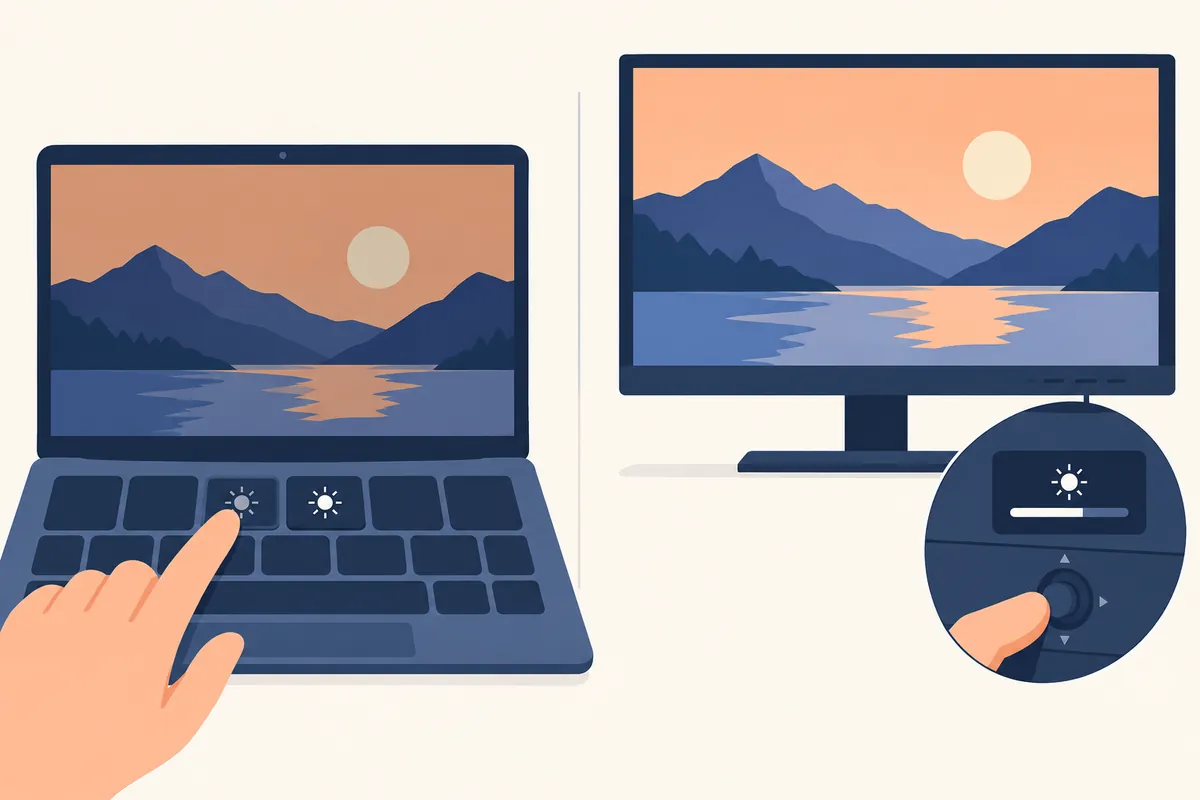
The goal is to distinguish user-adjustable settings from automatic changes rather than maximize brightness. A defined checking order reduces changing unrelated drivers or color settings simultaneously. Windows 11 is the main reference; some screen names differ in Windows 10.
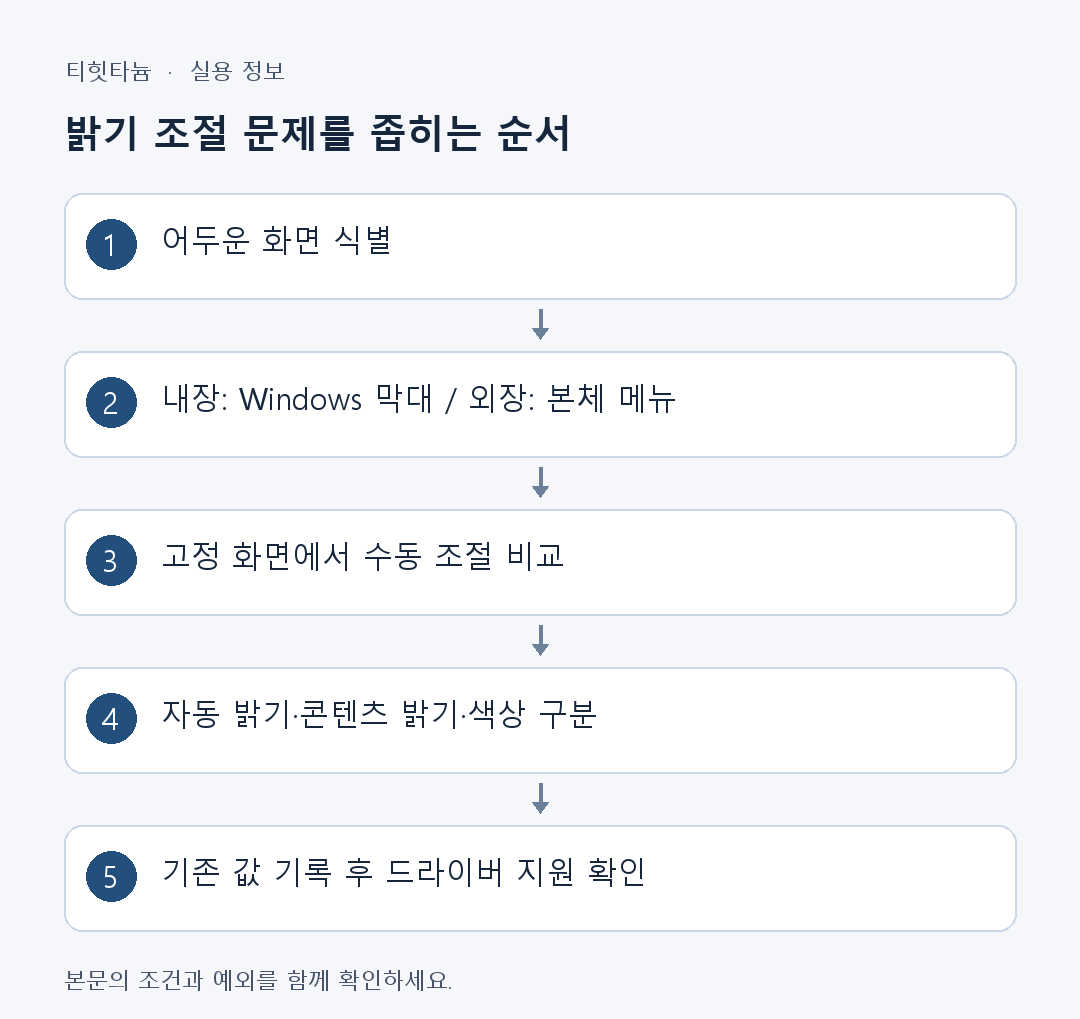
1. Identify which screen is dark
Inspect the laptop panel and the external screen connected by HDMI, DisplayPort, or USB-C separately. Use Identify in display arrangement to check numbers, select the corresponding screen, and then read settings. Multiple screens make it easy to record one screen's result for another.
| Observed situation | First location to check | Judgment criterion |
| Only laptop panel is dark | Brightness in Windows Display settings | Observe slider movement and actual screen change separately |
| Only external monitor is dark | Monitor button or joystick menu | No Windows slider alone does not establish a fault |
| Brightness is adequate but colors are yellowish | Night light and monitor color temperature | Separate light intensity from color |
| Brightness changes with video scenes | Content-based brightness and HDR | Compare whether a fixed document changes too |
Record power connection and ambient lighting first. Battery-only changes and changes occurring always require different checks. “White document on built-in laptop screen; no brightness change even plugged in” is clearer than “everything is dark.”
2. Adjust the built-in screen directly in settings
- Save work and open a white-background document or settings screen for comparison.
- Open Settings → System → Display and select the built-in screen.
- Move brightness gradually and check both the displayed value and actual screen.
- Compare keyboard brightness-key results with the settings slider.
- If only one method works, use it temporarily and check keyboard functions or manufacturer guidance separately.
Brightness-key symbols vary by manufacturer and may require Fn. Do not treat the combination as universal across Windows. The slider may work despite an unresponsive key indication. If the indicator moves but the screen stays unchanged, inspect display control rather than just the shortcut.
Keep the same document instead of moving video. Changing contents mixes image differences with brightness changes. Phone photos also change under automatic exposure, so a brighter photo does not establish correct display adjustment.
3. Start with the external monitor's own menu
Without Windows brightness control, locate monitor buttons or joystick underneath or behind it. Check the manual for brightness, contrast, and picture modes. Finding buttons differs from factory resetting. Record current values and mode, then change brightness only.
If laptop keys affect the panel but not the external display, they use different control paths. Check the monitor menu rather than seeking a reason to reinstall Windows. Separate control-software support depends on monitor and connection; assess after checking the device menu.
TV or specific picture modes may restrict items. Note the mode and read instructions before changing. For color-configured work monitors, record only the changed brightness so it can be restored rather than resetting everything.
4. Separate automatic and content-based brightness
Supported PCs can change brightness with ambient light. Some Windows 11 PCs also adjust panel brightness and contrast according to contents. These operate under different conditions. Observe whether changes follow darker surroundings or changing video/window contents.
Check corresponding options under Settings → System → Display → Brightness. Their absence does not mean Windows was installed incorrectly; support differs. For checking, record existing settings, temporarily disable one function, and compare the same screen.
| Comparison item | Conditions to hold constant | Result to record |
| Automatic brightness | Open document and slider value | Whether lighting changes alter the screen |
| Content-based brightness | Power and ambient lighting | Changes between white documents and dark windows |
| Battery state | Same screen and settings | Difference before and after plugging in |
| Night light | Brightness slider value | Distinguish warmer color from light intensity |
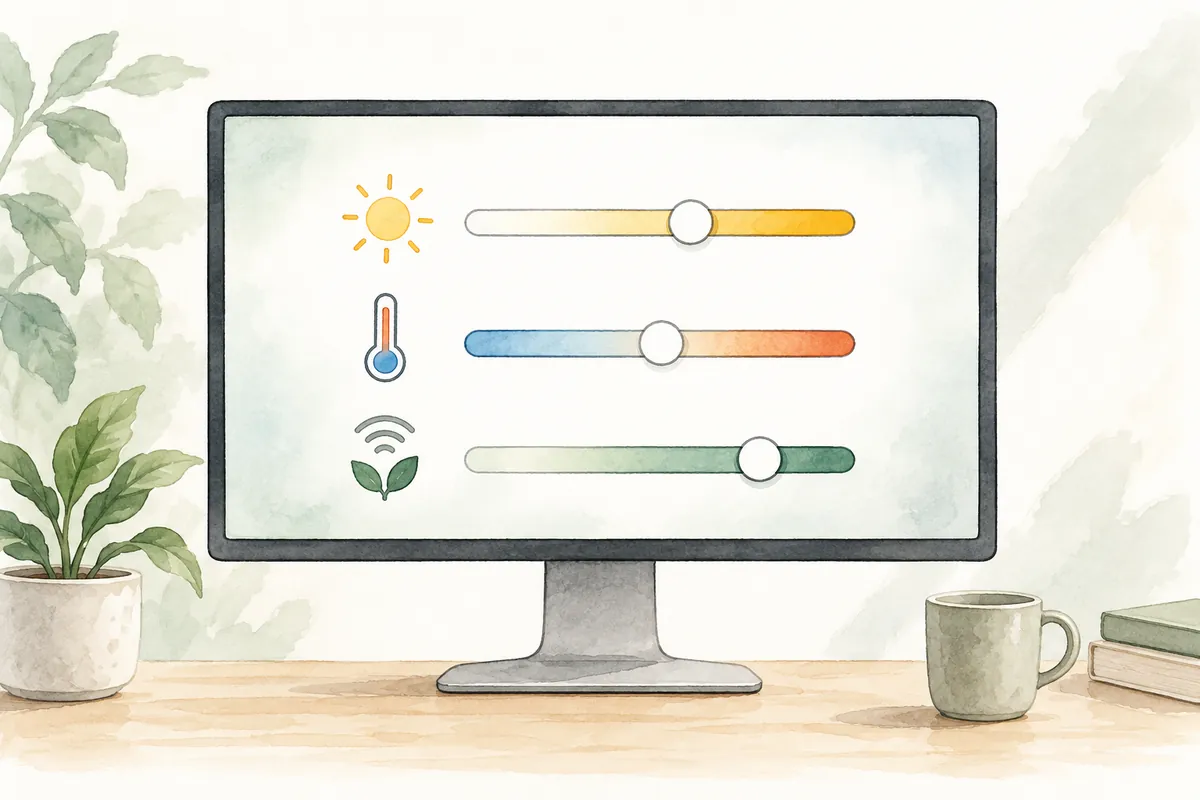
Disabling automatic adjustment does not guarantee comfort or longer battery life for everyone. Manual brightness may need readjustment as surroundings change. Compare original settings after testing and choose what suits work. Stable screens can help photo editing, but accurate color judgment is a separate color-management issue.
5. Do not mistake HDR or Night light for brightness failure
HDR can make video and ordinary desktop brightness feel different. Night light warms screen colors. Disabling both is not universally correct. Define whether the purpose is document reading or HDR viewing and identify the affected app and screen.
If colors become yellowish at a fixed time, check Night light scheduling. Raising brightness fully need not change color. Compare Night light on/off and retain original schedule and strength values before adjusting.
For HDR-only problems or disabled items in monitor HDR mode, read official Windows HDR guidance and the monitor manual together. Arbitrarily deleting color profiles or changing gamma through several programs makes causes harder to narrow.
6. Record information before checking drivers
If the built-in slider disappears or adjustment repeatedly fails, check model-specific display driver guidance through Windows Update and manufacturer support. Record adapter name and driver information in Device Manager first. Downloaded drivers must match model, Windows version, and architecture.
Official documentation below describes Device Manager updating. Do not run unknown installers merely from a driver-download search result. For managed work PCs, provide device name, onset, and slider presence to the administrator instead of arbitrary installation.
Do not change several drivers together. If restart is requested, save work and compare under identical conditions afterward. Rollback availability depends on environment; do not assume restoration is always possible.
Final check: recording resolution
An illustrative record is “Built-in screen, battery power, settings slider works, keyboard alone fails.” This narrows the next check to shortcuts or manufacturer functions rather than display control. “External screen, no Windows slider, device menu works” means a basic adjustment route was found. These are not actual measurements.
- Did you note which app and screen were used?
- Did you distinguish indicator movement from actual display change?
- Did you change one setting at a time and retain old values?
- Did you restore trial settings you will not use?
- Can you organize model and symptoms for manufacturer support if failure continues?
Brightness numbers are not a common scale across monitors. Identical numbers do not establish equal brightness. Adjust for comfortable reading in actual conditions rather than seeking one fixed correct value.
Official sources and writing basis
- Microsoft — Change screen brightness and color
- Microsoft — Use multiple monitors
- Microsoft — Update drivers in Device Manager
Sources checked: October 3, 2026. Written by AI using official Microsoft guidance, with content and sources reviewed. The cases and inspection records help readers assess their situation; they are not measurements or tests on a particular PC. Screens and menu names may differ with the Windows build, manufacturer, and management policy.
Original illustrations created to help explain this article.
Original on Tistory ↗