Windows 11 Virtual Desktop Shortcuts: Divide Your Work Windows into Two Spaces
This article was translated from its source language with AI assistance. Please check technical terms and equations against the original.
Windows 11 virtual desktops group open windows into task-specific spaces. If writing and reference windows are mixed together, start with two spaces, “Writing” and “References.” The key is deciding where windows belong and learning to find them again, rather than creating many desktops. Below are shortcuts, window-moving procedures, display-scope settings, and fictional practice examples.
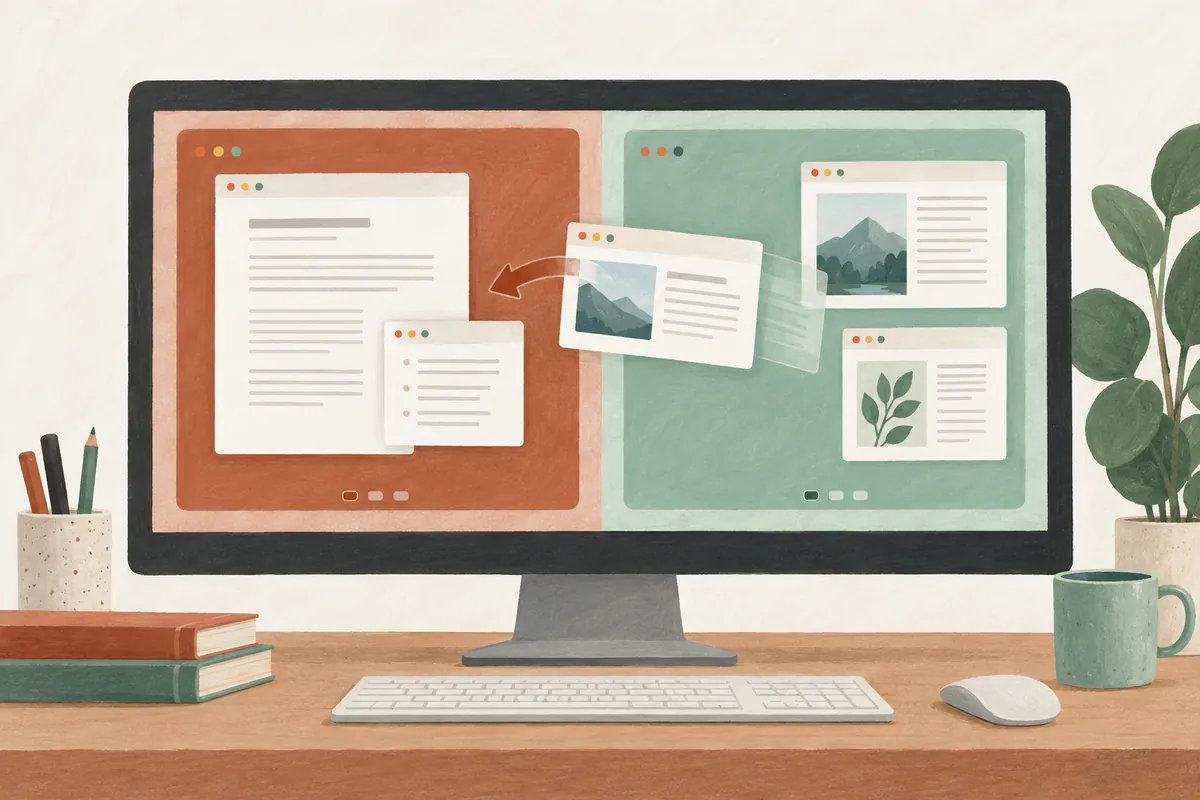
1. Four Shortcuts and Commonly Confused Keys
| Shortcut | Action | When to use |
| Windows + Tab | Open Task View | Check desktops and window locations |
| Windows + Ctrl + D | Create a new virtual desktop | Prepare a new workspace |
| Windows + Ctrl + ← / → | Switch to the left or right desktop | Move quickly between two spaces |
| Windows + Ctrl + F4 | Close the current virtual desktop | Clean up a finished workspace |
These combinations appear in the Microsoft Windows keyboard-shortcut documentation. Arrows in the table mean keyboard arrow keys. Hold Windows and Ctrl while pressing the final key, rather than pressing and releasing all three in sequence. Opening Task View to check the current desktop count first makes mistakenly created spaces easier to find.
Windows + D shows the desktop; Alt + F4 closes the active window. Distinguish these from creating or closing a workspace. Practice closing shortcuts only with no unsaved documents. If function keys perform other actions on your keyboard, check Fn settings and function-key usage too.
2. Create and Name Two Spaces
- Press Windows + Tab to open Task View.
- Select New desktop. Check that both the current and new desktops appear.
- Select desktop names and rename one “Writing” and the other “References.”
- Select “Writing” and prepare the writing app, then switch to “References” and prepare reference windows.
For creation and renaming, refer to Microsoft's multiple-desktop setup guide. Names reflecting purposes last better than app names. “Check references” instead of “Browser,” or “Write report” instead of “Document program,” preserves the space's role even when apps change.
Creating six workspaces immediately may increase the burden of remembering window locations. Start with two and keep frequently co-viewed windows together. A table whose figures need constant comparison while writing may belong beside the writing window rather than in References. Check whether switching interrupts your work.
3. Move Open Windows to Another Desktop
Microsoft's multitasking guide describes dragging windows in Task View onto a target desktop preview or choosing a destination from a window's right-click menu. This does not reinstall apps or move files to another folder.
- Open Windows + Tab on the desktop containing the window to move.
- Locate its preview and check the title and contents.
- Right-click the window and select the target desktop under Move to, or drag it onto the target preview.
- Select the destination desktop and verify the correct window arrived.
To move reference browser tabs, first decide whether to separate a tab into another window. The moved unit is an open window, so all its tabs may be organized together. Distinctive note and reference window titles help identify them from previews. Remember the original desktop name to reverse the move using the same method.
Closing an app-window preview and closing a desktop preview have different results. If the buttons look similarly placed, read the window title and desktop name first. Do not use Close when your goal is moving.
4. Set Taskbar and Alt + Tab Display Scope
Open Windows + I → System → Multitasking → Desktops to choose whether the taskbar and Alt + Tab show windows from the current desktop or all desktops. Check these settings separately. Changing only one and assuming the other matches can confuse window searches.
| Situation | Display scope to consider | Decision criterion |
| Focus on current work | Current desktop | Do unrelated work windows fill the switching list? |
| Frequently access apps across spaces | All desktops | Does finding windows require more switching between spaces? |
| Still learning window locations | Consider the full list first | Is a misplaced window easy to find? |
Record original settings and change one item at a time. Comparing one notes window here and one browser window elsewhere clarifies scope differences. Restore recorded values on the same screen if inconvenient. This is an illustrative comparison method, not measured evidence that a particular setting is always faster.
Check app-tab display settings on the same Multitasking screen separately. Microsoft's guidance describes including recent Edge tabs in Alt + Tab. If more items appear than expected, first distinguish other-desktop windows from multiple tabs in one browser. Changing desktop scope and tab options together obscures which caused the effect.
5. Organize by Task and Switching Frequency
The arrangements below are fictional examples, not measured productivity improvements. They are starting points to adapt to your own work. A line per desktop name and included windows helps locate windows during the first few days.
| Task | First space | Second space | Keep in the same space |
| Draft a blog article | Editor and writing notes | Source browser and collection notes | Quoted sentences compared constantly |
| Check report figures | Report and spreadsheet | Email and request list | Number table to include in the report |
| Prepare an online class | Class screen and presentation | Additional reference searches | Running-order notes |
| Organize personal schedules | Schedule and reservation information | Reference windows for the next task | Reservation document needed now |
There is no need to prohibit browsers entirely from Writing. Keep one essential reference page beside the writing window and move only later-reading pages to References. Find the two windows you switch between most and group them. Organizing by “viewed together” rather than “same app” makes rearrangement easier.
Before creating new spaces for every task, inspect existing names and remaining windows. After a project ends, organize material to save and repurpose its space. Setting a space for checking email or messaging when needed may help, but notification locations must be checked in the apps separately.
6. A Short Setup Exercise with Fictional Materials
This procedure is an author-created practice example, not an experiment performed on the reader's PC. Assume draft_practice.txt and reference_notes.txt each contain one or two saved sentences. Presaved practice material helps distinguish window movement from saving status.
- Open Task View and check existing names. If workspaces already exist, leave their windows alone and prepare practice spaces.
- Open draft_practice in “Writing,” and reference_notes and a browser in “References.”
- Switch to Writing, open Task View, and inspect which windows occupy which spaces.
- Move reference_notes to Writing. Examine which arrangement makes continuous comparison easier.
- Move the browser intended for later reading to References. Check that only the two needed windows remain.
- Record desktop display-scope settings in Multitasking and change only one. Assess window-finding ease, then choose your preferred value.
- Save practice-file changes in their apps. After closing practice spaces, use Task View to check where open windows collected.
Four columns suffice for practice records: “window name / space / frequently co-viewed windows / next change.” If reference_notes requires frequent switching, leave it in Writing and open the source browser in References only when new material is needed. Changing one cause of inconvenience at a time leaves a setup fitting your work.
7. Check App-Specific Behavior
Distinguish pressing an app icon after switching desktops from moving an already-open window. Whether the app creates a new window or activates an existing one depends on its behavior. Observe using empty documents or saved practice files rather than assuming each app creates independent windows per space.
- Browser: Distinguish new tabs from new windows and check whether the moved window's tabs belong together. If login or tab state seems different afterward, first verify that you selected the intended window.
- Document app: Check whether two documents open separately or as tabs in one window. Verify saving in the app, not from the workspace name.
- Messaging and meeting apps: Check whether relaunching returns to an existing window and where notifications or call windows appear. If disruptive, review app notifications alongside desktop separation.
- File Explorer: When preparing separate windows for work folders, choose targets by title and path. Distinguish creating copies of files from organizing window locations.
Duplicating an original document to use in two spaces creates separate files and may complicate version management. Resolve workspace organization by deciding window placement first; if copies are needed, define filenames and purposes separately. An app that does not fit the layout may simply remain in its convenient space.
8. Closing, Restoring, and Troubleshooting
Closing a desktop moves its open apps to another available desktop. It does not replace document saving or app closing. Use the desktop-preview Close button in Task View or its closing shortcut. If accidentally closed, create and name a new space and move surviving windows back to recreate the arrangement.
| Symptom | Check sequence |
| Moved window invisible | Windows + Tab → inspect other desktops → compare app titles |
| Shortcut does not switch | Confirm at least two desktops → select in Task View → check keyboard-input environment |
| Alt + Tab list differs from expectations | Check desktop scope and app-tab display separately |
| Apps remain after closing | Distinguish closing a desktop from closing an app window |
| Repeatedly moving the wrong window | Distinguish space names from window titles and move one window at a time |
To distinguish spaces by backgrounds, consider right-clicking a desktop in Task View → Choose background. Check official guidance: individual backgrounds use pictures, while slideshows and different solid-color backgrounds are unsupported. Names alone can suffice if changing backgrounds is cumbersome.
9. Frequently Asked Questions
Can I view two spaces simultaneously? Virtual desktops work by switching spaces. For simultaneous comparison, consider placing windows side by side in one space.
Does a meeting space alone protect personal windows? Sharing scope depends on the screen or window selected in the meeting app. Check the shared target and preview before presenting.
Do apps in other spaces stop using resources? Separating spaces alone does not establish reduced app workload. Save and close unnecessary work in the app itself.
Official sources: Windows keyboard shortcuts, Multiple-desktop setup, Multitasking and window movement. Checked: 2026-10-03. Labels may differ by Windows environment and language.
Original illustrations created to help explain this article.
Original on Tistory ↗