Using Windows 11 Snipping Tool: Capture Only What You Need and Save It as a File
This article was translated from its source language with AI assistance. Please check technical terms and equations against the original.
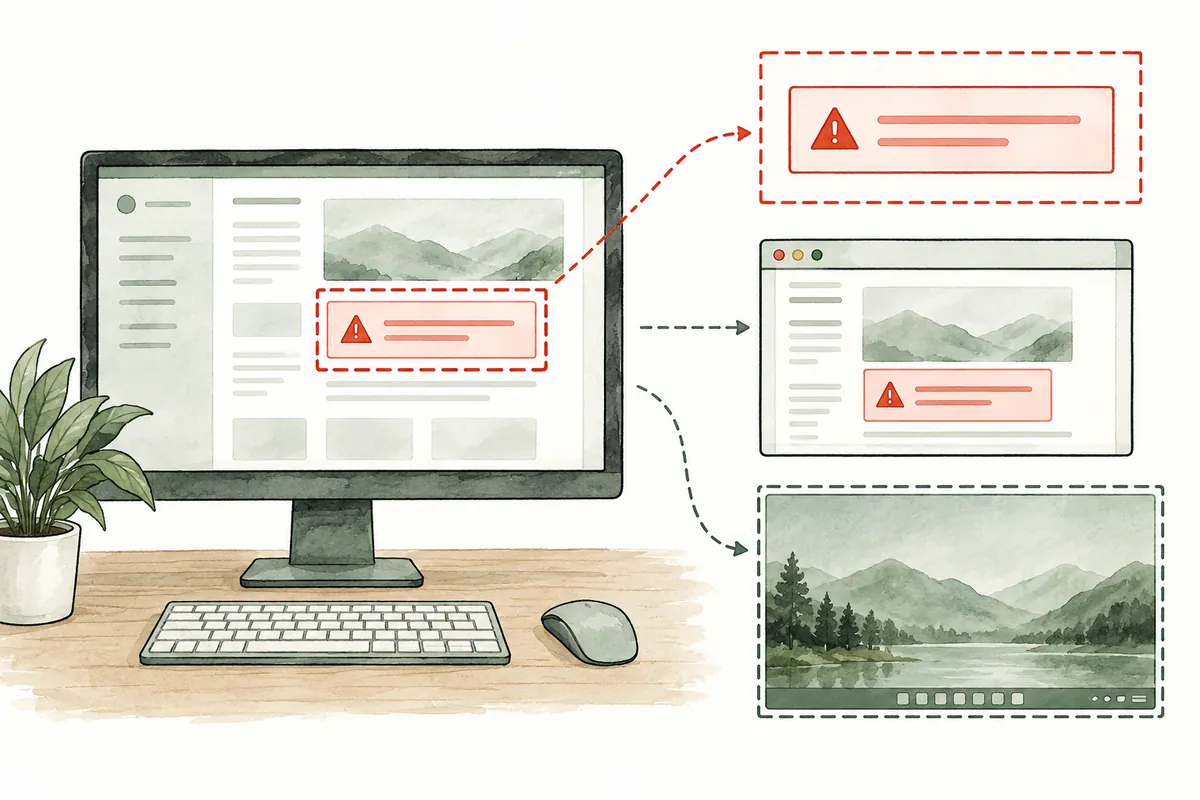
Screenshots limited to relevant areas explain errors or settings more clearly than whole screens. Windows 11 Snipping Tool offers rectangles, windows, full screens, and other modes. Begin with Windows + Shift + S, then learn menu capture and file saving. Check captured account information before sharing.
Before Capturing: Decide What the Screen Should Explain
As with composing a photograph, first choose the screenshot's message. Error inquiries need app names and error text; settings instructions need the menu to press and current selection. Include necessary context rather than capturing the whole desktop indiscriminately.
- Move away private email, message, and document windows.
- Prepare windows with readable text sizes.
- For before-and-after settings, decide the two screens' order.
- Choose a folder and filename convention beforehand.
| Purpose | Suggested area | Information to retain |
| Error inquiry | Error window or relevant area | App name, error code, and displayed text |
| Settings guide | Setting and surrounding menus | Current location and selected option |
| Explain screen layout | Necessary full screen | Window positions and comparison targets |
| Introduce part of a document | Rectangle with readable content | Title or context connected to the explanation |
1. Start Quickly with Windows + Shift + S
- Prepare the target screen first.
- Press Windows + Shift + S.
- Choose a capture mode and select the needed area.
- Open the result and check missing portions and unnecessary information.
Shortcut and mode descriptions appear in Microsoft's Snipping Tool guide. You can also search “Snipping Tool” in Start to open it. Begin by capturing only error wording and related buttons in rectangular mode.
For “the Save button is missing,” include the app's upper menus and saving area. A whole desktop plus messaging windows adds irrelevant content. Identifying the button to explain naturally narrows capture scope.
2. Choose the Mode for the Situation
- Rectangle: Suitable for clear boundaries such as an error message or document excerpt.
- Window: Choose it to show app menus and body together.
- Full screen: Use when window arrangement or overall settings is the subject.
- Freeform: Choose when an irregular area is needed.
Thinking about where readers should look helps select the mode. Two narrow readable captures may be better than one full screen with tiny text. Conversely, cropping window names or nearby settings can remove app context, so retain enough.
First Exercise: One Rectangular Capture
- Write a nonsensitive practice sentence in Notepad.
- Size its window for readability.
- Press Windows + Shift + S and select rectangular mode.
- Drag an area containing the sentence and window title.
- Select the capture notification to open editing.
- Check that all intended information appears and save as a file.
Opening the editor from a notification is described in Microsoft's screen-copying guide. It also describes transferring the image using Ctrl + V in an input field, but separately verify where the original is saved.
If the notification was missed, open Snipping Tool first and inspect results and autosave settings. Check whether the recent capture already exists before recapturing. This reduces duplicate files and uncertainty about which to share.
3. Use Delayed Capture for Menus That Disappear
Mouse-opened menus may close when you click capture. Use the app's delay feature then: choose five seconds, start a new capture, and open the target menu while waiting.
For multilevel menus, learn the sequence first. The point is allowing preparation time, not achieving perfection immediately. Delay location and choices differ by app version, so follow onscreen settings.
Preparing a Menu Capture
To explain an option in View, include both the menu title and expanded choices. Choose delay, start capturing, return to the original app, and open its menu. Avoid other windows while waiting and retain the target state.
- Open the menu once beforehand to confirm its path.
- Select rectangle or window mode and a delay in Snipping Tool.
- Start a new capture and reopen the target menu.
- When capture appears, include the menu and parent title.
- Check that selection status is visible.
If the menu extends offscreen, move the original window so the whole menu fits and recapture. Choose a provided delay sufficient for preparation. Saving the open-menu state separately from the completed-selection screen clarifies instruction order.

4. Add Markings While Keeping Original Text Readable
Snipping Tool can mark areas with pen or highlighter and crop unnecessary parts. Too many marks distract from text. Identify only needed areas, perhaps with one number and a short explanation.
For settings instructions, mark one target and separately write “Open this menu, then go to the next screen.” Long explanations written inside the image may be unreadable on mobile. Let screenshots show state and the body explain reasons and next steps.
Exclude emails, authentication codes, chats, and private folder paths before sharing. A translucent highlighter does not reliably hide information; crop sensitive areas or recapture a screen without them.
Verify Text Extraction Before Use
Supported versions offer Text actions to copy image text. Current Microsoft documentation describes OCR copying selected or all text and quick redaction of emails and phone numbers. First check whether those buttons appear in your app.
Compare extracted text with the original, especially digits and letters in error codes, paths, and punctuation. Confusing zero with O can change search results. Verify inquiry codes against the image rather than trusting extraction alone.
Email or phone redaction does not remove every personal detail. Manually inspect names, addresses, account photos, and document titles. Reopen the saved redacted file to verify sharing contents, and name original and shared copies differently.
5. Distinguish Copied Images from Saved Files
Pasting into chat and retaining a file serve different purposes. Paste for immediate sharing; a named file in a chosen location suits blogging and inquiry records. Use Save as in Snipping Tool, choose location, and open the saved file to verify.
Check autosaving and its default folder in settings. Verify actual settings and location rather than assuming a new capture is in the intended folder. Names such as update-error-20261003.png identify content and date for later retrieval.
For settings instructions, add “before” or “after” to filenames to reduce reversed uploads. Also avoid sensitive personal accounts or company-project information in names.
Checklist for Finishing Saving and Sharing
- Was the intended folder and filename selected?
- Is important text readable in the saved file?
- Are required app names or menu locations uncropped?
- Are irrelevant account details, messages, or addresses absent?
- Was the reviewed sharing copy attached instead of the original?
For an update inquiry, retain update-error-original.png and update-error-sharing.png separately. Keep the original privately and crop irrelevant portions from the sharing copy. Saving does not ensure every attachment picker chooses the latest file, so inspect the actual attached image.
| Problem | First check |
| Shortcut unresponsive | Can Snipping Tool open directly from Start? |
| Wrong area captured | Mode and drag starting and ending points |
| Cannot find file | Autosave settings and actual Save as path |
| Pasted image shows old content | Whether new capture finished and current clipboard item |
Do not immediately reset keyboard settings or the system because a shortcut fails. If direct app capture works, investigate capture functionality separately from shortcuts. For saving problems, first locate one newly saved image in its designated folder.
6. Frequently Asked Questions
Is this the same as Print Screen? Key behavior varies by Windows settings and device. For specific areas, start with Windows + Shift + S. Check manufacturer guidance for laptops with abbreviated key labels.
Does it capture entire long webpages at once? Basic capture covers the currently visible screen. For content below scrolling, separately check suitable methods such as browser features.
Text in the saved image is small. Open it at actual display size before sharing. Consider reducing irrelevant areas or preparing a more readable screen and recapturing.
Official sources: Microsoft — Copy the window or screen contents, Microsoft — Use Snipping Tool to capture screenshots. Checked: 2026-10-03. Some menus and saving behavior vary by app version and Windows settings.
Original illustrations created to help explain this article.
Original on Tistory ↗