Night Mode Settings: Schedule Time and Color Temperature Adjustment
This article was translated from its source language with AI assistance. Please check technical terms and equations against the original.
Three things to set in night mode
If your Windows screen appears yellow at night or the colors change every evening, check the Night Mode status and schedule. Night Mode is a feature that displays the screen in warmer colors. The key decisions you need to make are when to turn it on and off, the intensity of the color change, and whether to use it for tasks that require accurate color comparison. This article explains how to check the behavior of the settings and schedule.
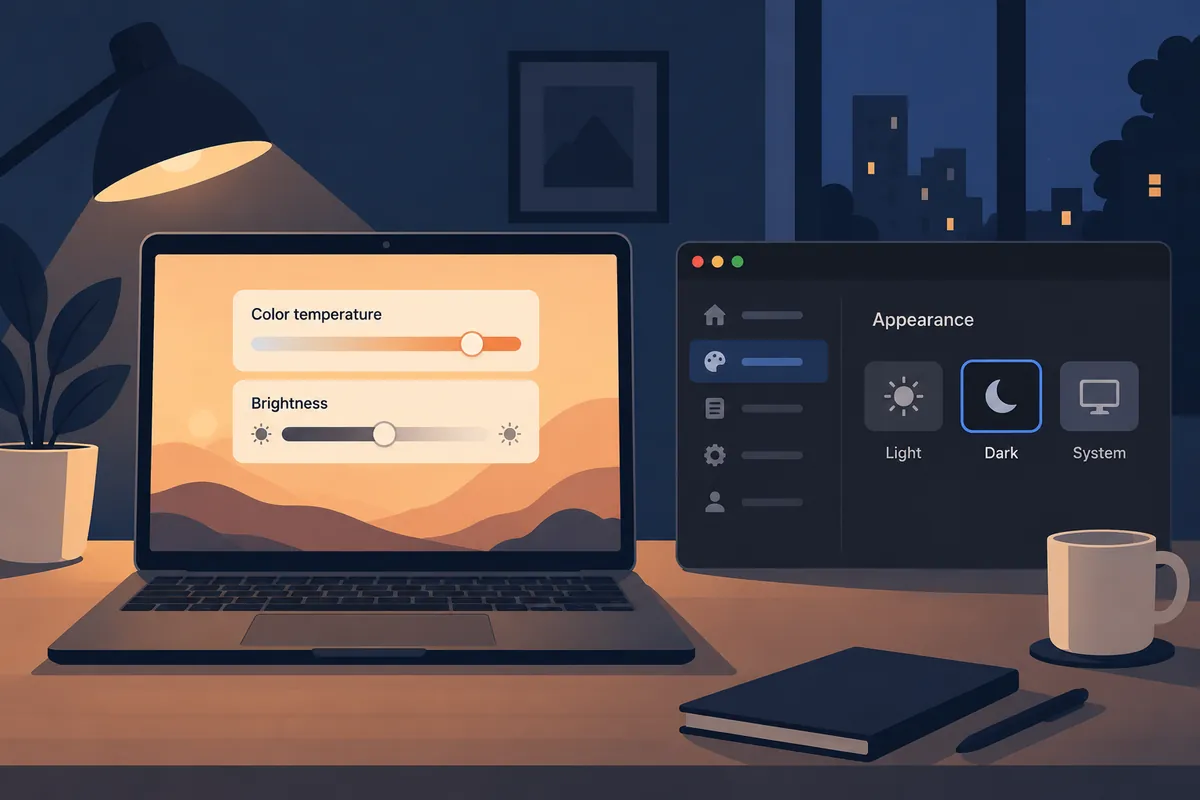
Just because the screen has warmed up does not mean the brightness has decreased at the same rate. Night mode, screen brightness, and dark app themes are each different settings. If you change multiple functions simultaneously, it is difficult to distinguish which action caused the change. If you record the current values and compare them one by one, it is easier to find the desired screen state.
I have verified Microsoft's Night Mode and Color Mode guidelines as official materials. The schedule below is a hypothetical example illustrating how to fit it into your daily schedule and is not the result of testing on actual users' sleep or eye conditions. This article does not guarantee any health benefits and focuses on specific ways to manage display colors and scheduled times in Windows.
1. Check manual turn-on and schedule separately
Find Night Mode in Settings → System → Display. First, check the On/Off status, then open the Night Mode item to read the Intensity and Schedule settings. You need to distinguish whether the screen looks warm because it was manually turned on or because the scheduled time has been entered. Do not stop at just looking at the On status or the Schedule value.
Let's assume a hypothetical scenario where the screen turns yellow at 10 PM. The records to check are the night mode status at that time, the scheduled start time, and the PC's current time. You should not conclude that there is a graphics failure based solely on the observation that the screen changed in the evening. Conversely, if the color change persists even though night mode is off, there is reason to investigate other display settings and the monitor's own settings.
While you can operate Night Mode from the Quick Settings on the taskbar, it is easier to distinguish the contents by opening the Settings screen when checking the schedule and intensity. Since the layout of Quick Settings may vary depending on the user environment, do not conclude that a feature is unavailable simply because a button is not visible. Check the actual settings path for your current Windows version.
2. Compare intensity based on the document to be read
Adjust the degree of color change using the intensity slider in the Night Mode settings. Initially, record the original value and adjust within a small range. Comparing the white background, body text, and highlights of the same document makes it easy to determine if the new state suits your work. There is no standard for a specific number on the slider to be most comfortable for everyone.
You can include body text, blue links, yellow emphasis, and small tables in the explanatory comparison document. Read to see if you can distinguish the links and emphasis even after the colors have warmed up. Rather than just describing impressions, leaving questions such as “Is the emphasized text distinguishable from the body text?” or “Is this a task to judge the colors of the photo?” clarifies the purpose of selecting the final settings.
It does not change screen brightness and app themes simultaneously with changing the intensity. You need to know which function was adjusted when a document feels dark so that you can recreate the same state next time. In the final log, you can record Night Mode intensity and schedule, as well as brightness and app themes separately. It does not convert slider values into color temperature numbers that were not actually measured.
3. Read the Two Reservation Methods
The official guide explains the sunset-to-sunrise method and the method where the user specifies the start and end times. If your work schedule is consistent, the specified time method is easy to compare, and if you want to use the sunset time according to the season, you can check the sunset/sunrise method display. Read the methods provided on the current screen and the displayed status.
| Reservation Method | Value to check | Virtual Use Purpose |
| From sunset to sunrise | Displayed operation time and state | Based on sunset time |
| Time setting | Turn on time · Turn off time | Standard work time |
| Turn off reservation | Current manual power status | Operate directly when necessary |
| Color comparison task | Night mode and reservation status | Compare to original display conditions |
4. Examples of schedules extending past midnight
Let's consider a virtual schedule where it is turned on from 8 PM to 7 AM the next day. Since there are 4 hours from 20:00 to midnight and 7 hours from midnight to 07:00, the total is 11 hours. Just because the end number 7 is smaller than the start number 20 does not mean it is an incorrect schedule. Since night schedules can span across dates, read the AM/PM or 24-hour display accurately.
After entering the start and end times in the settings, double-check the displayed values. Confused between 8 AM and 8 PM may result in the device turning on during the day. Also, check the actual time. If the behavior differs from expectations after a business trip or a time zone change, it is recommended to record the reservation value along with the PC's time and time zone. This example calculation is a simple daily schedule based on Korean time.
The time the PC is turned off is not counted as the screen actually being displayed. The 11-hour scheduled interval and the time the user viewed the screen are different values. The fact that “the scheduled time was set this way” is not changed into a test record stating that “the function was used for 11 hours and the effect was verified.” If actual observation is required, the state at the time the PC was turned on is recorded.
5. Difference between dark theme and brightness
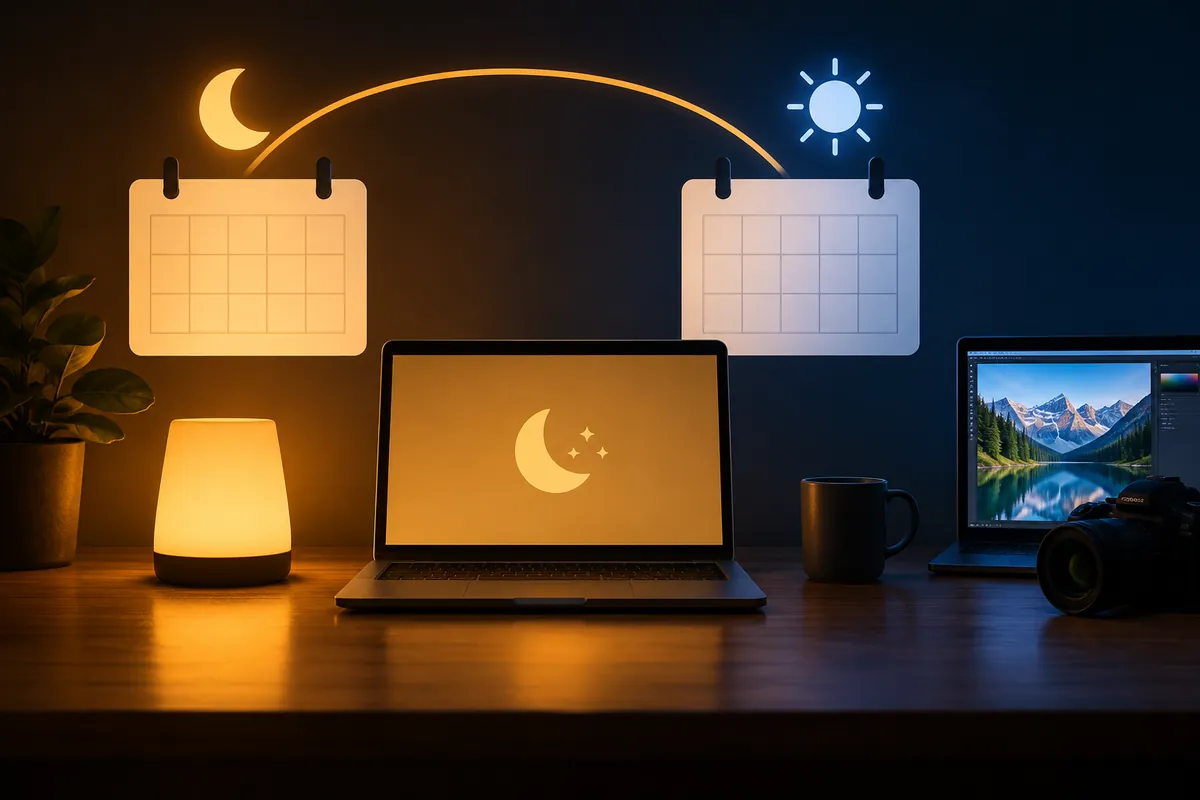
Dark theme is a setting that changes the background and color scheme of apps and the Windows interface. Microsoft's color mode guide explains that apps can determine whether to use a light or dark mode on their own, and that not all apps support dark mode. Turning on Night Mode does not mean that all web pages will change to a dark background.
The screen brightness setting is for adjusting brightness. The warm color change in Night Mode and brightness adjustment are not read like the same slider. In a virtual check, if the problem is that the screen is too bright, check the current brightness; if the problem is that white appears too warm, check the Night Mode status. If the goal changes, the items to adjust also change.
If one document app has a dark background and another has a white background, check the theme of each app as well. Night mode alone does not explain all the differences. When determining the final settings, it is helpful to compare two or three apps that you actually use frequently at the same time. If you have not tested the apps on your device, do not read the comparisons in this article as actual results.
6. Time to compare colors in photos or charts
You must be aware of the Night Mode status when editing photos or reading color-coded charts. Judging colors while the display color has changed can lead to confusion with the original display conditions. Before starting work, distinguish your purpose: whether to turn off the feature for comparison or simply read general documents with a warmer screen. Do not mix tasks that edit the file itself with settings that change the colors displayed on the screen.
For illustrative purposes, let's consider a scenario where a photo with a white background suddenly appears warm. First, check the Windows settings and the monitor's color mode at the same time, and if necessary, turn off Night Mode and view the original file again. Do not conclude that the original photo's data has changed based solely on the color change on the screen. Whether the actual file was modified in a photo editor is a separate matter.
After the color verification is complete, re-read the current state and schedule. Do not confuse the manually turned-off state with the state that may change depending on the subsequent schedule. Manual operation and schedule interactions for specific Windows versions must be verified on the actual screen. If the screen differs from expectations the next morning, examine the manual state and schedule values from the previous day together.
7. When the button is gray or the function does not appear
Microsoft's guidance explains that Night Mode may not be available in some display driver environments, citing DisplayLink or Basic Display as examples. If the button is grayed out, you may need to check your display driver. The important thing here is to distinguish between the feature being disabled and issues with intensity settings. Continuously changing the intensity does not mean that the disabled condition has been resolved.
First, record the PC you are using, the connected device, the Windows version, and the screen showing the inactive status. If you are using a docking device, include its model as well. Compare this with the official instructions for the PC and connected device to verify the necessary support. You do not need to start by installing external programs or arbitrary configuration files that apply to all environments.
If Night Mode is indicated as turned on but looks different than expected, check the intensity and other display functions. At low intensities, the change may feel small, but do not confirm whether it is working based on that alone. Compare the on/off status on the same document and screen, and record your actual observations. Do not assume that photos of other monitors match your own settings.
8. Records to save so you don't have to reset them every day
Briefly note the scheduling method, start and end times, intensity, and usage criteria for color comparison tasks. For example, you could set a standard such as, "Use time-specified scheduling for general documents, and check the current Night Mode status first when comparing photo colors." Record the actual set values as numbers and do not record the example times in this text exactly as your own schedule.
If unexpected behavior occurs, record the time, current power-on status, scheduled value, and PC connection conditions together. This allows you to identify which settings were in effect at that time, rather than just a single sentence like “turned yellow at night.” If you modified the schedule, record the changes before and after the modification. Do not arbitrarily change display conditions already established in other tasks; instead, compare the impact of the relevant function first.
Night Mode is a tool for managing screen color and schedules. By setting the on time and intensity according to your needs and distinguishing it from other display settings, you can reduce repetitive manual operations. The explanatory images are for comparing these settings and are not actual Windows captures or measurements of health effects.
Official Sources and Writing Standards
Data Verification Date: 2026-10-09. This explanation was generated by AI based on actual official data. Calculations, codes, and verification examples marked separately are for illustrative purposes only and are not the results of direct testing or actual measurements of the user environment. We will re-verify whether there have been any changes to the functions and data on the publication date.
Original illustrations created to help explain this article.
Original on Tistory ↗