Restoring Files from the Recycle Bin: Original Location and Deletion Date
This article was translated from its source language with AI assistance. Please check technical terms and equations against the original.
After accidentally deleting a file, several identically named items in the Recycle Bin can make selection difficult. Check original location, deletion time, and needed content together instead of filename alone. Confirming that Restore ran differs from confirming that the intended document actually returned.
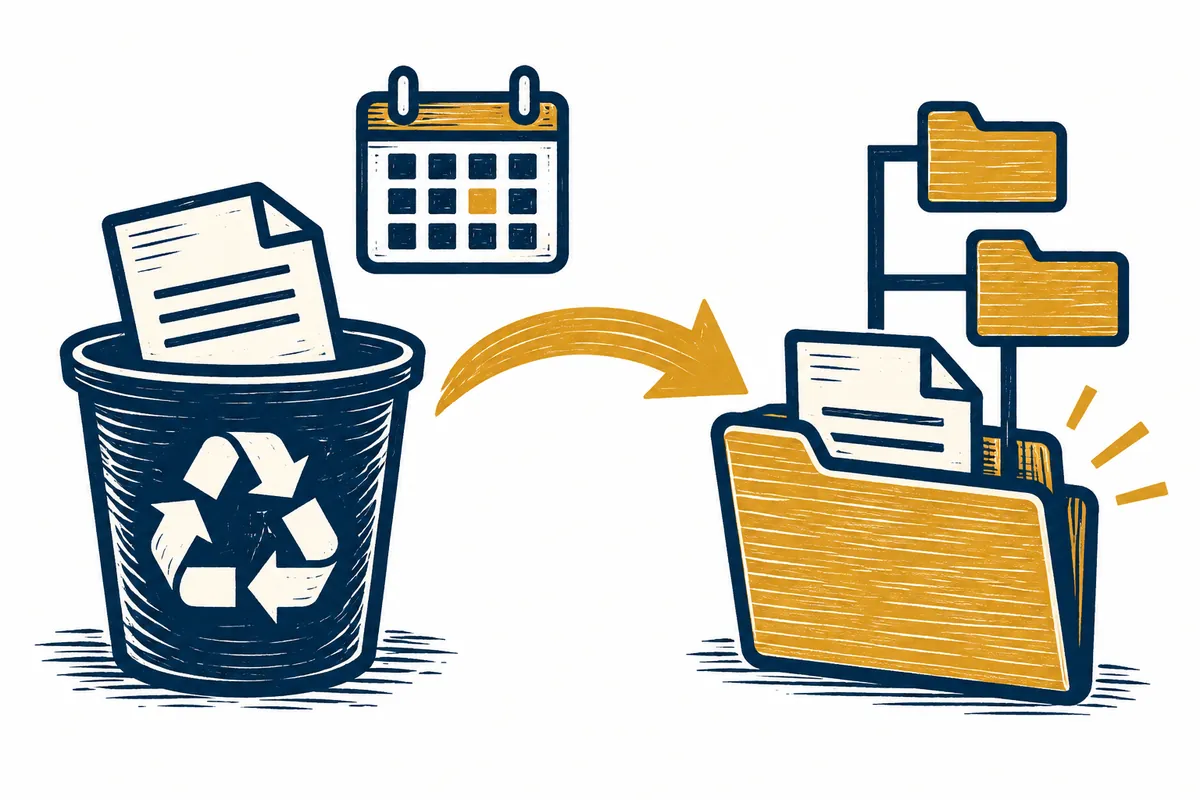
This article focuses on selecting and restoring items from the Windows Recycle Bin. OneDrive data may require checking both the PC and web bins. Report names and dates below are illustrative, not records of deleting or recovering actual user files.
Recovering the desired document from the Recycle Bin at a glance
Explanatory illustration — not an actual screen or test result.
1. Record original folder, filename, and needed content
2. Compare candidates' locations and deletion times
3. Check the selected item's restoration result
4. Open the actual file and content in the original folder
5. If absent, check relevant backup and web-storage routes
1. Establish the original file location
The first useful information is where it was stored. Desktop documents, work folders on another drive, and synced material can share filenames. If opened through a recent list, do not establish its actual location from that list alone; note the remembered project and folder too.
Suppose hypothetical report.docx existed in personal Documents and a submission folder. Identical names can hold different content. Identifying deletion folder and work time determines which item to seek. “Latest” in a name does not establish the desired version.
| Information to remember | Illustrative record | Purpose |
| Filename | report.docx | Find candidates |
| Original location | Submission folder | Distinguish identically named material |
| Deletion time | After this morning's work | Compare candidate times |
| Needed content | Final table and conclusion paragraph | Verify content after restoration |
If a folder rather than a file was deleted, remember its parent-folder name. The document may be inside an item deleted under the folder's name. Earlier renaming and copies saved elsewhere also help find candidates.
2. Narrow candidates by location and time
Open the Recycle Bin from Desktop or Explorer and find the name. Compare original location and deletion date in available details. If columns are hidden, check the view and information available in item properties.
Deletion date, modification time, and restoration time serve different purposes. Deletion dates help locate when an item entered the bin; modification times indicate editing. Restoration time does not become the content's creation time.
For two identically named hypothetical reports, first check whether the original location was the submission folder, then compare deletion time with memory. Even one remaining candidate needs content verification after restoration. Name, path, and time support selection but do not replace the full content.
3. Restore only the selected file
Microsoft explains selecting files or folders in the Windows Recycle Bin and using Restore from the context menu. They return to their original folders. Before restoration, confirm both selection and destination.
If the goal is one hypothetical report, restore that item. Processing unrelated items together can make comparison difficult. For several files, check that they belong to the same task and retain a list for comparing what actually returned.
If a same-name file at the destination triggers a choice, read the options before deciding. Consider preservation of current work, saving under another name, and the restoration purpose first. Read the actual outcome selected instead of clicking a remembered button position.
4. Verify returned content in the original folder
If the item disappears from the bin, go to its original location and check the file. Otherwise you may have restored it but need to search again. Confirm path and format before opening with the required program.

For hypothetical report.docx, read the title, final table, and conclusion. Verify needed content beyond mere opening. If it is another version, record the result and inspect other candidates or backups. Identify a restored item before deleting it again.
| Post-restoration question | Result to check |
| Where did it return? | Original folder and actual path |
| What returned? | Filename, format, and required content |
| Can it be used? | Open in the appropriate program |
| Does it match the task goal? | Desired version and key paragraphs |
After restoring a folder, inspect its contents too. A returned parent-folder name does not establish all required documents and supporting files. Compare its file list with target material and distinguish unchecked items.
5. Check PC and web-bin roles for OneDrive data
OneDrive guidance distinguishes finding files in the PC's Recycle Bin from its web bin. Cloud-deleted or online-only material may not appear in the PC bin, so check the location appropriate to original storage.
For OneDrive material, open the web bin in the actual account. Personal and work/school accounts can differ; compare current account with original location. Absence in another account does not establish absence in the original.
After web restoration, verify the returned web file and material seen on the PC separately. Check whether you are comparing a synced location with another local folder. Record confirmed web outcomes distinctly from pending PC checks; do not add unverified synchronization completion.
6. Choose the next route when the bin lacks the item
If missing, first compare renaming, parent-folder deletion, actual storage location, and alternative accounts. An empty bin does not mean every retained copy is gone. Check existing backups and service retention features for the file too.
Microsoft describes trying Windows File Recovery for locally deleted files that cannot be restored from backup or the bin. This differs from cloud or network-share recovery. No recovery commands were run or results checked here.
When attempting recovery after deletion, limiting new writes to that storage can matter. Microsoft explains that new data can overwrite deleted-file space. Decide current retention and next methods instead of continually adding large programs or files to the same device.
7. Record unexpected restoration outcomes
If a file returns but is the wrong version, record its name, original location, time, and checked content. This supports examining another same-name document or backups. “Recovery failed” alone does not distinguish absent files from selecting the wrong version.
For restoration errors, record message, selected item, and destination. Consult official support for relevant account or management conditions. Separate absence from opening failures to choose the next check, without declaring an unverified disk fault.
On successful recovery, retain the actual checked scope. Checking a particular paragraph in one report does not establish recoverability of all deleted files. Different storage locations or selected material may require different verification.
8. Organize documents to reduce future mistakes
Before editing restored files, identify the current working copy. If submission and editable copies share names in different folders, label their roles. Recording purpose and time in names or folder notes helps select the same hypothetical final report later.
Important material can also use backups preserving previous versions. The bin is a starting point for currently retained deletions, not an automatic history of every document edit. Recovering pre-edit content requires the conditions of your backup or version-history system.
The final record can list “needed material, selected bin item, original location, returned file, and checked content.” This turns pressing a button into evidence of recovering an actual document. The illustrations likewise show selection and result checking, not actual bin screenshots.
Official sources and writing standards
- Microsoft: Restore your OneDrive files — Windows recycle bin section
- Microsoft: Windows File Recovery
References checked: 2026-10-07. This explanation was written with AI assistance based on official sources actually opened. Separately marked calculations, code, and checking examples are illustrative, not results from directly testing or measuring the user environment. Recheck changes to features and references on the publication date.
Original illustrations created to help explain this article.
Original on Tistory ↗