Backing Up Documents with File History: Required Folders and Restoration Checks
This article was translated from its source language with AI assistance. Please check technical terms and equations against the original.
Frequent editing can leave a current document intact while making earlier content difficult to find. File History is a Windows feature for retaining previous versions of personal files. Beyond an enabled setting, verify that required folders are included and restorable versions actually exist.
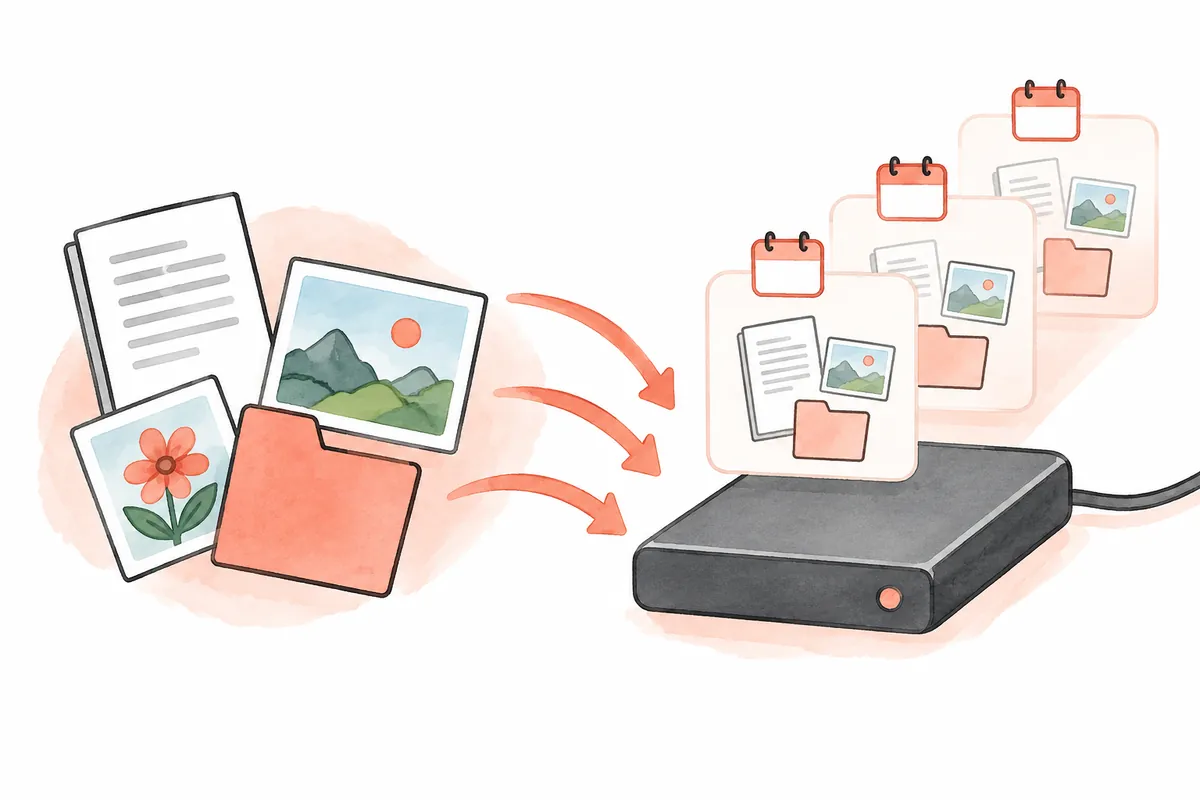
This article prepares document backups in Windows 11. Folder names and test documents are original illustrations, not actual setup or restoration on your PC. Restoring an entire system and programs differs from finding previous personal-document versions, so define the backup target first.
From backup to test restoration at a glance
Explanatory flowchart — not an actual screenshot
1. Record actual storage paths of required documents
2. Check library inclusion and backup scope
3. Select storage and enable File History
4. Verify different versions of a sample document
5. Restore elsewhere and compare content and paths
1. Check actual locations rather than material names
First list where frequently edited documents are stored. Desktop shortcuts can point elsewhere; verify actual paths in Explorer. A folder called Documents does not necessarily contain every required file.
Suppose a hypothetical user stores reports in default Documents and spreadsheets in a separate work folder. Checking only reports can omit spreadsheets. Inspecting actual locations of several recently used files reveals gaps better than recalling “important material.”
| Illustrative material | Information to check | Purpose |
| Report folder | Actual path and editing program | Locate needed documents |
| Working spreadsheet | Whether it is outside default Documents | Check omissions from backup scope |
| Reference photographs | Original and edited-image locations | Decide which material to retain |
| Replaceable downloads | Whether they can be obtained again | Set preservation priorities |
Separate originals, working files, and replaceable references in the list. Label the current working copy if duplicated across folders. This list determines scope; it does not prove File History already protects those locations.
2. Check which folders belong to libraries
Microsoft describes backing up default and user-created libraries. Add other needed folders to existing libraries or organize a new one. Do not assume every folder on a drive is automatically included.
For a separate work folder, identify it in Explorer and consult Show more options and Include in library in official guidance. Verify which library received it. A similarly named wrong folder selects another location instead of the desired data.
In the hypothetical case, include the spreadsheet folder and create a sample document there. Checking that it actually appears among previous versions connects target path and storage result. Record library inclusion separately from backup completion.
3. Define storage location and availability
File History uses external drives or network locations. Before starting, confirm device name, connection path, available space, and accessibility. With multiple external devices, verify the selected backup target.
List original and backup locations side by side to avoid confusing roles—for example “PC report folder” and “external backup device.” Changing storage may present options to transfer old data or start anew; first decide how to preserve existing backups.
For network storage, check actual access conditions. A route available at home may not connect identically elsewhere. Periods when storage is disconnected or inaccessible do not count as latest documents being saved there.
4. Enable File History through Control Panel
After preparing external or network storage, find File History backup under Control Panel's System and Security. Confirm the chosen drive and select Turn on. If the target is wrong, use Select drive to identify the current location.
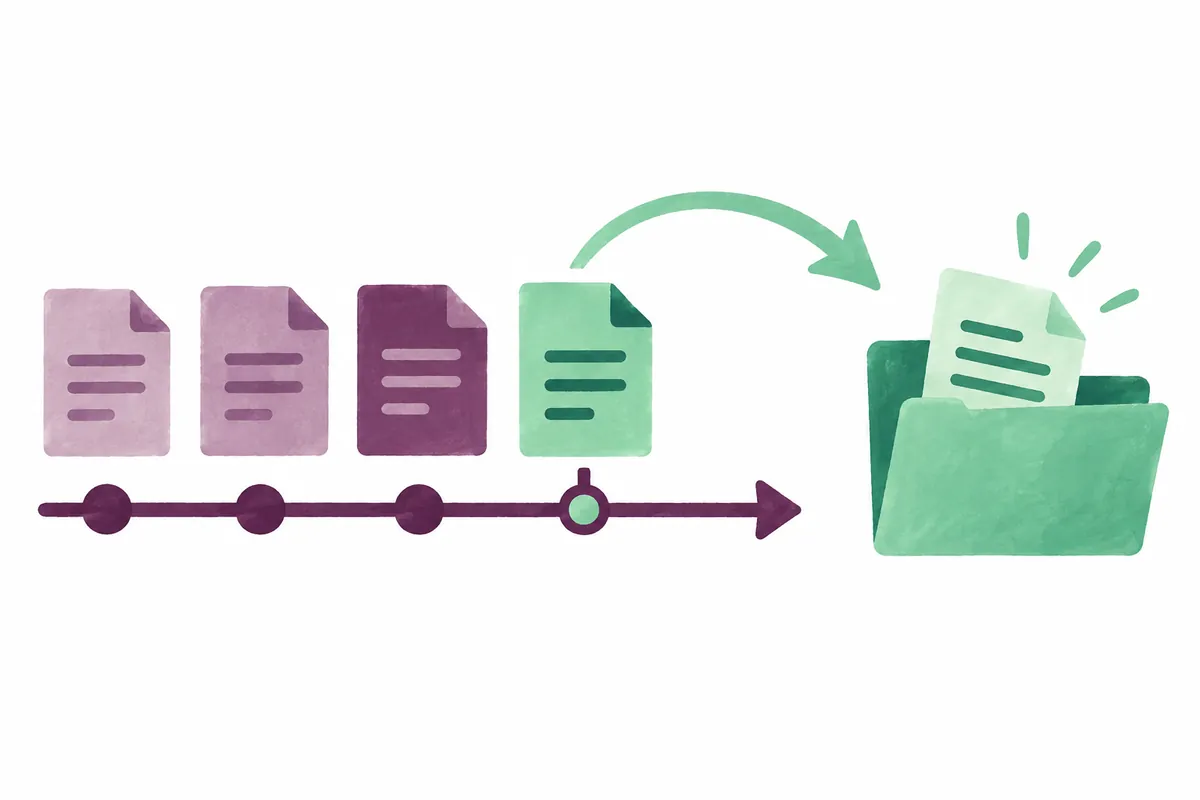
After starting, read displayed execution status and destination. Record the actual selected target, start time, and completion instead of only the settings screen's name. Preserve messages, distinguishing preparation from completion when unverified.
If menus differ from guidance, check OS version and management policy. Do not confuse another backup program's settings with File History. The illustration is conceptual, not an actual Control Panel capture; verify menus and results on your own screen.
5. Check stored results using two sample versions
Use a short sample instead of important documents. Put “Backup check A” in the first version and “Backup check B” later. Record editing times and save each. Use the same document so renamed copies are not mistaken for previous versions.
Verify actual backup execution for each version, then inspect the previous-version list. B in the current file does not guarantee A survives in backup. Read list times and open the selected version to check A. These sample phrases define checking criteria; no backup was executed for this article.
| Illustrative check stage | Result to verify |
| Save content A | A exists in the original and its path is correct |
| Check backup status | An actually retained version of that file |
| Edit to B and save | Current file contains B |
| Open the previous version | Content at the selected time is A |
| Test restoration elsewhere | The restored copy actually opens |
Read actual text beyond the existence of a copied file. For photographs, check needed imagery opens; for spreadsheets, define sheets and cells to inspect. Clear scope prevents expanding success in a small sample into success for every file and period.
6. Find previous versions and verify restoration elsewhere
Microsoft describes opening Restore previous versions from actual file/folder locations and previewing selections. For deleted material, inspect the folder at an earlier time when it existed. Choose the time containing required content, not simply the newest entry.
To preserve the current file, consult Restore to another location. Ordinary File History restoration can replace current contents, so opening a separately restored copy first helps comparison. Record where originals and restored files were each checked.
If versions are absent, compare target path, storage device, and actual backup time first. Enabling the feature later does not create every earlier edit. Absence from the list does not establish permanent loss; check other retained copies too.
7. Checks for ongoing maintenance
After moving files or adding work locations, recheck backup scope. The initially selected Documents folder may not continue representing all current material. Connect new important files' actual paths with backup targets.
After changing devices, distinguish the last checked backup time from storage on the new target. Do not copy old-device completion records into new-device records. For space or connection errors, inspect messages, device state, and affected files, then follow official guidance.
Choose checks according to editing frequency and recovery needs—for example after major report work or reconnecting backup storage. No single interval or retention amount necessarily suits every user.
8. Five items for a backup-completion record
Retain actual target-folder path, backup location, time of an actually stored version, test-restoration location, and content-check result. Connecting these turns “enabled” into evidence of whether your documents can be recovered.
Microsoft distinguishes personal-data backup from system-state recovery features. Choose the method suited to what you need to retrieve. Creating a system restore point does not complete document backup.
Using File History effectively requires defining folders, confirming storage, and comparing restoration. Separate sample results from unchecked material so actual future recovery can identify which paths and times to inspect first.
Official sources and writing standards
References checked: 2026-10-07. This explanation was written with AI assistance based on official sources actually opened. Separately marked calculations, code, and checking examples are illustrative, not results from directly testing or measuring the user environment. Recheck changes to features and references on the publication date.
Original illustrations created to help explain this article.
Original on Tistory ↗