Rearranging Dual Monitors: Main Display and Mouse Movement
This article was translated from its source language with AI assistance. Please check technical terms and equations against the original.
Monitors may sit left and right on a desk while the mouse crosses in the opposite direction. Or movement is correct but you want another primary display. These involve different settings; identify screen numbers and arrangement before changing what is needed.
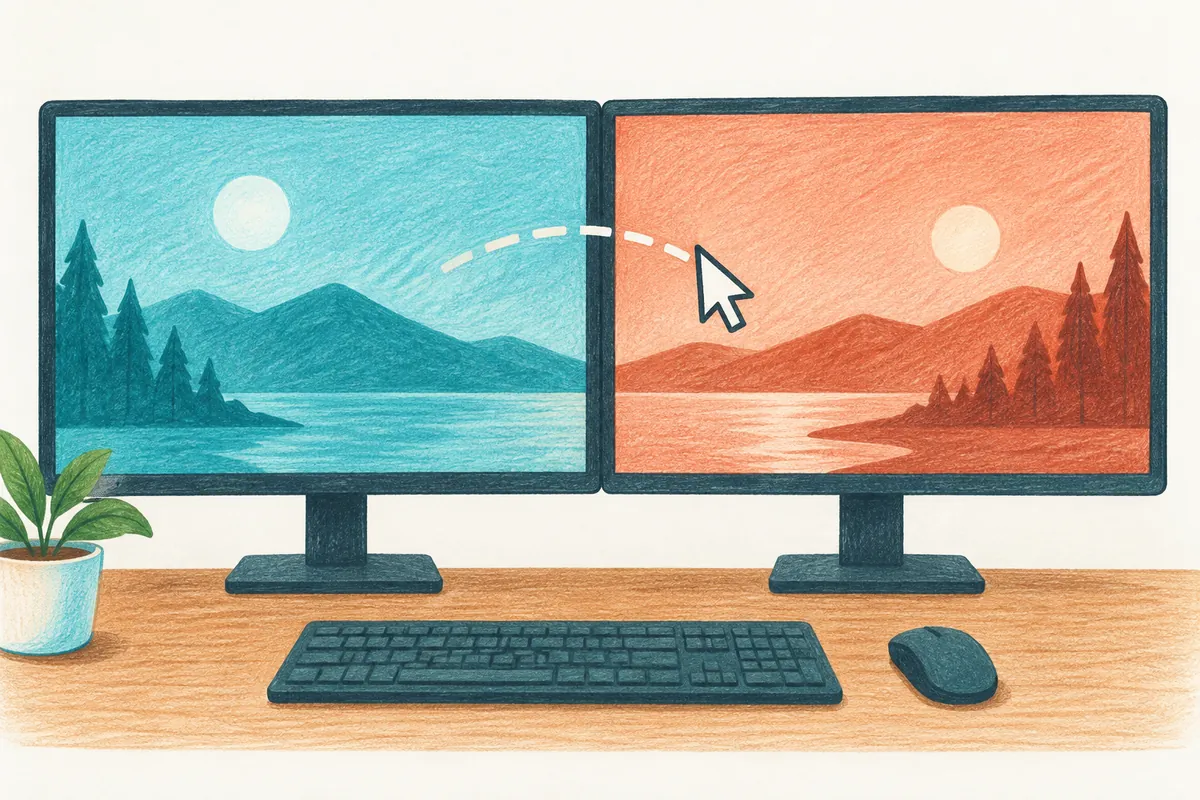
This article uses Windows 11 display settings. Renumbering screens is not the goal; matching Windows layout to the desk and choosing a primary display is. Layouts and records below are illustrative, not tests on actual devices.
Arranging dual monitors as desired
1 → Identify screens and record desk positions
2 → Apply actual horizontal and vertical layout in Extend
3 → Check pointer movement at middle, top, and bottom
4 → Select the desired main display
5 → Check recommended scale, resolution, and document display per screen
1. Distinguish numbers, layout, and main display
Numbers 1 and 2 identify screens; number 1 need not be on the left. Microsoft advises Identify to show numbers on physical screens, then moving their rectangles to match reality. If the left screen shows 2, place that rectangle left.
Main display is a separate selection. Dell explains choosing the desired screen before Make this my main display. Changing primary does not itself change left/right movement. Where programs open can also depend on their settings and previous state.
| Item | Question | Result to check |
| Identification number | Which actual screen is it? | Displayed number and desk position |
| Display arrangement | In which direction do you move? | Relative rectangle positions |
| Main display | Which screen should serve as the primary? | Selected screen's main-display option |
| Scale and resolution | Are text and workspace suitable? | Per-screen settings and actual readability |
Describe initial problems this way. “I must move the mouse right to reach the left monitor” explains layout better than “screen 2 is strange.” A program opening on a small screen is a separate issue. Distinct symptoms reduce unnecessary changes.
2. First confirm independent workspaces
Open Settings, System, Display and inspect connected screens. Duplicate showing identical content may not suit spreading different documents across screens. Select Extend as described in Microsoft's multiple-monitor guidance, then inspect independent layout.
One visible screen or no signal is not a layout-edit stage. Check power, connection, input, and recognition first. Identify numbers existing screens; Detect seeks additional ones. Compare displayed rectangles with physical screen count to choose the next stage.
Sketch the original arrangement for restoration—for example “external left screen 2, laptop right screen 1, main 1.” Record scale and resolution if changing them. Do not report untouched values as changed or infer position from numbers alone.
3. Identify, then move rectangles to actual positions
Use Identify to read numbers, drag rectangles to the desk's relative arrangement, and Apply. If 2 sits physically left, place 2 left in settings. Physically higher screens can be arranged above.
Suppose external left shows 2 and laptop right 1, but settings put 1 left. Move 2 left and Apply, then move the pointer toward the laptop's left edge. Seeing it enter the external screen directly checks the goal.
Do not stop at a single middle-height crossing; check top and bottom too. Different rectangle heights or vertical positions can alter crossing along parts of the edge. Record affected height and adjust alignment. Diagonal size alone does not determine the relationship between physical screens and setting rectangles.

4. Practical checks for boundary alignment
Choose top or center alignment according to common crossing locations on the desk. Distinguish physically adjusting monitors from Windows layout. Changing a stand and moving a rectangle alter different conditions.
Use the same blank document to move both ways. If center works but the top blocks movement, boundary alignment rather than direction may be involved. Slightly adjust vertical layout from observed locations and recheck. Changing scale and layout simultaneously obscures which affected the result.
| Illustrative check location | Behavior to observe | Next action |
| Screen middle | Whether direction matches the desk | Compare relative position and application |
| Top boundary | Whether crossing occurs at the same height | Check rectangle vertical position |
| Bottom boundary | Whether blockage affects one segment | Check both screens' height relationship |
| Moving document window | Whether content remains readable | Check per-screen scaling separately |
Do not prefill results as normal; enter actual observations only. If one program differs, compare it with a blank document to narrow scope. This is a method for your environment, not proof of every combination tested here.
5. Choose the desired main screen
Once layout fits, select the rectangle for your primary screen. Inspect its multiple-display main-monitor option. Looking only for a checkbox without selecting can show another screen's settings; compare number and current selection first.
To make external left screen 2 primary, select 2 and apply that option. No need to reverse layout again. After changing layout and primary separately, open usual programs and check the intended workspace. Programs remembering older positions need their own window adjustments.
Taskbar location alone does not establish primary status; settings can show it on several screens. Check the display setting directly. A program opening elsewhere does not prove primary selection failed to save; record them separately.
6. Check scale and resolution per screen
Microsoft advises choosing the target screen before checking recommended scaling and resolution. Making every screen numerically identical is not always appropriate. Comfortable text and needed workspace matter more than matching numbers.
Consider a small high-resolution laptop and large external monitor. Equal scale values can produce different perceived text sizes. Check recommendations, then read titles and body text in the same document. Lowering resolution to fix movement can also change clarity.
Record original resolution and post-change readability per screen. Dell's advanced guidance also checks programs' scaling in mixed-resolution environments. If one program is blurry, distinguish that from whole-screen issues and reopen it for comparison. Do not report unperformed compatibility or driver changes as complete.
7. Records for changed conditions after reconnection
After docking, undocking, or connecting another monitor, compare identification and arrangement again. Prior numbers need not map identically. Use current physical-screen numbers and desired positions. Record changed configuration time and new symptoms for comparison.
A final record can state “external left, laptop right, external primary, movement checked at middle/top/bottom.” For remaining issues, identify screen, height, and program. Resolved arrangement with persistent flickering needs separate connection/display investigation.
To return, restore relative positions, primary, scaling, and resolution individually from records. Untouched settings need no reset. Briefly checking identification, arrangement, main screen, and readability on the next connection avoids wasting time renumbering and restores the desired workspace.
Official guidance and writing standards
- Microsoft: How to use multiple monitors in Windows
- Dell: How to Set Up Dual Monitors
- Microsoft: Change your screen resolution and layout in Windows
- Dell: Advanced Multi-Monitor Setup
References checked: 2026-10-06. This explanation was written with AI assistance after checking the official guidance below. Cases and records are illustrative, not direct measurements or tests on a particular PC. Windows builds, manufacturers, and management policies can alter screens and menu names. Current official guidance was rechecked during publication preparation.
Original illustrations created to help explain this article.
Original on Tistory ↗