When a Windows 11 Webcam Does Not Work: Checking Camera Permissions, Covers, and Apps
This article was translated from its source language with AI assistance. Please check technical terms and equations against the original.
When webcam video is not visible
| STEP 1 | Check the cover, switch, and USB connection |
| STEP 2 | Preview in the Windows Camera app |
| STEP 3 | Check device, app, and desktop-app permissions |
| STEP 4 | Check website permissions and the meeting app's selected device |
| STEP 5 | Verify actual delivery and record changes |
This explanatory diagram organizes the reading sequence. It is not an actual program screen or measurement result.
If a video meeting app shows only a black screen or says no camera was found, start with the lens cover and device recognition. A disabled camera, an obscured image, and an app unable to access the camera have different causes and checks. Even when all appear as “no video,” the starting point is reading the exact error and selected camera.
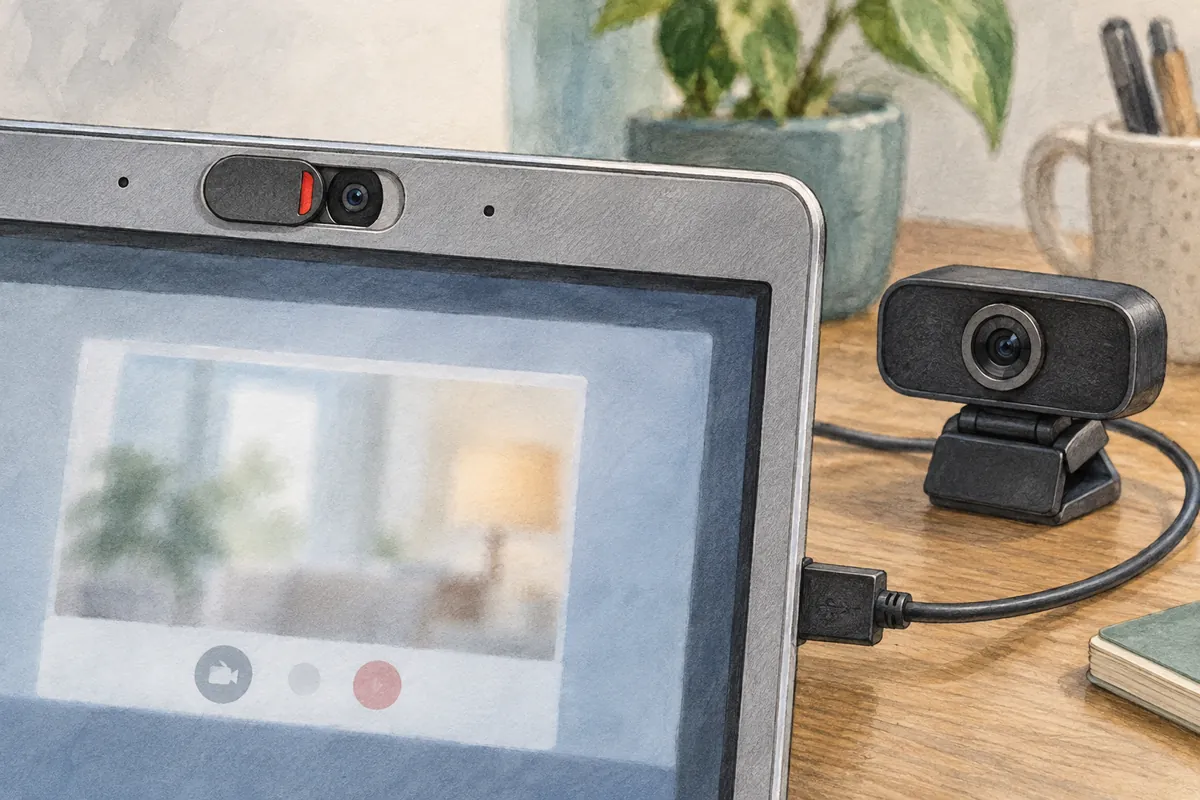
This article explains a checking sequence for built-in cameras and USB webcams on Windows 11. The goal is normal video in the app you need, rather than enabling every camera-related privacy setting at once. Before previewing, choose a direction that does not show nearby people or sensitive objects.
1. Distinguish black video from no device
| State visible on screen | First check | Possible next step |
| A device is selected, but the image is black | Lens cover, lighting, and preview | Distinguish physical obstruction from app display |
| Message saying no camera exists | Connection, device switch, and recognition | Check the device list and connection port |
| Access restriction message | Windows, app, and site permissions | Check permission status and management policy |
| Only the Windows Camera app works | Device selection in the meeting app | Narrow the investigation to app settings and permissions |
If there is an error code, record it exactly. Do not rely on part of a remembered code and apply a solution from a similar search result. Microsoft's official camera troubleshooting guidance describes symptoms and codes, allowing you to check the item matching your current code.
A camera name in the device list does not prove its lens is currently uncovered. Conversely, an uncovered lens does not mean the PC detects the device. Recording video availability and device recognition separately reduces repeated changes to the same settings.
2. Check covers, physical switches, and cables
Some laptops have a lens slider, side switch, or camera key on the keyboard. Functions differ by product, so check the manufacturer manual. A cover blocking the lens and a button enabling or disabling the camera device do not always perform the same action.
For a built-in camera, inspect the lens above the screen and its indicators. For a USB webcam, check that the cable is properly connected and identify the port and dock in use. Adjust camera direction and remake the PC connection separately to make results easier to compare.
Comparing another USB port or PC, if available, can narrow whether failure relates to the device or current PC. However, one successful attempt in another environment does not definitively establish the cause. Different connection methods, Windows versions, or apps mean different comparison conditions.
3. Check a preview in the Windows Camera app
- Check whether you can leave the current meeting or stop using the camera.
- Close unnecessary apps using the camera.
- Open the Windows Camera app from Start.
- Read access requests and the currently selected camera.
- Record whether the preview appears and any error message.
A normal preview in Camera shows that the camera can supply video in that environment. It does not mean every meeting-app setting is automatically correct. If Camera also fails, there is reason to check connection, Windows permissions, and device recognition together.
You do not need to save a photo or video to check a preview. If you do save one, examine its contents and whether retention is needed. A normal preview on your own screen and delivery of video to a remote participant are separate checks.
4. Check Windows camera permissions
In Settings → Privacy & security → Camera, check Camera access and permission for apps to access the camera. Find the app you use in the individual list and read its current permission state. If settings are grayed out or marked managed, check current account or organizational management conditions.
A program absent from the app list may be a desktop app. Microsoft distinguishes desktop-app camera access from management through individual desktop-app switches. Absence from the list does not mean the app cannot use the camera.
| Permission layer | Purpose of checking | Point to note |
| Device camera access | Whether camera use is available on this PC | May be restricted by an administrator or policy |
| App camera access | Necessary permission for a listed app | Identify the app you currently need |
| Desktop-app access | Conditions for browsers, meeting apps, and similar software | Not every app has an individual switch |
| Website camera permission | Permission for a specific site inside the browser | Check separately from Windows permission |
Record original values before changing permissions. If failure continues afterward, distinguish whether that setting is needed from problems at other layers. Checking access for the necessary app and continuously permitting every app are separate choices.
5. Browser meetings also need site permissions checked
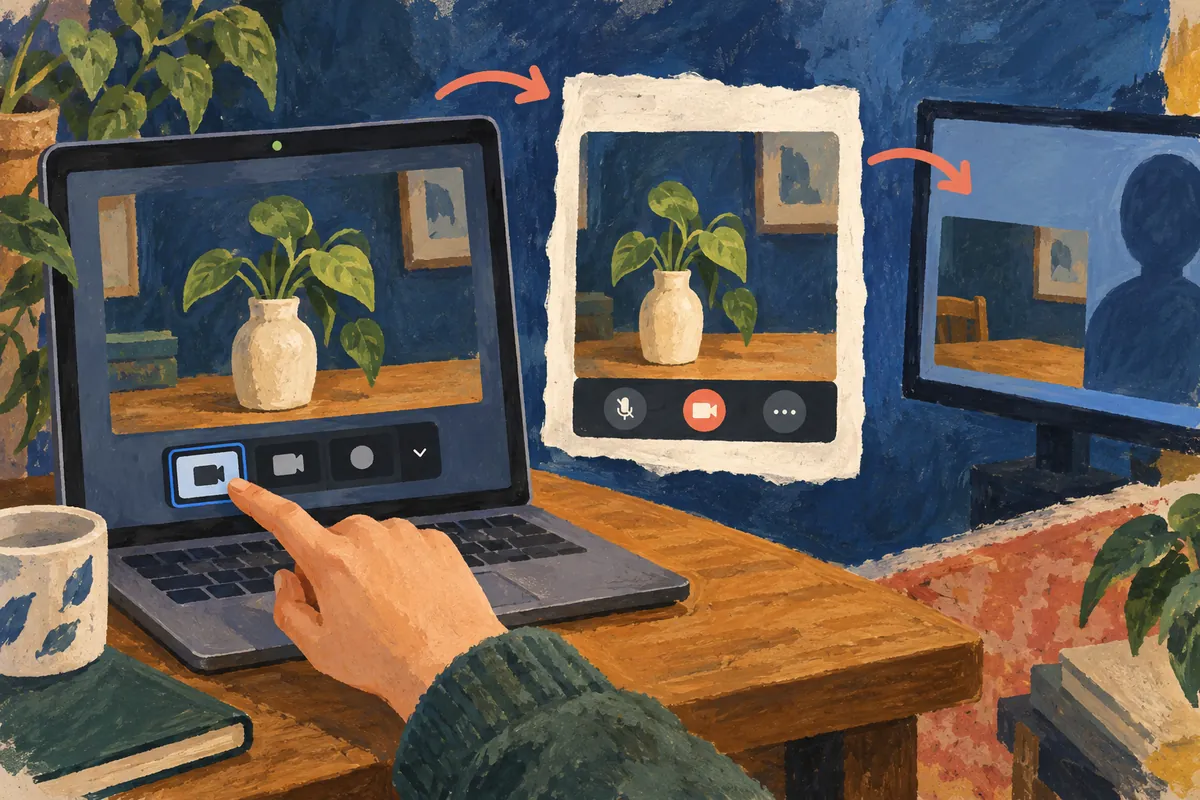
For meetings on a website, check both whether the browser can use the camera in Windows and whether the site is allowed. Verify the current meeting address, then read the site's camera request or permission screen.
Microsoft Edge's official privacy guidance explains allowing or blocking sites that use cameras and microphones. For other browsers, consult their providers' official guidance. Identical Windows settings do not automatically produce identical site permissions in every browser.
Follow on-screen guidance on whether to reopen the site or reselect the device after changing permission. Before closing all tabs, save documents in progress and record the necessary meeting link and work location.
6. Camera selection in the meeting app and other apps in use
Check the camera name you actually intend to use in the meeting app's device settings. With both built-in and USB cameras, another camera may be selected. Compare its name in the app preview with the one checked in Windows Camera.
If another app is using the camera, the current app may not access it normally. Check for recording software or a previous meeting window, end unnecessary camera use, and compare again. Closing every running program without identifying it can lose work, so close apps after checking their purpose.
For Teams, refer to Microsoft's device settings and checking procedure. Available test functions can differ with app and account type, so use what your current screen provides. Failure in one app should not be generalized to a Windows-wide camera fault.
7. When video appears but is blurry or not delivered
If the preview appears but is blurry, check the device's guidance on lens contamination, focus, and resolution settings. If the PC image is clear but delivery to meeting participants is poor, network or app video-processing conditions may also matter. Do not record camera recognition failure and delivery quality as the same symptom.
For an illustrative comparison, separately record “Camera app preview,” “meeting app preview,” and “video seen by the other person.” Check whether their results match to explain the failure point. This is not an actual quality measurement or camera performance ranking.
Changing background processing and several app features at once can make the cause harder to find. Change one option, compare from the same position and lighting, and then choose the necessary setup.
8. Record the model and onset before changing drivers
If Windows does not recognize the camera or failure began after an update, you can review Device Manager and manufacturer support guidance. Record device name, Windows version, error code, and when the problem started. The fact that it followed an update does not definitively establish a particular driver as the cause.
Microsoft's official documentation explains available driver rollback and redetection procedures. Rollback is not available for every camera, and switching to a default driver can alter manufacturer-specific features. Read the needed driver and recovery method first.
If security software or organizational policy indicates access is blocked, follow the provider's or administrator's procedure. Arbitrarily disabling all security functions is not a basic way to identify the current camera failure point.
9. Check results and end camera use after changes
| Item to retain | Reason for checking |
| Selected camera name | Use the correct device in the next meeting |
| Preview and delivery results | Distinguish device issues from app or connection issues |
| Changed permissions and original values | Restore unnecessary trial changes |
| Error code and onset | Choose the matching symptom in official support |
After use, close the Camera app and meeting and check the device's usage indicator. If using a physical cover, you can close it according to your needs. A cover obscures video; it does not manage the microphone or stored files for you.
Checking both the required app's preview and delivery in a real meeting makes completion easier to judge. If failure continues, record whether it occurs at the hardware, Windows, or app stage and provide that to manufacturer or app support.
Official sources and writing basis
- Microsoft — Troubleshoot camera operation
- Microsoft — Manage Camera app permissions
- Microsoft — Cameras, microphones, and privacy
- Microsoft — Troubleshoot Teams cameras
Sources checked: October 5, 2026. Written by AI using official Microsoft guidance, with content and sources reviewed. Cases and inspection records help readers assess their situation; they are not measurements or tests on a particular PC. Screens and menu names may differ with the Windows build, manufacturer, and management policy.
Original illustrations created to help explain this article.
Original on Tistory ↗