When a Windows 11 Microphone Does Not Work: Checking App Permissions and Input Devices Separately
This article was translated from its source language with AI assistance. Please check technical terms and equations against the original.
Microphone input checking sequence
| STEP 1 | Check connection and physical mute |
| STEP 2 | Select the Windows input device |
| STEP 3 | Test input with a short sentence |
| STEP 4 | Check app, desktop-app, and site permissions |
| STEP 5 | Compare the meeting app's selected microphone and results |
This explanatory diagram organizes the reading sequence. It is not an actual program screen or measurement result.
If others cannot hear your voice in a video meeting, distinguish input devices from permissions before buying a new microphone. Even with a headset connected, Windows may select the laptop's built-in microphone; a device detected in Windows may differ from the one selected in the meeting app. Check physical and app mute controls separately too.
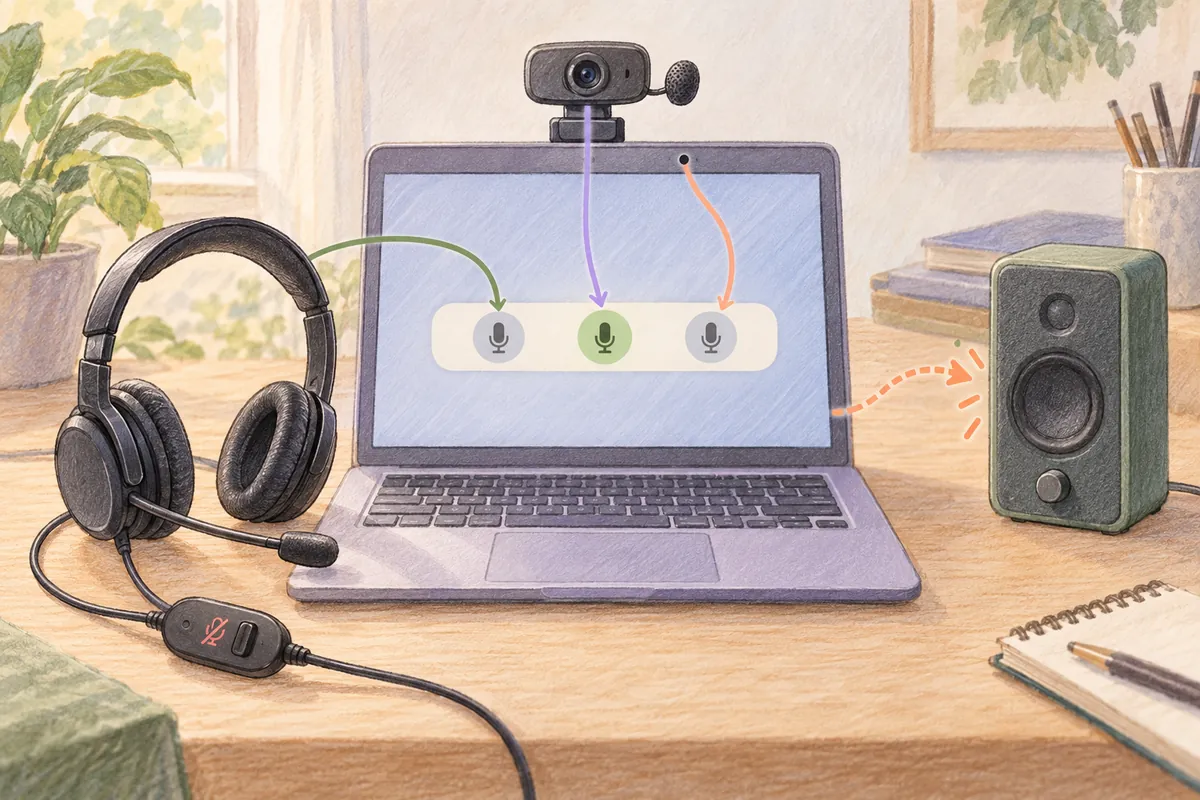
The checking order here is connection and mute, Windows input, a simple test, permissions, and app settings. Narrow down the stage where sound fails to pass instead of enabling every switch at once. Use a short test sentence so that surrounding conversations or personal information are not recorded.
1. Separate microphone problems from playback problems
Hearing the other person shows that the output path works. It does not establish normal input from your own microphone. Conversely, even if the input indicator moves during a microphone test, you may not hear the recording if the wrong speaker is selected for playback.
| Symptom | First check | Distinction to make |
| I hear others, but they cannot hear me | Microphone selection, mute, and permissions | Prioritize the input path |
| The input indicator moves, but test playback is inaudible | Output device and playback volume | Separate recording from listening |
| Windows test works, but one app fails | App input selection and permissions | Prioritize app-specific problems |
| Microphone appears in no app | Connection, recognition, and device status | Check Windows device recognition |
Record stage-specific results such as “Responds in Windows input test; no response in app A even after unmuting” rather than just “microphone does not work.” Identifying where the actual symptom begins reduces repeated reconnection or permission changes.
2. Check connection and physical mute buttons
Check for a loose headset cable or USB connection. Some products control mute through an inline remote, body button, or microphone boom position, so read the manufacturer manual. Not every product uses the same buttons or lights.
For a Bluetooth microphone, check current connection status rather than merely its registered name. Confirm battery, power, and connection to the PC to make finding the intended device in Windows input easier. If it is connected to another device, check switching methods under the product's support conditions.
If using a camera's built-in microphone, inspect the camera and microphone devices separately. Normal video does not mean that device's microphone is selected for input. There is also reason to check whether the input list changed after connecting an external webcam.
3. Select the Windows input device directly
- Open Settings → System → Sound.
- Under Input, select the device for speaking or recording.
- Compare names such as built-in microphone, USB headset, and webcam to verify the intended device.
- Open the microphone test provided in the selected device's properties.
- Speak a short test sentence and check the result.
Microsoft's official guidance describes starting and stopping the test and playing a recording sample from device properties in current Windows 11. Result screens and items may vary by build, so read the instructions currently shown. When listening to results, also check that the output device is your intended speaker or headphones.
If two microphones appear, you can select each and compare the same sentence. Rather than expecting identical volume or quality, check whether each responds and suits the purpose. Establishing that a particular microphone is superior requires separate conditions and measurements.
4. Input volume and microphone position
If input is too quiet, check microphone position and input volume. Look for obstruction by clothing or a desk and excessive distance from your mouth. Establish a normal speaking position and make a short comparison instead of automatically setting volume to maximum.
If physical mute is enabled, increasing input volume alone may not resolve the issue. App noise suppression and automatic volume are separate functions, so verify a response at the Windows stage first and then inspect app features.
| Comparison condition | What to keep constant | Result to record |
| Change microphone position | Input device and volume settings | Input response to the same sentence |
| Change input volume | Microphone position and speaking method | Perceived loudness, distortion, and noise |
| Change selected microphone | Test sentence and location | Whether each device provides normal input |
| App test | Device checked in Windows | Whether the same input reaches the app |
This table organizes checking conditions; it does not present experimental results or sound quality rankings. Ambient noise changes can affect how recordings sound, so do not assess overall device performance from one recording.
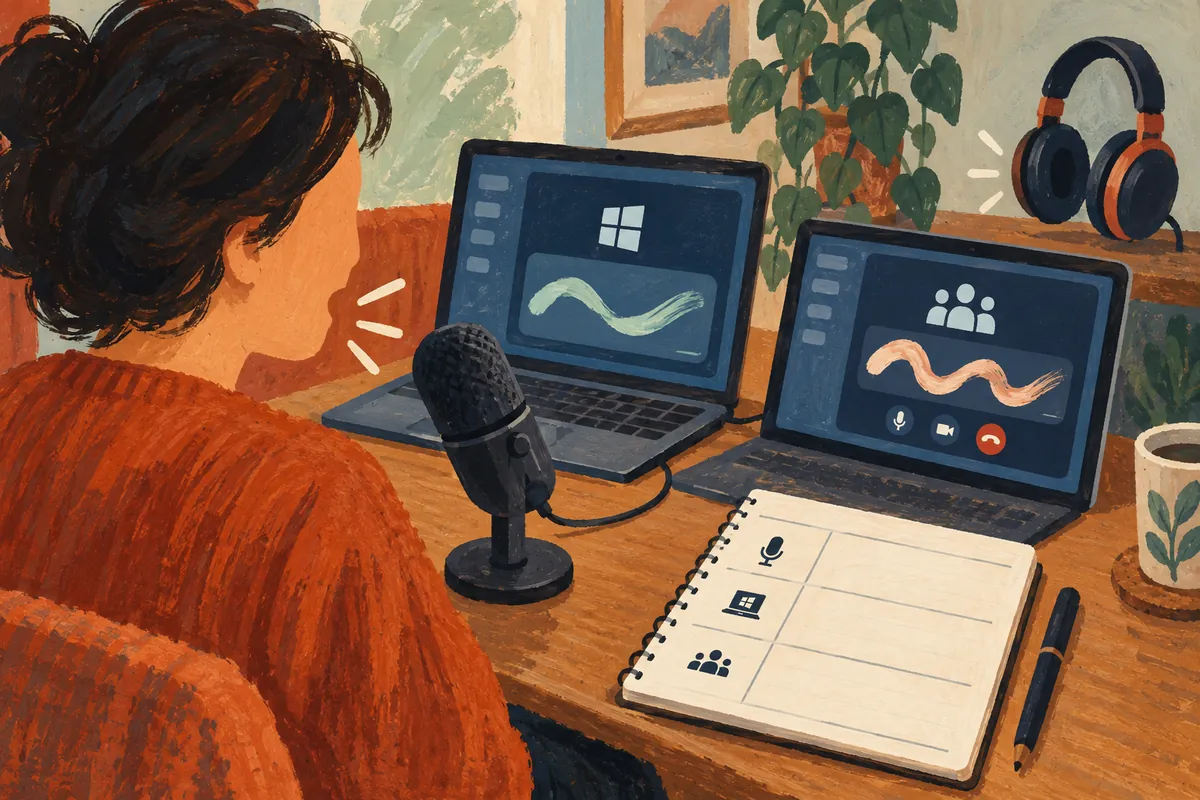
5. Check microphone permissions by app type
In Settings → Privacy & security → Microphone, check Microphone access and permissions for apps. Individual permissions for listed apps and desktop-app access are managed differently. Microsoft explains that desktop apps should not be understood as a list in which all can be controlled by individual switches.
If your intended app is absent, check its type. Browsers and ordinary desktop programs may involve another access setting. Do not interpret absence from the list as proof the app is not installed. If a work PC shows grayed-out or managed settings, explain the needed use to the administrator.
Enabling microphone permission does not immediately grant every website access. For a browser meeting site, check its microphone permission separately. Allow only the needed site at the correct address and manage access you will not use after the meeting according to your preferences.
6. Meeting app microphone selection and mute
If the Windows test works, read input device and mute status in the meeting app. Check whether the app follows the system default or selects a specific microphone. A device from before connecting an external headset may still be selected, so compare names again.
If the meeting app provides testing, you can check before joining an actual meeting. Choose the same device as in the Windows test and compare results. Movement of the app's input indicator and delivery to the other participant can be checked separately.
If only the app fails, consult its provider's official guidance for permissions, input selection, and voice settings. Removing every Windows audio driver is not the first step for finding the cause in this situation. Compare whether other apps fail to establish scope.
7. If recognition failure continues, check diagnostics and drivers
If the device is absent even from Windows input, check connection and device state and review troubleshooting guidance in Sound settings. Read what the Help app or current settings diagnostic targets, and inspect the input list again afterward.
If driver inspection is needed, use official support from the PC or audio device manufacturer. Record model, Windows version, and current driver information. Reinstallation or rollback may affect overall device recognition, so check necessary files and instructions first.
On a PC with multiple devices, removing all audio entries simultaneously can eliminate comparison points. Identify the exact device; in an administrator-managed environment, provide the current symptoms and failure stage to the responsible person.
For a camera with a microphone, you can also check necessary camera access. Microsoft's microphone troubleshooting guidance describes this case. However, do not generalize this into enabling every camera permission for tasks without video; choose settings suited to the device and app requirements.
8. Organize permissions and records after resolution
| Record to keep | Reason for checking |
| Name of the actual selected input device | Choose the same path in the next meeting |
| Windows test result | Whether the device and connection stages worked |
| App or site permission status | Distinguish input problems from permission problems |
| Changed volume and original value | Return to earlier settings if inconvenient |
If you separately saved a test recording, check its contents and whether it needs retention. Before giving actual test results to support, listen and inspect for surrounding conversations or personal information. A microphone indicator alone does not reveal what content was saved or where.
- Did you check device and app mute separately?
- Did you distinguish microphone input from speaker output problems?
- Did you record Windows and app tests separately?
- Did you check settings appropriate to app type and site permissions?
- Did you restore unnecessarily changed trial settings?
Official sources and writing basis
- Microsoft — Troubleshoot microphones
- Microsoft — Microphone settings and testing
- Microsoft — Cameras, microphones, and privacy
- Microsoft — Update audio drivers
Sources checked: October 5, 2026. Written by AI using official Microsoft guidance, with content and sources reviewed. Cases and inspection records help readers assess their situation; they are not measurements or tests on a particular PC. Screens and menu names may differ with the Windows build, manufacturer, and management policy.
Original illustrations created to help explain this article.
Original on Tistory ↗