Writing Git commit messages: Recording the purpose of the changes and verification results
This article was translated from its source language with AI assistance. Please check technical terms and equations against the original.
If your commit list contains only 'Modified', 'Done', and 'Final', it is difficult to know which changes to look for when you encounter the same problem a few weeks later. While code differences show what was changed, they do not automatically explain the reasons behind those choices or the scope of what was not verified. A commit message is a short manual left for your future self and colleagues to understand the changes. In this article, we will look at how to structure the title, body, and verification history using a small bug fix as an example.
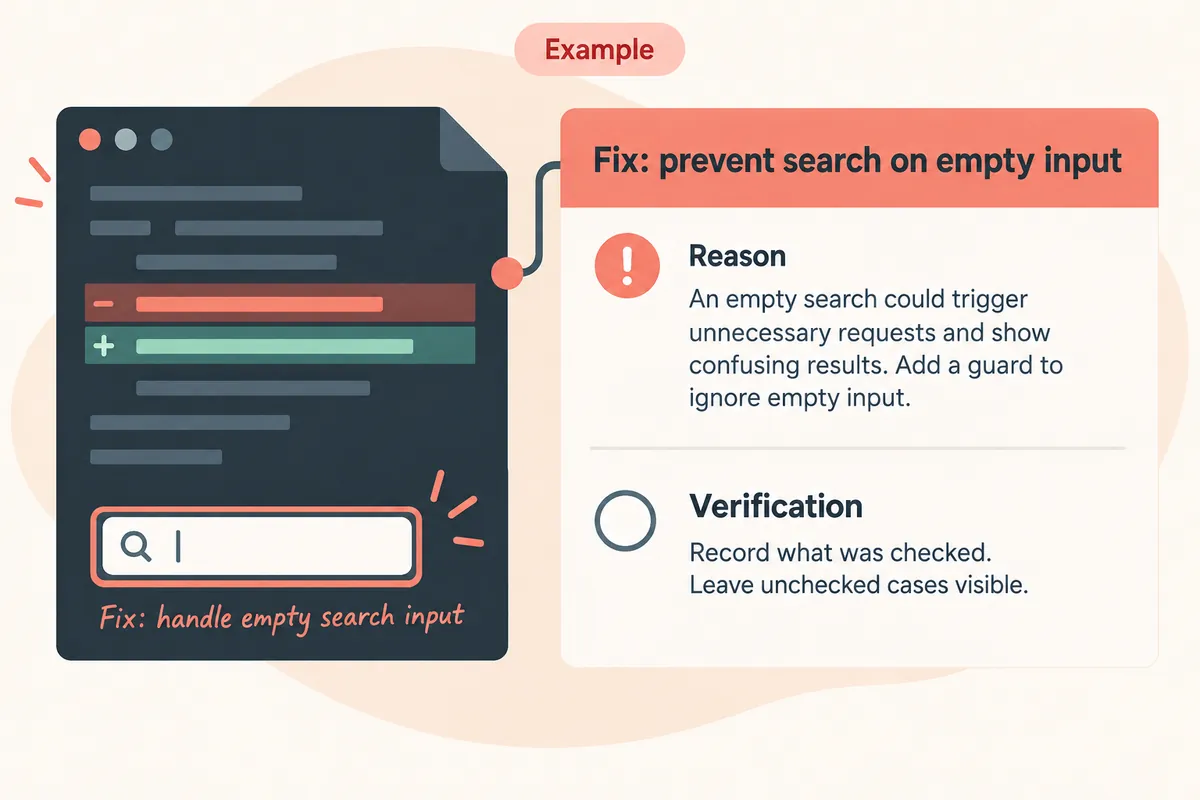
1. First, determine the question to explain in a commit.
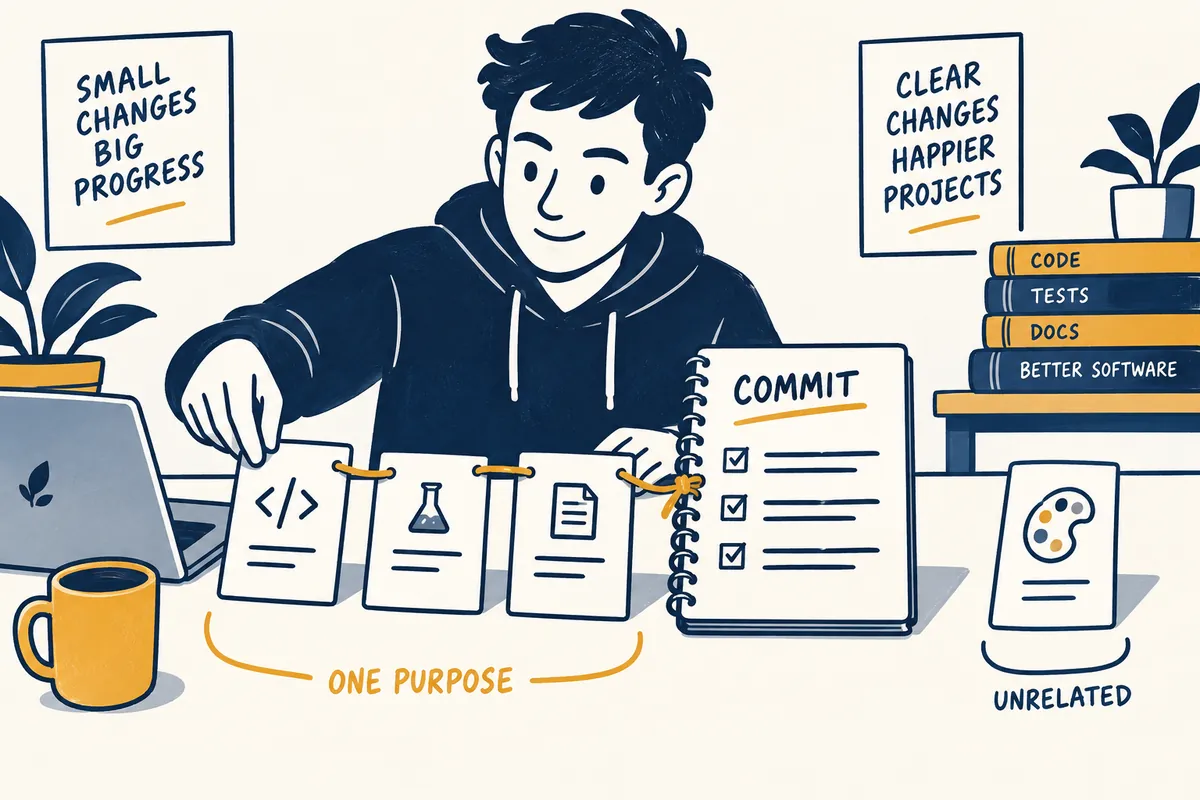
To write effective messages, the group of changes must be of a manageable size. For example, if you included code to handle empty strings in search results and a change to the login screen color at the same time, the title 'Fixed Search Result Errors' cannot explain the entire change. If the purpose and reason for reverting the two tasks are independent, it is easier to find the history by splitting them into separate commits. You do not necessarily have to split them simply because there are many files. If you changed code, tests, and documentation together to solve the same problem, they can serve a single purpose.
After completing your work, do not force a title right away; instead, write down, one sentence at a time, "In what situation did the problem occur?" and "How does this change handle that situation?" If you cannot connect these two sentences, the scope of your work may still be unclear. Also, check to see if any temporary debugging output or unrelated format changes are mixed in. It is more important to organize the actual bundle of changes before hiding the mix of changes in the commit message.
2. The title identifies the change, and the body explains the reason.
Official Git Documentationsuggests a structure where a short title is followed by a blank line and then a detailed explanation. Titles of approximately 50 characters or less are a recommended practice for readability and are not a storage limit applicable to all projects. Rather than mechanically conforming Korean titles to English standards, please check your team's rules and write so that the core meaning can be read from the list. Ideally, the target of the change and the action should be clear just by reading the title.
For example, if you write 'Skip result request when search term is blank' instead of 'Bug fix,' the condition and action are revealed together. Avoid expressions that require measurement, such as 'significantly improved search performance,' unless there is actual evidence. 'Resolved all errors' may also exceed the scope of verification. Write what this commit did in the title, and leave future tasks or unresolved issues separately in the body.
| item | Content to include | Example for explanation |
| Title | Target and change behavior | Skip result request when search term is blank |
| problem | Specific conditions before change | Generates a search request even if only a space is entered |
| Reason | The reason this method was chosen | Normalize before the request to reduce unnecessary calls |
| verification | Items actually verified and results | Check examples of empty input, space input, and general input |
| Remaining range | Parts that could not be verified or need to be handled separately | Actual server response and mobile screen are unconfirmed |
3. Do not record verification results that were not actually used.
The following is a hypothetical message illustrating the writing format. The behavior verifications listed here are not actual project test results. When using this, please replace them with items performed in your own work. In particular, if the AI generated the draft, you must ensure that unexecuted test commands or phrases such as "all tests passed" are not included. Distinguish and record the behavior expected by the author from the behavior verified through actual execution.
검색어가 공백일 때 결과 요청 생략

문제: 공백만 입력해도 검색 요청이 생성된다.
변경: 입력을 정리한 뒤 길이가 0이면 요청을 생략한다.
이유: 결과 처리 단계보다 요청 생성 단계에서 조건을 판단한다.

검증: 이 줄에는 실제 수행한 확인 항목과 결과를 적는다.
미확인: 실제 서버 연동과 모바일 화면은 별도 확인이 필요하다.
In validation logs, it is better to pair conditions with results rather than simply writing "Verification Complete." For example, separating whether existing calls were maintained for general search terms, whether calls were omitted for blanks, and whether existing error indicators were retained for error situations makes it easier to identify regression issues later. When recording failed tests, indicate the reason for failure as "estimated" and do not change it to appear as if it passed.
You can write useful messages even if you haven't executed them yet. State the current level, such as 'Verification: Checked for code differences. Run test not performed,' and leave the items to be executed in a separate list. There is also a difference between the fact that test code was added and the fact that the test was run. The first is the change, and the second is the verification record. This distinction directly helps colleagues determine what to do next.
4. Compare the staging range and description before saving.
A basic commit records the contents prepared in the staging area. If you assume that simply saving a file in an editor includes all the latest changes to that file in this commit, the message may not match the actual code. If there are partially prepared changes, the lines included and the lines remaining may differ even within the same file. Read the differences included in this commit on your Git screen and verify that the changes described in the message fall within that scope.
Reviewing messages is simple if done through three comparisons. First, verify that the behavior described in the subject line is reflected in the actual differences. Second, check that the reasons explained in the body do not contradict the code's conditions or comments. Third, ensure that any changes to public interfaces or documentation are not omitted from the explanation. This step also includes removing information that should not be recorded, such as passwords, tokens, and actual customer data, from examples or logs.
However, there is no need to make additional changes to unrelated code just to make the commit message look perfect. Leave any separate issues you discover for later tasks and clarify the current objective. If the documentation changes included in 'Modifying Search Request Conditions' are intended to explain those conditions, they can be explained together; however, a complete rewrite of the documentation's writing style serves a different purpose. It is easy to determine the grouping if you consider whether the changes need to be reverted together when rolling back.
5. Write long messages in an editor or file.
Short messages can be delivered like `git commit -m "Skip request for results when search term is blank"`. If multiple paragraphs are needed, it is convenient to use the default editor or write the message in a UTF-8 text file and then load it using `git commit -F commit-message.txt`. Since these commands create actual commits in the current repository, you must check the prepared range of changes before executing the examples in this article.
Message files should contain a title on the first line, a blank line on the next, and a description. Ensure that you intend to record the text contained in the file exactly as it is. If guidance sentences from the editor template remain in the file, unwanted descriptions may be recorded. The file format is easier to read and review if line breaks or quotation marks are lost while transferring long messages into a single-line shell string. If the team has established a template, use that framework first.
If you want to use the same items for your messages every time, start with a four-line template of 'Issue, Change, Verified, Unconfirmed'. It is not mandatory to fill every item with lengthy text. A one-line heading may suffice for simple typo corrections, while operations involving external API behavior or changes to data formats may require explanations of application conditions and compatibility. It is recommended to tailor the length of the record to the risks of the change and the information required for the explanation.
6. Check if it is readable on the list and detail screens.
`git log -5 --oneline` is a read command that displays recent commits centered around short identifiers and titles. If titles like 'Modified', 'Added', and 'Done' appear consecutively on this screen, the history becomes difficult to search. Since there are many situations where only the title is visible in the list even if the body is long, this is why the subject and action are included in the title. If you need a detailed explanation, you can read the messages of recent commits using the standard `git log -1`.
Ask yourself the following three questions regarding the list: Can a searcher looking for an issue select this title? Is it distinguishable from UI color changes? Can they understand whether this change is an addition, modification, or removal? The utility of the history increases when the need to open the body to read the title is reduced. While commit hashes identify changes, they do not explain the meaning of the issue, so human-readable titles are required alongside them.
7. Prefixes and issue numbers conform to project rules.
Prefixes such as `fix:`, `feat:`, and `docs:` may be rules established by the team or tool, and they are not syntax that Git enforces on all repositories. If your project relies on an automated release tool to read messages, please check that tool's rules first. For personal repositories, establishing a few consistent categories may be sufficient rather than increasing the number of prefixes. Even if the prefixes are accurate, finding the content is difficult if the title is "Misc."
When assigning issue numbers, do not leave just the number; explain the core problem in a sentence. This is because it allows you to understand the changes even if you later lose access to the issue system or keep the repository separately. If you place the detailed record of the actual problem in the issue and the selection and verification scope of the current commit in the message, their roles become clear. Since the syntax for automatic issue closing may vary by service, do not habitually include unverified keywords.
8. Ready-to-use Final Checklist
- Does the title contain the target and action to change?
- Did you separate the body text by placing a blank line after the title?
- Did you specifically describe the conditions under which the problem occurred before the change?
- Did you explain the reason for the choice that is difficult to understand solely from the code difference?
- Does the verification record match the items actually performed?
- Did you not represent the unexecuted range as a pass?
- Are the scopes of the prepared changes and messages the same?
- Does it comply with team rules and the issue linking method?
Good documentation stems from searchable criteria and reliable verification scope, rather than grandiose writing style. Imagine that someone analyzing errors in the future will read today's message. If 'why this condition was added' and 'how far verification was conducted' remain, changes to the code serve as a basis for judgment. It is practical to start with short headings and body text consisting of two or three sentences, and to expand on the content only for changes that require explanation.
Official Sources and Writing Standards
Data Verification Date: 2026-10-10. This explanation was generated by AI based on actual official data. Calculations, codes, and verification examples marked separately are for illustrative purposes only and are not the results of direct testing or actual measurements of the user environment. We will re-verify whether there have been any changes to the functions and data on the publication date.
The order in which commit history is created
1. Summary of Problem Conditions and Purpose of Change
→
2. Check differences to include in the commit
→
3. Title → Blank line → Write reason
→
4. Actual Verification and Record of Unidentified Ranges
→
5. Check the list and detailed message after saving.
This is an illustration for illustrative purposes only and is not actual product screen or measurement data.
Original illustrations created to help explain this article.
Original on Tistory ↗