When White Looks Yellow: White Balance Is Different from Lighting
This article was translated from its source language with AI assistance. Please check technical terms and equations against the original.
White balance does not replace the light
The same sheet of white paper can look different in photos taken by a window and under a warm lamp. White balance adjusts which colors are rendered as neutral white or gray. The camera's interpretation of the illumination affects the color cast, so the screen does not necessarily reproduce the impression you had in the room.
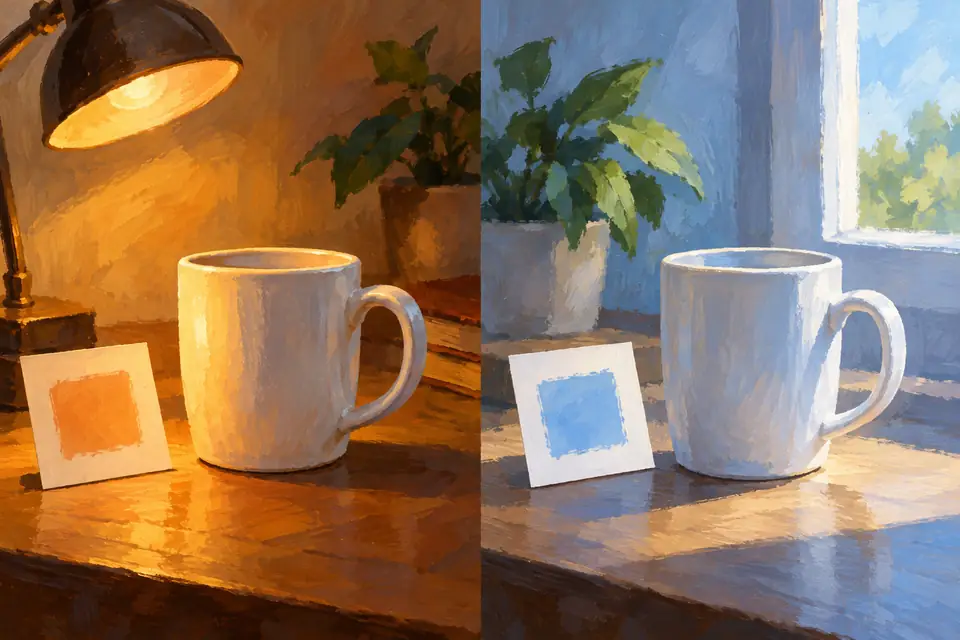
The important distinction is that white balance does not change the light itself. Replacing a yellow-looking lamp with a neutral light and reducing yellow in a photo are different actions. This setting also does not change the direction of the light or the shape of shadows. See Adobe's white-balance explanation for the basics of color correction.
Choose between neutrality and atmosphere
For a product photograph intended for color comparison, keeping whites and grays from taking on a strong cast can be useful. To show the atmosphere of a warm room, removing every trace of yellow may work against the purpose. Decide what the image should communicate before choosing whether neutrality or atmosphere comes first.
A scene lit by both a window and indoor lamps can have different casts in different areas. If a global adjustment improves the desk but makes the background awkward, turning the same control further may not solve it. Consider reducing the influence of one light before shooting or treating different areas separately during editing.
RAW and JPEG start from different places
RAW gives you room to reinterpret color and tone from the information recorded by the sensor. JPEG is an image whose color and tone have already been processed by the camera. Changing its white balance afterward is closer to modifying the colors of already-rendered pixels. JPEG can be edited, but the two formats do not offer identical flexibility.
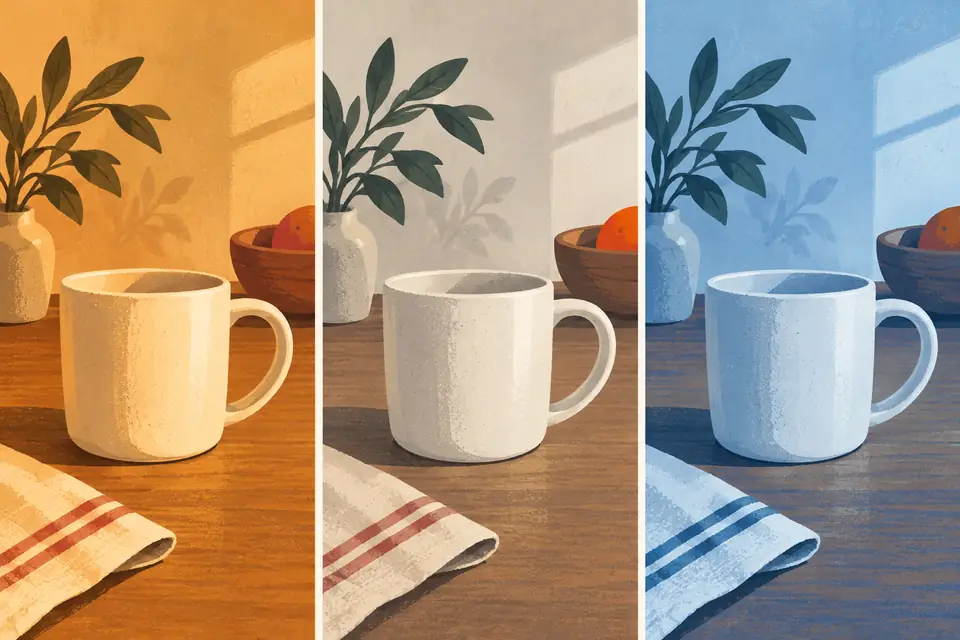
Adobe's RAW–JPEG comparison explains this difference. RAW is not a guarantee of rescuing a poorly captured picture. A single setting cannot recreate information that was never recorded or completely lost highlights. Keep the original and compare a separate edited version.
A comparison exercise with one sheet of paper
Place white paper and a colored object in the same spot, then photograph them with settings such as Auto, Daylight and Tungsten. Keep framing, lighting and exposure unchanged to make comparison easier. Look at the colored object and background as well as the paper. The paper is an observational reference, not a replacement for a calibrated color-measurement tool.
- Record which light sources were on.
- Choose one version that looks neutral and another that communicates the atmosphere.
- If you saved RAW and JPEG together, compare their edited results for the same scene.
Judge the result by the purpose and visible appearance rather than the size of a setting number. Place before and after images together and explain which object's color became more natural. This is more specific than simply saying warmer or cooler. The Camera Raw introduction explains reprocessing while preserving original information.
Original illustrations created to help explain this article.