Shutter, Aperture and ISO: Three Decisions Before Matching Brightness
This article was translated from its source language with AI assistance. Please check technical terms and equations against the original.
The same brightness can produce different pictures
When a photo is dark, it is tempting to change a setting until it looks brighter. Brightness alone does not produce the picture you want. A moving hand may blur, the background may look different, and dark areas may show grain. Understanding shutter time, aperture and ISO helps you decide which changes to accept while adjusting brightness.

These settings form the exposure triangle, but their jobs differ. Shutter time and aperture directly affect the light reaching the sensor. Digital-camera ISO concerns signal handling and output brightness. Raising ISO alone does not send more light through the lens. The Sony explanation of ISO makes this distinction.
The shutter controls time; the aperture controls an opening
Changing from 1/250 to 1/500 second halves the exposure time under otherwise identical conditions. It also shortens the interval over which movement is recorded. A longer exposure can leave a trail of motion instead. The choice depends on what you want to freeze and what movement you want to show. Nikon's shutter-speed lesson illustrates the relationship.
The aperture is the opening inside the lens. A lower f-number means a larger opening and generally more background blur with the same lens and framing. Opening from f/4 to f/2.8 approximately doubles the light at an ideal one-stop interval. The range that appears sharp can change while you adjust brightness.
A calculation that prioritizes movement
Suppose 1/250 second, f/4 and ISO 400 give suitable brightness in steady lighting. Changing to 1/500 second to record a moving hand over a shorter interval halves the exposure time. Opening to f/2.8 admits more light and can roughly preserve the original brightness. The depth of field may become shallower, so check the result if both the hand and face need to look sharp.
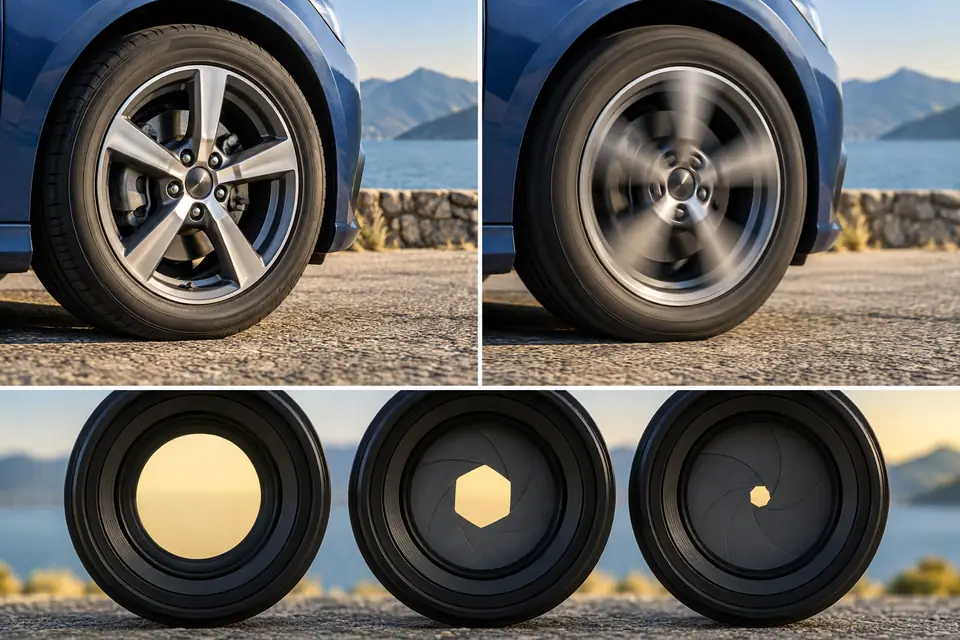
If you need to keep f/4, ISO 800 is another candidate. The captured light is still reduced; you have changed the handling of output brightness. Visible grain depends on the camera and conditions. These values explain the tradeoff, rather than guarantee that every movement will be frozen.
Change one setting at a time to learn
Choose an easily compared subject, such as an object on a desk. Hold other settings fixed and change shutter time by two steps. Then change only the aperture, and finally only ISO. Auto ISO or automatic exposure may change other values too, so compare the actual settings in the photo metadata.
- Choose shutter time first when movement matters.
- Check aperture and focus placement when front-to-back sharpness matters.
- Compare brightness and grain at the actual viewing size.
Write a short reason for your choices instead of treating one settings table as a universal answer. For example: the hand blurred, so the exposure was shortened; ISO was raised to keep the aperture unchanged. See also Nikon's aperture explanation for the aperture–shutter relationship.
Original illustrations created to help explain this article.